
A pair of hiking boots that is slightly too big is not automatically a bad purchase. The real issue is whether the extra space is harmless toe room or unstable movement that will turn into blisters, bruised toenails, or a loose heel on long descents. In this guide I break down how much room is acceptable, what adjustments actually work, and when it is smarter to stop rescuing the fit and choose a different boot.
The right fit is snug, stable, and forgiving at the toes
- A little extra space at the front can be fine if the heel and midfoot stay secure.
- Heel lift is the first warning sign that the boot is too roomy for hiking.
- Heel-lock lacing and a supportive insole usually help more than adding more socks.
- For descents, control matters more than feeling roomy in the shop.
- If your foot slides side to side, the boot is probably the wrong size or last.
How much extra room is still acceptable
I separate “a touch roomy” from “too big” by checking two things: toe room and heel control. REI advises looking for roughly a thumb's width between your longest toe and the end of the insole, while AMC says heel movement should be almost nonexistent, with a quarter-inch or less being the outer limit of acceptable movement. In other words, a boot can feel longer than your street shoe and still be correct, but only if the foot does not wander around inside it.
In boot fitting, volume means the internal space around the foot, not just length. Your toes should wiggle, but your foot should not slide from side to side or rise and fall with every step. If the boot is only a little long but otherwise hugs the midfoot and heel, I consider it workable. If the extra space is everywhere, the boot is not “broken in” so much as incorrectly sized.
That distinction matters because hiking usually exposes fit problems on the first climb or the first descent, not after a week of use.
Why a roomy boot becomes a problem on trail
On flat ground, a slightly loose boot can feel harmless. On trail, the same boot starts to punish you on downhill sections, where the foot naturally moves forward and the toes take repeated impact, the classic toe bang that leaves bruises and sometimes black toenails. Add a loaded pack, wet footing, or steep mountain terrain, and the foot is forced to brace against the boot instead of sitting quietly inside it.
The real cost is friction. Heel lift creates hot spots, hot spots become blisters, and a boot that slips side to side makes every uneven rock feel less controlled. That matters on long hikes, but it matters even more on technical descents where precise foot placement is the difference between confidence and constant correction.I care less about whether the boot looks large and more about whether it stays quiet under movement. If it does not, the problem will show up fast.
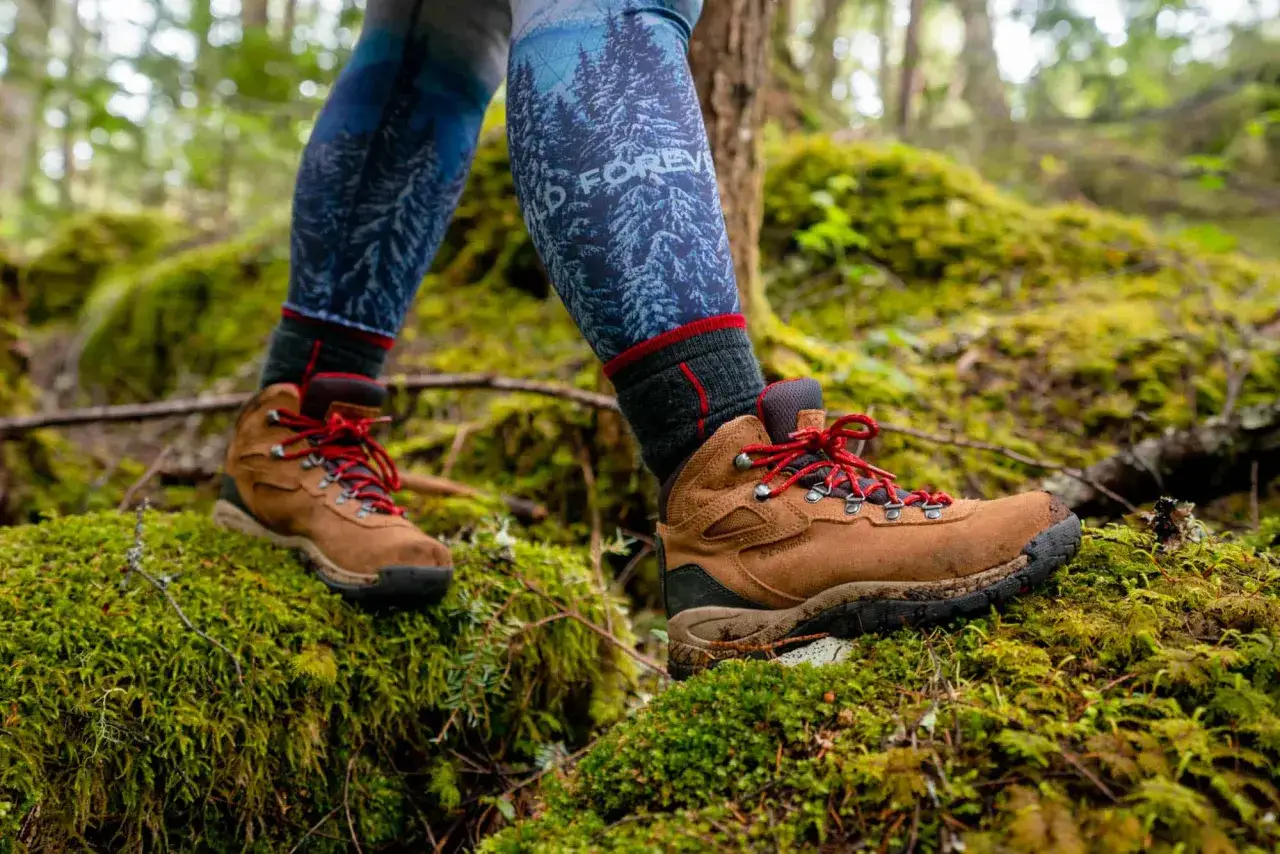
The fixes that actually reduce volume
If the fit problem is small, I start with the cheapest corrections first. Lacing changes can lock the heel down, and a supportive insole or thin volume reducer can take up space without turning the boot into a clamp. Thick socks can help at the margin, but they are the last 10 percent, not the main solution.
| Fix | Best for | What it does | Main limitation |
|---|---|---|---|
| Heel-lock lacing | Heel slip and forward slide | Tightens the instep and locks the heel back | Does not solve a boot that is truly too long |
| Supportive insole | Slight extra rearfoot or midfoot volume | Takes up space and stabilizes the foot | Can change arch feel and may need adjustment |
| Thin volume reducer | Small excess room | Removes a little internal space under the footbed | Only helps when the gap is minor |
| Better sock choice | Tiny fit tweaks or colder conditions | Fills micro-gaps and improves friction control | Too much sock can increase heat and rubbing |
The cleanest way to think about these fixes is simple: use lacing to control movement, and use an insole or spacer to control volume. If you need all three just to keep the boot usable, you are probably forcing the wrong size to do a job it was never meant to do.
- Lace snugly over the instep, then use a heel lock where the foot starts to bend upward.
- Keep the forefoot comfortable; do not over-tighten the toe box just to chase heel stability.
- Use one solid hiking sock instead of layering random socks that trap heat and create friction.
- Re-test after a few minutes, because the first minute of lace tension is not the whole story.
How I test the fit before I trust the boot on a hike
The best fit check is boring on purpose. I want the same socks I will hike in, I want the test done later in the day when my feet are a little larger, and I want movement, not just standing still. A boot that feels fine while you are sitting down can fail as soon as you start climbing or descending.
- Put on the socks and footbed you will actually use on trail.
- Lace the boots with the heel held back, then walk for 10 to 15 minutes.
- Use stairs, a steep ramp, or a hill to simulate descents.
- Check for toe contact, heel lift, and hot spots after the first few minutes and again after 20 minutes.
- If you plan to backpack, repeat the test with a loaded pack or at least extra weight.
If the boot only works when you are standing still, it does not really work. I would rather find that out at home than halfway down a rocky trail.
When to stop rescuing the wrong size
There is a point where fit tweaks stop being smart and start becoming a patch job. If the foot slides side to side, if the heel still lifts after heel-lock lacing, or if your toes hit the front on descents, the boot is too large in a way that matters. That is especially true for backpacking or steep mountain walking, where the extra movement compounds over hours.
- Return or exchange the boot if the length is wrong, not just the feel.
- Try a different width if the forefoot is fine but the midfoot or heel is sloppy.
- Switch brands or lasts if the same size still gives heel movement.
- Do not rely on break-in to fix a fit problem; break-in changes flex, not geometry.
A boot that needs too much help is usually the wrong boot. The right one should feel controlled without constant micromanagement.
The rule I use before I keep a roomy hiking boot
My rule is simple: keep a boot only if extra space at the front is offset by a secure heel, a stable midfoot, and a clean descent test. A slightly generous boot can be fine for mellow day hikes or cool-weather walks, but once the route turns steep, rocky, or long, precision starts to matter more than convenience. The more technical the terrain, the less I want to negotiate with my footwear.
- Keep it if the toe room is there, but the rest of the foot stays planted.
- Adjust it if a good insole and better lacing solve the problem cleanly.
- Return it if the fit only feels acceptable when you keep over-tightening the boot.
For hiking, I trust the boot that disappears under movement, not the one that just feels roomy in the shop. If it stays quiet on the climb and stable on the descent, it earns its place; if not, I move on.