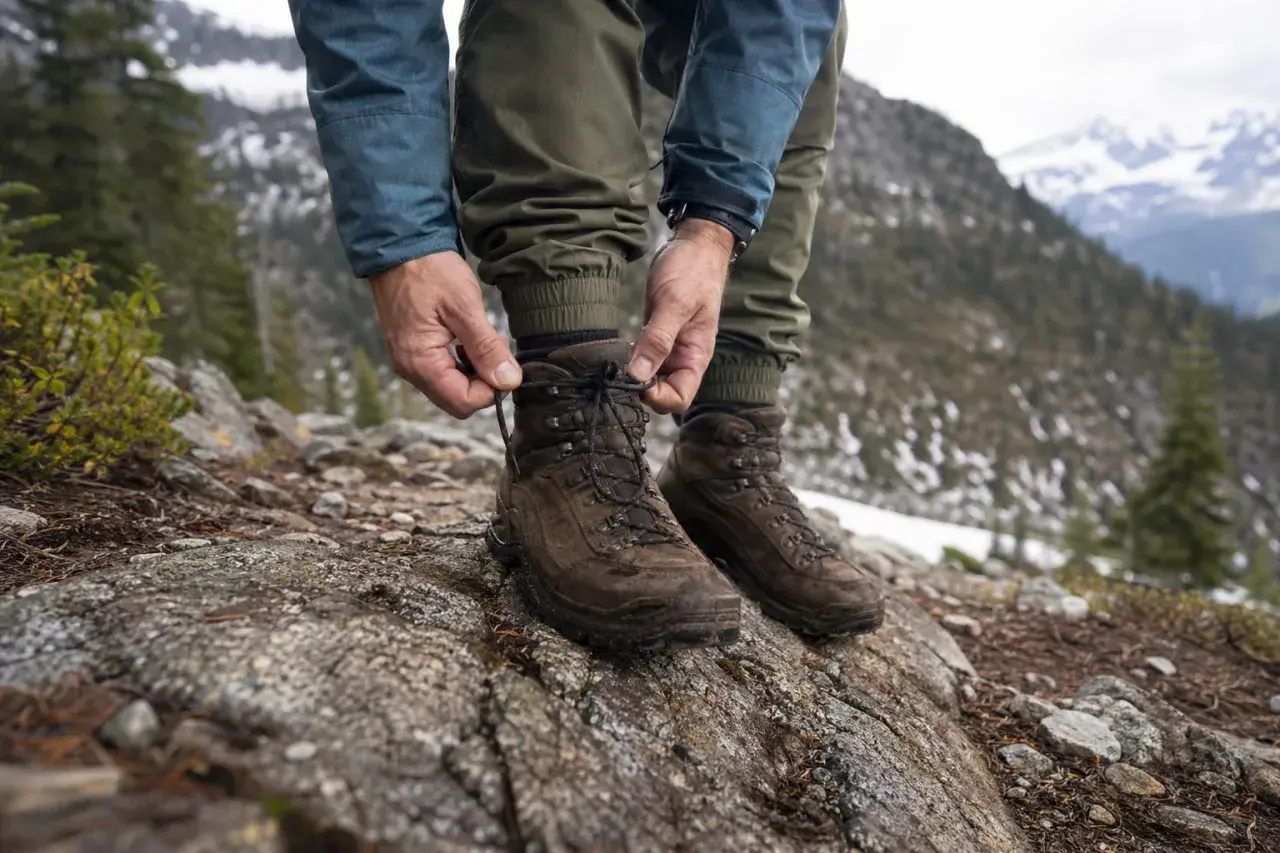
Getting hiking boot size right is less about chasing extra room and more about balancing toe space, heel lock, and stability. When people ask whether they should size up in boots, I usually look at the same four things: how the boot feels standing still, how it behaves on a downhill step, what your socks and insoles add, and whether the shape matches your foot. This guide walks through each one so you can make a smarter buy before your first long hike.
The right hiking boot size should feel secure, not squeezed
- Size up only when the boot is short, cramped, or too shallow for your foot and hiking setup.
- If the heel already slips, a larger size usually makes the fit worse, not better.
- A wide fit often solves forefoot pressure better than adding length.
- Test boots later in the day, with the socks and insoles you actually plan to use.
- Downhill control matters as much as comfort at rest, especially on long mountain routes.
My rule for hiking boots
I do not size up just because a boot feels firm out of the box. I size up only when the boot passes the heel and midfoot test but fails the length or volume test, and I will choose a wide size first if the real problem is forefoot pressure. In hiking footwear, extra length is a tool, not a default.
- Size up if your longest toe is near the front when you stand naturally.
- Size up if your toes tap the front on descents or steep steps.
- Choose wide if the boot is long enough but the forefoot feels pinched.
- Stay with your true size if the boot already feels loose around the heel or midfoot.
- Try a different model if the shape feels wrong even before you tighten the laces.
That distinction matters because a boot that is merely snug can break in, but a boot that is too big tends to stay sloppy. That is why I separate the cases where a larger size helps from the ones where it quietly creates new problems.
When a bigger size helps and when it backfires
| What you feel | What it usually means | What I would try first |
|---|---|---|
| Toes brush the front when you stand upright | Length is borderline | Go up half a size and retest on an incline |
| Toes hit the front on descents | You need more front-room for trail movement | Try a half-size up before jumping a full size |
| Forefoot feels squeezed but length is fine | Width or toe-box volume is the issue | Try a wide version or a roomier model |
| Heel slips as soon as you walk | The boot is too long or the shape does not match your heel | Do not size up; look for a better last or narrower heel fit |
| Orthotics or thick insoles crowd the boot | Internal volume is too tight | Test a wider or slightly larger size |
| The boot only feels okay when laced unusually loose | The fit is working against your foot | Try a different size or model, not just a different knot |
If the boot feels sloppy the moment you walk, the larger size is not fixing the problem, it is postponing it. On rocky trails and long descents, that extra movement shows up fast as rubbing, blisters, or tired feet. The next question is what a good hiking boot fit should actually feel like in motion.
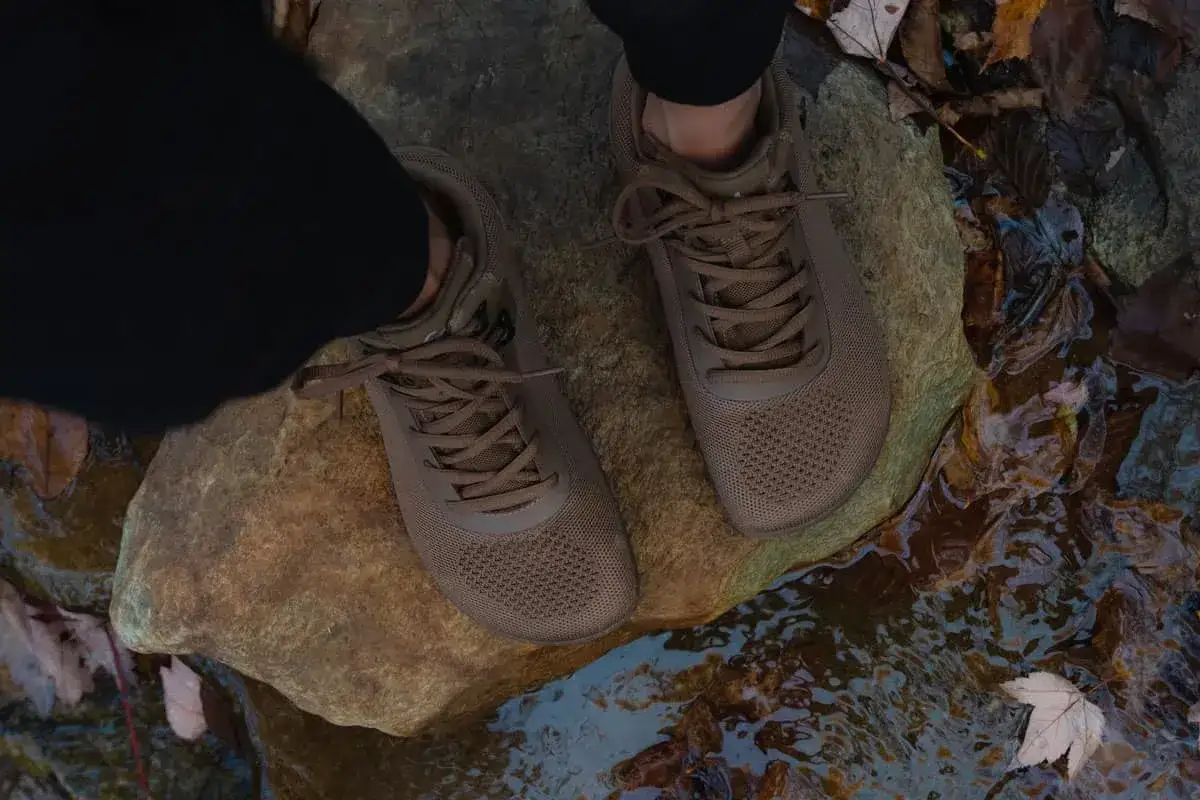
How hiking boots should feel on real terrain
The goal is not a soft slipper. It is a boot that feels settled around the heel and midfoot while leaving the front of the foot enough room to move naturally. I want the boot to disappear when I am walking uphill and still protect my toes when I point downhill.
Toe room
Your toes should not press the front when you stand upright, and they definitely should not smash forward when you step downhill. A little empty space is normal. I want enough room that my toes can relax, but not so much that my foot slides around.
Heel lock
A small amount of movement can happen during break-in, but repeated lift at the heel is a warning sign. Heel slip is one of the fastest ways to end up with blisters, especially on longer walks or mixed terrain.
Read Also: Norda 001A Review - Built for Fast Hikes and Long Trail Days
Midfoot control
The boot should hug the arch and upper foot without pinching. If I have to over-tighten the laces to stop movement, the boot is usually the wrong shape, not just the wrong size. That is especially true on long hikes where comfort has to last for hours, not minutes.
Once you know the feel you want, it becomes easier to understand why feet change over the course of a hike and why the same boot can feel different after a few miles.
Why feet change during a hike
Feet usually swell as you walk, warm up, and spend more time under load. On long mountain days, that change is easy to miss at first and hard to ignore by mile six. Thick socks, insoles, and warm weather all reduce the room inside the boot, which is why a fit that feels fine in your living room can feel narrow on the trail.
- Walking for hours increases foot volume.
- Warm conditions make swelling more noticeable.
- Thicker hiking socks take up internal space.
- Custom insoles and braces add volume quickly.
- Steep descents push the foot forward inside the boot.
On long alpine routes and full-day hikes, I always test fit at the end of the day rather than in the morning. That is also why I never judge a boot from a quick five-minute try-on alone.
How I test a pair before I trust it
- Try the boots on later in the day, when your feet are closer to trail size.
- Wear the socks you actually hike in, plus any insoles or orthotics you plan to use.
- Stand straight and check the front of the boot. You want comfortable toe room, not a press against the front.
- Walk up and down a stair or slight incline to see what happens on descents.
- Pay attention to heel movement. If the heel lifts every step, the fit is not right.
- Compare sizes only if the difference is subtle. If one pair feels clearly better, trust that and stop chasing a number.
If the better-feeling size only wins when you crank the laces hard or if your heel still lifts, keep looking. That usually means the boot shape is wrong, not just the size on the box. At that point, the question is less about going bigger and more about fixing the fit in a smarter way.
What to do if the boots are almost right
Sometimes the boot is close, but not perfect. In that case, I do not jump straight to a bigger size unless the length is clearly the issue. Small fit adjustments can solve a lot, but only if the underlying shape already suits your foot.
- Try a heel-lock lacing pattern if the heel slips slightly.
- Use a different insole only if it does not steal toe room.
- Choose a wide version when the forefoot is cramped but the length is fine.
- Return or exchange the pair if your toes still slide forward on descents.
- Do not count on break-in to solve major excess volume. Leather softens, but it does not change the boot’s shape.
That is the part many hikers miss. A boot can feel acceptable in the store and still fail after two hours on the trail. If the fit is only passable in ideal conditions, I would not trust it for a serious walk.
The boot that disappears is usually the one worth keeping
My practical answer is simple: size up only when it improves toe clearance without sacrificing heel security. If you are between sizes, start with the smaller of the two and test it on an incline; if your toes still touch the front or your insoles crowd the boot, move up one step or switch to a wider model. The best hiking boot is not the roomiest one. It is the one that stays controlled when the trail starts pointing down.
For mountain walking, that last part matters more than people expect. Long descents, uneven stone, and tired feet are where a loose boot starts to feel expensive, and where a well-fitted boot earns its place on the trail.