Hiking boots fail in two very different ways: the leather dries out and cracks, or the sole unit breaks down from the inside. This guide breaks down what causes shoes to dry rot, why hiking boots are especially vulnerable, and what I do to keep a pair usable for the next season. I will focus on the signs that matter, the materials most at risk, and the storage habits that actually make a difference.
The short version for hikers
- Dry rot in footwear is usually material breakdown, not one single disease or defect.
- Polyurethane midsoles are the classic failure point because they can hydrolyze and crumble over time.
- Heat, humidity, and long storage speed up the damage far more than most people expect.
- Leather uppers crack first at flex points when they lose oils and are left untreated.
- Cool, ventilated storage and slow drying do more for boot life than expensive products applied at the wrong time.
- Once the midsole is crumbling or the sole is separating, repair options shrink fast and safety becomes the main issue.
What dry rot means in hiking footwear
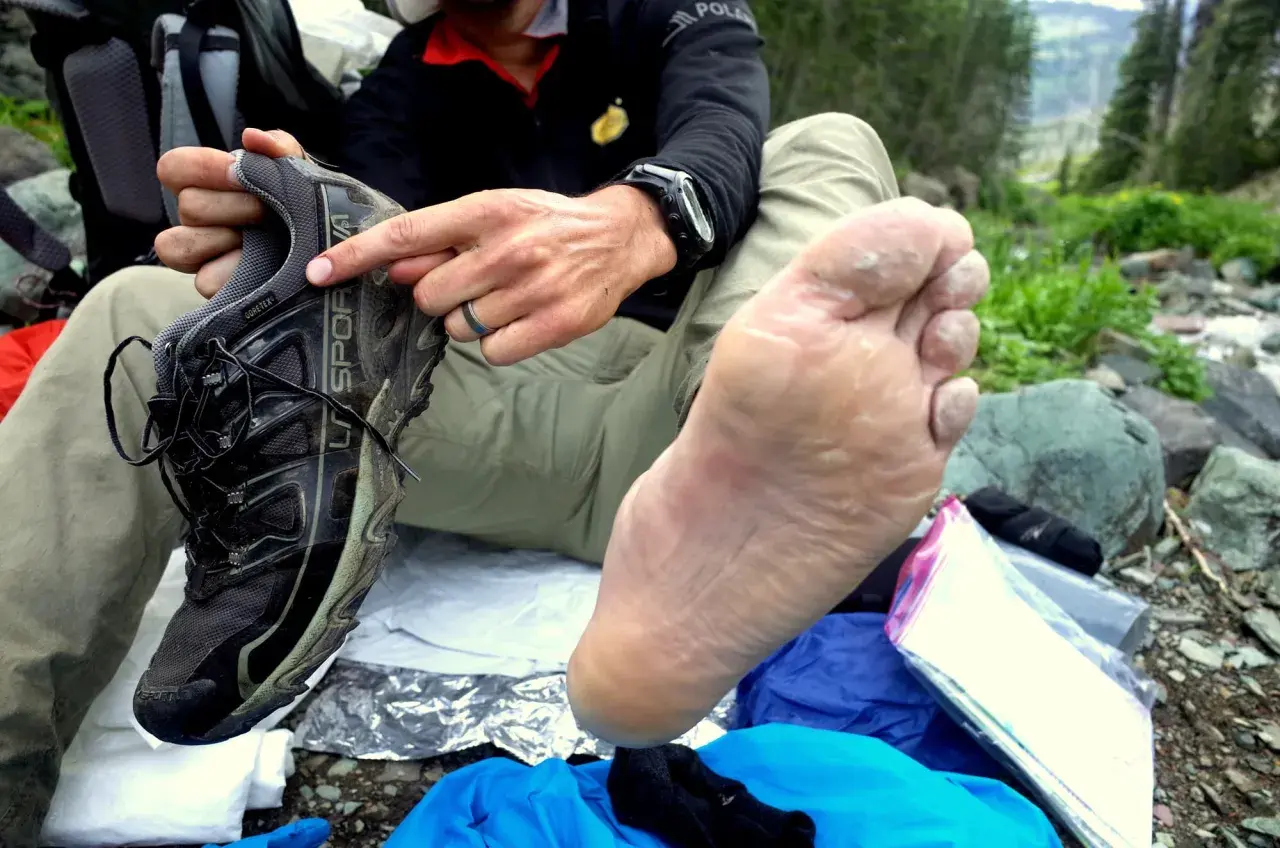
In footwear, dry rot is a catch-all term rather than a single technical diagnosis. Most of the time it means one of three things: leather has lost oils and become brittle, polyurethane has broken down through hydrolysis, or the adhesive layer has failed and started letting the sole separate from the upper. The important part is not the label; it is the structure of the boot. Once the midsole or flex zone loses integrity, the boot can look fine on a shelf and still fail on the trail.
I think of it as a slow material collapse. Leather dries, foam hardens, glue weakens, and the first hard bend exposes the damage. That is why the next step is figuring out which conditions speed it up.
The conditions that trigger the breakdown
The biggest accelerants are heat, humidity, trapped moisture, and time. Heat pulls oils out of leather and pushes adhesives and foams toward failure. Humidity and damp storage give hydrolysis the environment it wants, especially in PU midsoles and footbeds. Long periods without wear matter too, because a boot that never flexes never gets a chance to reveal early warning signs.
- Hot storage - garages, attics, car trunks, and radiators can push boots well beyond the range I would use for storage.
- Persistent moisture - damp insoles, sweaty liners, and wet socks left in the boot keep the inside humid.
- Sun and UV - direct sunlight dries leather and can weaken exposed glue lines.
- Salt and grime - trail salt, sweat, and dried mud pull moisture into the material and wear at seams.
- Neglect - boots that sit for seasons at a time usually age faster than boots that are worn, cleaned, and inspected.
For practical storage, I aim for a cool, ventilated space, and I treat 86°F and 70% humidity as rough upper limits rather than ideal targets. Once those conditions are under control, the material story becomes easier to read.
Which materials fail first and why
Not every material fails in the same way, and that is where hikers get misled. A leather upper can still be serviceable while a PU midsole is already cooked, or the opposite can happen on a cheaper boot. The table below is how I separate cosmetic aging from structural risk.
| Material | What usually happens | Practical risk |
|---|---|---|
| Full-grain leather upper | Loses natural oils, turns stiff, and cracks at toe bends and ankle creases | Medium to high |
| Suede or nubuck | Dries faster, shows scuffing and surface fuzz loss, then cracks on folds | Medium to high |
| PU midsole | Hydrolysis makes it hard, crumbly, or powdery; sole can peel away | Very high |
| EVA foam midsole | Compresses and can become brittle with age, especially in heat | Medium |
| Rubber outsole | Usually more durable, but can harden or crack over long storage | Low to medium |
| Adhesives and stitched joints | Heat and moisture loosen bonds; seams open at stress points | Medium to high |
The key difference: a boot with a stitched or replaceable sole stack gives you more repair options than a fully molded shoe. That one detail often decides whether a pair is worth saving.
Once you know which part is aging first, spotting the damage becomes much simpler.
How to spot dry rot before it ruins a trail day
The earliest signs are usually subtle. I look for a lighter, chalkier look in the leather, a midsole that feels unusually hard, or a sole edge that starts to lift at the toe or heel. If the boot bends and the material does not spring back cleanly, that is a warning sign, not normal wear.
- Cracking at flex points - the forefoot, ankle, and tongue folds show the first deep lines.
- Powdery residue - crumbly PU often leaves dust where the sole bends or separates.
- Hard midsoles - the boot feels dead underfoot instead of cushioned and slightly elastic.
- Lifted edges - glue lines begin to open at the heel, toe, or welt.
- Stale or musty storage odor - a damp smell usually means the boot was put away before it fully dried.
I use a simple thumb check: press the midsole and flex the forefoot. If the surface flakes, the rebound feels dead, or the sole sounds brittle, I stop treating the boot as trail-ready. A boot can look acceptable in the closet and still be a bad idea on rocky or wet ground.
That kind of inspection is what saves a pair, because prevention works far better than repair once the material has started to go.
How I would prevent it in storage and off-season care
If I wanted to slow this down as much as possible, I would focus on four habits: cleaning, slow drying, conditioning, and sane storage. REI notes that conditioning works best on clean, damp leather, which is exactly why I clean off grit before I reach for any treatment. LOWA, by contrast, is very clear that boots should dry in a ventilated room and stay far away from radiators, ovens, hot cars, and direct sun.
- Clean after wet use - brush off mud and salt, then rinse lightly if needed. Dirt traps moisture and acts like sandpaper on flex points.
- Dry slowly - remove the insoles and laces, then let the boots dry in open air. Use shoe trees or dry paper to help hold shape. A day is fine for lightly damp boots; heavily soaked pairs often need 24 to 48 hours.
- Condition leather before it goes chalky - use a leather conditioner or a light wax suited to the material. Don’t flood waterproof membranes or nubuck with the wrong product.
- Store cool and ventilated - a closet or mudroom is better than a plastic bin in a hot garage. I aim to keep storage below 86°F and below 70% humidity when possible.
One habit I would not skip is periodic wear. Even a short neighborhood walk every couple of months helps you notice stiffness early and keeps the boot from sitting untouched for season after season. That matters because an aging boot is much easier to rescue before the sole starts crumbling.
Can damaged hiking boots be saved
Once the material is truly breaking down, I separate cosmetic care from structural repair. Leather that looks dry can often be revived. A PU midsole that has gone brittle is a different problem; no conditioner will rebuild it, and no waterproofing spray will restore lost polymer strength.
| Condition | What I would do | Typical U.S. cost |
|---|---|---|
| Dry but intact leather upper | Clean, condition, and reproof | $10 to $30 in products |
| Minor seam lift or glue failure | Ask a cobbler about localized repair | $20 to $60 |
| PU midsole crumbling | Evaluate for a resole or full rebuild if the boot is worth it | $100 to $200+ and sometimes more |
| Deep flex cracks with sole separation | Retire the pair for trail use | Replacement is usually the safer spend |
That table is not a promise that every cobbler can save every boot. In my experience, stitched and resolable hiking boots are the best candidates for repair, while molded budget boots often cost more to rebuild than they are worth. If the sole is separating on a boot you would trust for steep descents, I would not gamble on it.
The last decision is how to keep the next pair from aging in the same way.
The off-season routine that keeps hiking boots from aging in place
Before I put a pair away, I do a quick reset: remove the insoles, brush off the dirt, let the boots dry fully, condition the leather if it looks tired, and store them where air can move around them. Then I check them again before the next trip, not after I am already at the trailhead. That simple habit catches brittle midsoles, lifted soles, and cracked flex points when there is still time to do something about them.
- Check the forefoot and heel for separation before every long hike.
- Flex the boot by hand and look for fine cracks in the bends.
- Keep wet boots out of sealed containers until they are truly dry.
- Store them away from sun, heaters, and hot vehicles.
Dry rot is not one dramatic event; it is a slow loss of material strength. If you respect that slow pace, the boots are far more likely to make it through one more season, one more trip, and one more climb.