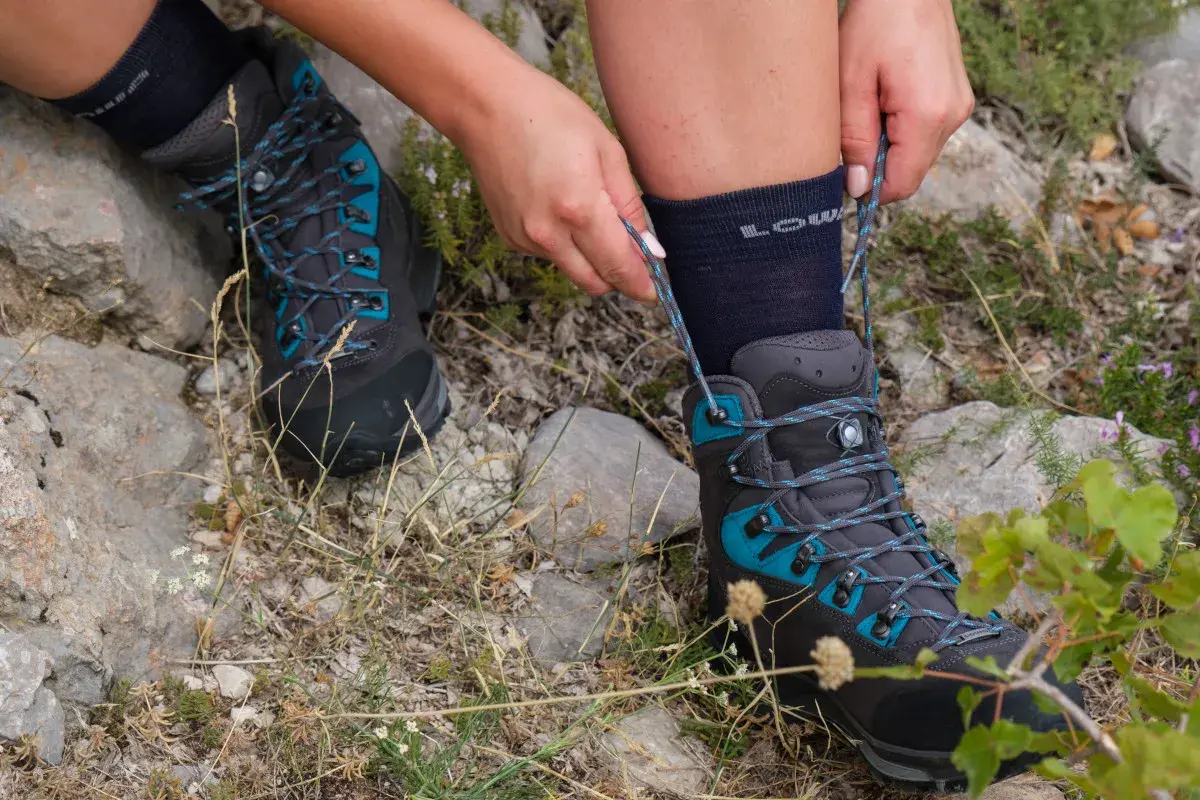
What actually keeps hiking boots comfortable on the trail
- Start with a secure heel, a roomy toe box, and no pressure on the top of the foot.
- Wear merino wool or synthetic hiking socks that match the thickness you'll use outside.
- Use lacing to solve a problem, not just to tighten everything.
- Break new boots in with short walks before you trust them on a full-day hike.
- On steep or wet terrain, small fit adjustments matter more than boot height alone.
- If the boots feel wrong after a short test walk, the model or size is probably wrong.
Start with fit, because comfort begins before the first step
I always start with fit, because no amount of lacing can truly rescue a boot that is shaped wrong for your foot. A good hiking boot should feel secure the moment you put it on, with enough room for your toes to move naturally and enough hold through the heel and midfoot that your foot does not slide around.
The easiest way to judge fit is to check a few pressure points at once. If the toe box is too short, your toes will hit the front on descents. If the heel lifts, you will feel rubbing before the hike is over. If the instep is squeezed, the top of the foot can go numb or hot. I look for the boot to disappear underfoot after a few minutes, not demand constant attention.
| Fit cue | What you want | Why it matters |
|---|---|---|
| Toe room | About a thumb's width in front of the longest toe | Helps on downhill sections and during foot swelling |
| Heel hold | Minimal lift when you walk | Reduces rubbing and blister risk |
| Midfoot | Snug, but not pinched | Keeps the foot stable on uneven terrain |
| Instep | No sharp pressure across the top of the foot | Prevents hot spots and numbness on longer days |
| Overall feel | Stable without stiffness that fights your stride | Lets the boot work with you instead of against you |
If you are trying boots for mountain paths, rocky European routes, or long mixed-terrain days, I would rather see slightly more toe room and a firm heel than a boot that feels “tight” everywhere. A boot that seems comfortable only because it is clamped down too hard usually becomes a problem later. Once the fit is close, socks are the next easiest place to improve the feel.
Choose socks that support the boot instead of fighting it
Socks matter more than most people expect. The wrong pair can turn a decent boot into a blister machine, while the right pair makes the same boot feel calmer and more stable. My default choice is a hiking sock made from merino wool or synthetic fibers, because both move moisture better than cotton and dry faster after sweat or rain.
Thickness is part of the fit, too. If you test a boot in thin socks and then hike in thick ones, you are not wearing the same system anymore. That can change toe room, heel hold, and the way the upper wraps your foot. I like to test boots in the exact sock thickness I plan to use on the trail, whether that is a light summer sock or a medium-weight pair for colder mornings.
- Use one well-fitting pair first. Extra layers are not automatically better.
- Avoid cotton. It holds moisture and tends to increase friction.
- Watch the seam placement. A bulky toe seam can become a hot spot on long descents.
- Bring a dry spare pair. On wet or variable weather days, this matters more than people admit.
Some hikers use sock liners or double-sock systems, but I only recommend them if you already know they help your feet. For most people, a single, well-matched hiking sock is simpler and more reliable. Once the sock situation is right, the next step is learning how to lace the boot for the exact problem you feel.
Lace for the problem you actually have
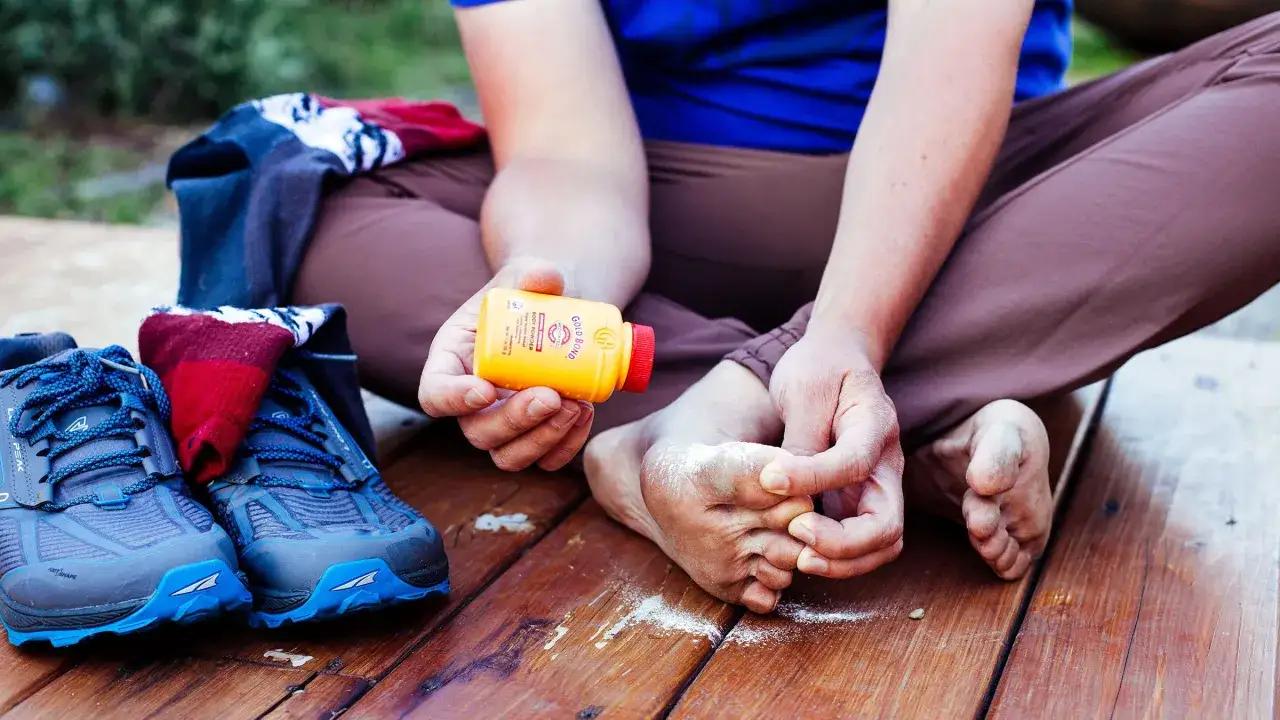
Standard criss-cross lacing works fine for many hikers, and I would not overcomplicate it if your feet already feel stable. But when you have heel slip, top-of-foot pressure, or toe crowding on descents, the laces become a useful tool instead of a formality. I think of lacing as a way to fine-tune the boot's shape around your foot.| Problem | Best lacing fix | What it does |
|---|---|---|
| Heel slip | Surgeon's knot or heel lock | Locks the heel more securely and reduces forward movement |
| Pressure on the top of the foot | Window lacing | Creates a relief zone where the boot is pressing too hard |
| Toe crowding on descents | Loosen the forefoot slightly or skip the lowest hooks | Gives the toes a little more room before steep downhill sections |
| Need more overall security | Ladder lacing | Increases the locked-in feel across the whole boot |
The point is not to crank every lace as hard as possible. Tight is not the same as secure. If the lower foot needs room but the ankle needs hold, separate those jobs with the lacing pattern. That small adjustment often solves the issue without buying a new pair. Once the boot is laced properly, you still need to break it in before trusting it on a serious hike.
Break new boots in with short, honest walks
Even a well-fitting boot usually needs a little time to soften and settle. I do not believe in brutal break-ins or in pretending a boot should be pain-free only after a month of suffering. A new pair should feel acceptable from the start, then improve as the materials adapt to your foot and walking pattern.
- Wear the boots indoors for 20 to 30 minutes with the socks you will actually hike in.
- Walk around the block or run errands in them before you try a trail.
- Take them on a short hike first, ideally 1 to 2 hours rather than a full day.
- Add distance and pack weight gradually over the next few outings.
- Stop early if a hot spot appears and adjust the lacing before it becomes a blister.
I also pay attention to how the boot behaves when the ground tilts. Walking downhill is where many fit issues show up, especially around the toes and heel. If your foot still slams forward or the heel keeps lifting after a few short sessions, the boot may simply be the wrong shape for you. That becomes even more obvious when weather and terrain get serious.
Adjust your approach for steep, wet, and long days
On a flat path, almost any decent boot feels fine. The real test comes on steep climbs, loose rock, rain-slick trails, and all-day walks where feet swell and fatigue changes your stride. That is why I care more about conditions than about boot hype. A boot that feels perfect in a shop can behave very differently on a muddy ascent in Asturias, a rocky ridge, or a long day of mixed travel and hiking.
On descents, I usually tighten the heel area a little more than the forefoot so my toes are not fighting the front of the boot. On wet days, I want a boot that can shed water or dry reasonably well afterward, but I also keep expectations realistic: waterproof boots are slower to dry if water gets inside. On hot days, lighter socks and a less bulky boot can feel far better than extra structure that just traps heat.
A few practical habits make a real difference:
- Retie after the first 10 to 15 minutes. The boot settles once your foot warms up.
- Use gaiters when mud, scree, or rain keeps entering the collar. They solve a problem boots alone cannot.
- Match trouser hem to the boot. Straight or slightly tapered legs usually sit better than very loose cuffs.
- Check your footing on descents. Foot placement matters as much as boot support.
These small adjustments matter because boots are part of a system, not a standalone solution. That system also tells you when a boot is simply the wrong tool for the day.
Know when hiking boots are the wrong tool
Boots are not automatically better than lighter hiking shoes or trail runners. For easy terrain, warm weather, or long mileage on packed paths, a lighter shoe can be more comfortable and less tiring. I would rather carry less weight on my feet if the trail does not demand the extra structure.
Here is the basic tradeoff I use:
- Choose boots when you want more ankle coverage, more abrasion protection, or a steadier feel under a pack.
- Choose lighter shoes when the route is dry, fast, and mostly moderate underfoot.
- Choose boots cautiously in very hot weather, because heat buildup can create more sweat and more friction.
The mistake I see most often is assuming that more boot always equals more safety. In practice, a well-matched lighter shoe can be the better tool on plenty of routes, especially if your feet run hot or you are covering distance. Once you know what the boot is supposed to do, the final step is checking the details before you leave the trailhead.
The final check I use before the trail leaves the pavement
Right before I start walking, I run through a short checklist. It takes less than a minute, and it catches most of the problems that turn into longer frustrations later.
- The heel feels locked in, not loose.
- The toes can wiggle without sliding forward.
- The laces are snug across the midfoot, not crushing it.
- The tongue sits flat and centered.
- The socks are smooth, dry, and free of wrinkles.
- Nothing feels sharp, numb, or unusually hot before the hike even starts.
If I notice anything off, I fix it immediately instead of hoping it will improve on its own. That is the simplest rule for making hiking boots work: trust the fit, respect the terrain, and make the small adjustments early. When those pieces are right, the boots fade into the background, which is exactly what good hiking footwear should do.