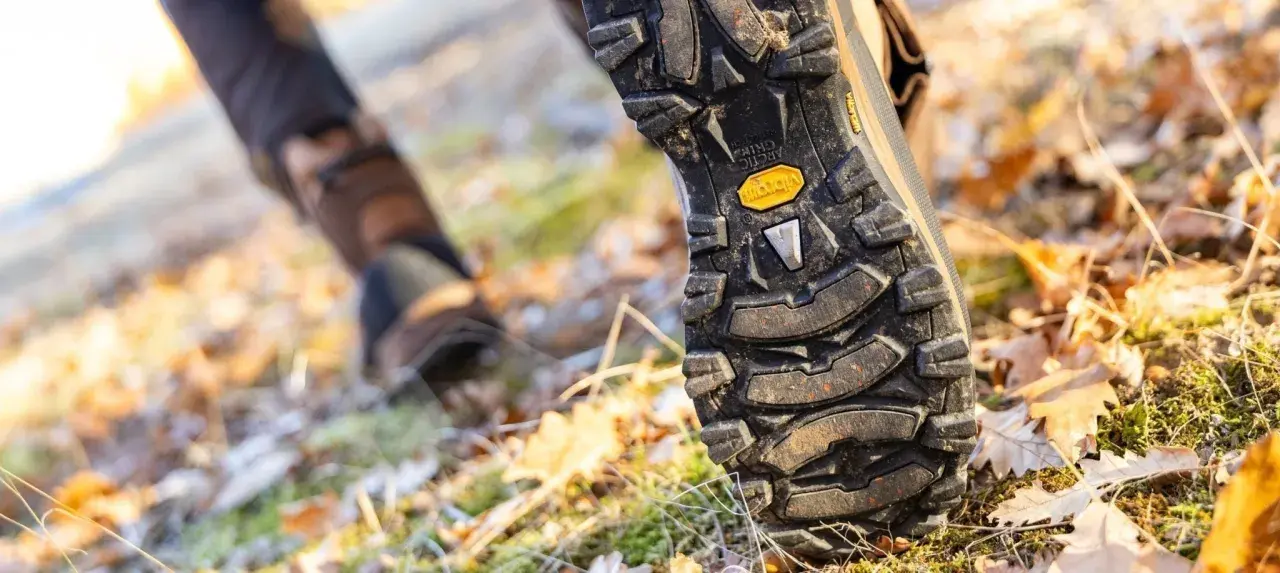
What matters most before the trail
- Fit comes first. Break-in can soften materials, but it cannot fix a boot that is too short, too narrow, or unstable in the heel.
- Most boots need time. Lightweight pairs may feel ready quickly, while stiff leather models can need about 1 to 4 weeks of gradual wear.
- Start indoors. Wear the boots with the socks and insoles you plan to hike in before you take them outside.
- Build up in stages. Move from home use to neighborhood walks, then to easy hikes of about 1 to 2 hours.
- Watch for hot spots. Pressure, rubbing, and numbness are signs to stop and adjust, not to push through.
- Avoid shortcuts. Soaking, freezing, or blasting boots with heat usually damages them instead of making them comfortable.
Fit decides whether break-in will work at all
I always start here, because break-in is not magic. A boot that is too small, too narrow, or badly shaped for your foot will not become a good boot just because you wear it more often. The goal is a secure but not painful fit: the heel should stay planted, the toes should have room to move, and the top of the foot should feel held rather than squeezed.
If I feel heel lift on every step, toe bang on descents, or pressure across the instep that turns into numbness, I stop treating it as a break-in issue. Those are fit issues. The material can soften, but it cannot change the geometry of the boot. That distinction matters, because many hikers waste weeks trying to “fix” a pair that was wrong from the first try-on.
- Heel slip usually leads to blisters later.
- Toe pinching often means the boot is too short or too narrow.
- Top-of-foot pressure can sometimes be eased with lacing, but not always.
- Numbness or tingling is a stop signal, not something to ignore.
Once the boot is fundamentally right, the break-in process becomes much more predictable, and that is where the material and construction start to matter.
Why some boots soften fast and others need patience
Not all hiking footwear behaves the same way. Lightweight synthetic shoes and softer mids may feel usable after a few short wears, while dense leather boots can stay stubborn for longer. Waterproof membranes, thicker collars, and stiffer midsoles also slow the process because they limit how quickly the upper flexes around your foot.| Boot type | What it usually feels like at first | Typical break-in pace | Best use case |
|---|---|---|---|
| Lightweight synthetic hiking shoes | Some initial stiffness, but often tolerable right away | A few short wears, sometimes very little break-in | Day hikes, faster travel, lighter loads |
| Waterproof mid boots | More structure around the collar and midfoot | Usually a gradual break-in over several outings | Mixed weather, rocky trails, moderate support |
| Full-grain leather boots | Firm, dense, and slow to flex | Often around 1 to 4 weeks of careful wear, sometimes longer | Heavier use, rough terrain, and carrying more weight |
That is why I never use the same break-in plan for every boot. A soft trail shoe and a serious leather hiker may both be “new,” but they do not need the same amount of patience. Next, I want to show the simple progression I use so the boot learns your foot without punishing it.
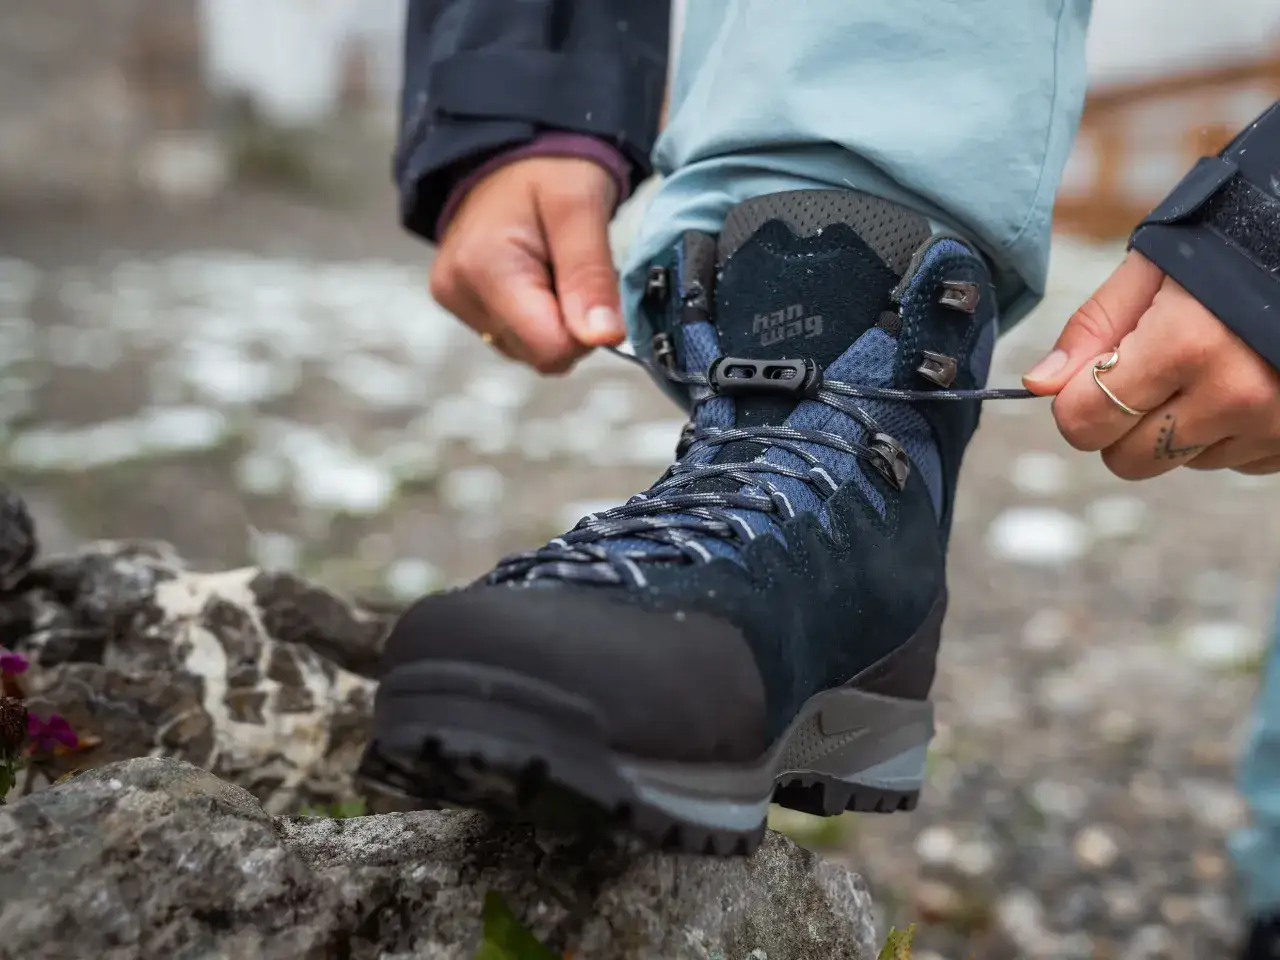
A gradual break-in plan that actually works
The safest method is boring, and that is a good thing. I start indoors, move to easy walks, and only then take the boots onto actual trail surfaces. This lets me catch rubbing, tongue drift, and heel movement before they turn into blisters halfway up a climb.
- Wear the boots at home first. Put them on with the socks and insoles you plan to hike in, then walk around for 30 to 60 minutes. Lace them snugly, but not so tight that your foot feels compressed.
- Check the tongue and lacing. Make sure the tongue sits centered and flat. A twisted tongue or uneven laces can create a pressure point that has nothing to do with the boot’s quality.
- Take short neighborhood walks. This is where you find out whether the heel stays stable and whether the boot rubs when your stride gets longer. I like a few easy outings before I add any real elevation.
- Move to short hikes. A first trail session of about 1 to 2 hours is usually enough to reveal what still needs adjustment. If the route has rocks, roots, or a mild climb, even better.
- Increase time and terrain slowly. Add distance, weight, or steeper ground only after the boot feels calm on easier outings. A small daypack helps the boot flex under realistic pressure.
On rough or uneven ground, you learn more in one hour than you do in a day of standing around the house. The boot flexes differently when you go uphill, downhill, and sideways on loose terrain, so I use those first short hikes as a live fit test. Once that base is stable, the smaller details make a bigger difference than most hikers expect.
Socks, lacing, and insoles do more work than most people think
If the boot is the shell, socks and lacing are the interface. That is where a lot of comfort problems are won or lost. I always test new boots with the exact sock type I plan to hike in, because a thin casual sock can hide problems that a real hiking sock will expose immediately. A good merino or synthetic hiking sock is usually a better choice than cotton, which holds moisture and can amplify friction.
Lacing matters just as much. A snug fit around the heel and midfoot helps keep the foot from sliding forward on descents, while a little extra room over the forefoot can reduce pressure on longer days. If the boot has enough volume but still feels sloppy, I will sometimes try a different insole rather than overtightening the laces.
| Problem | What I try first | Why it helps |
|---|---|---|
| Heel lift | Heel-lock lacing or a firmer lace pattern | Reduces friction at the back of the foot |
| Pressure on the top of the foot | Loosen the midfoot laces slightly and retie | Gives the instep more room without losing overall control |
| Too much empty volume | Try a thicker sock or a better-fitting insole | Improves contact and reduces internal movement |
| Hot spots on the toe or heel | Adjust the lace tension before the next walk | Prevents repeated rubbing in the same place |
These changes are small, but they often solve the problem faster than waiting for the boot to “settle.” If comfort still breaks down after the fit and lacing are dialed in, I move straight to hot-spot management instead of hoping for the best.
Hot spots are a warning, not something to push through
A hot spot is the first stage of a blister, and I treat it seriously. It usually starts as a warm, rubbed patch on the heel, side of the foot, or toes. The temptation is to keep going because the pain still feels manageable, but that is exactly how a small issue turns into a ruined hike.
My first move is to stop, remove the boot, and figure out why the rubbing started. Sometimes it is a crease in the sock, a lace that loosened, or a tongue that shifted. Other times the boot is simply hitting the foot in the wrong place. If I need to protect the skin, I use a blister pad, moleskin, or a hydrocolloid bandage, which is a cushioning dressing that helps shield the area from continued friction.
- Warmth and redness mean friction has started.
- Pain that grows with each step usually means the rubbing is still active.
- Numbness can be worse than pain because it often means the fit is too tight.
- A full blister tells me I waited too long to intervene.
There is no prize for toughing it out during break-in. The smart move is to stop early, protect the skin, and correct the cause before the problem repeats. From there, the main thing to avoid is the pile of shortcuts that sound clever online but usually backfire.
What not to do when you want faster comfort
I am skeptical of any trick that promises to skip the process. Boots are built from materials that need time, flex, and pressure in the right places. If a shortcut tries to force that process, it usually creates damage instead of comfort. In my experience, the most common mistakes are the ones that sound dramatic: soaking the boots, freezing them, heating them in a dryer, or taking a brand-new pair straight onto a long, demanding route.
- Do not soak the boots just to make them softer. Wet leather and adhesive systems can behave unpredictably, and the result is rarely worth it.
- Do not freeze them to “stretch” them. That is more likely to stress the materials than help your foot.
- Do not use high heat from a dryer, heater, or fire. Heat can damage glue, membranes, and shape.
- Do not test them on a major trip first. Multi-day hikes are the wrong place to discover a pressure point.
- Do not double up on socks blindly. Extra fabric can reduce feel, but it can also make the fit sloppy and increase friction.
The only shortcut I trust is choosing a boot that already fits well enough to improve with use. That keeps the break-in process from becoming a repair job, and it leads to a much more reliable timeline before you head out for a longer hike.
The test I use before I trust a new pair on a real hike
Before I commit a boot to a long trail day, I want three things: no rubbing at home, no hot spots on short outings, and no forward slide on descents. If the boot passes those checks, I know the remaining stiffness is normal and temporary. If it fails any of them, I keep adjusting or I stop and reassess the fit.
That is also why I like to give myself more time when a trip matters. A lightweight pair may feel ready after a few easy sessions, but a thicker leather boot can need the better part of a month to settle in. If I am preparing for wet ground, steep climbs, or long descents, I would rather have the boots ready early than gamble on comfort later.
My rule is simple: a good pair should become noticeable only because it disappears. Once the pressure points are gone and the foot feels secure, the boot stops being the story, and the trail can take over.