
The practical answer in one glance
- Most hiking boots should not go in the washer. Leather, suede, nubuck, insulated, and waterproof membrane boots are especially poor candidates.
- Fabric-heavy trail shoes are the only type I would even consider for a gentle cycle, and only if the care label explicitly allows it.
- A washer can stress adhesives, distort the shape, strip water repellency, and shorten the life of the boot.
- For most pairs, hand cleaning with a brush, lukewarm water, and mild soap is the safer and more durable choice.
- Drying slowly at room temperature matters as much as washing, and reproofing restores the outer shell once water stops beading.
Can you put boots in the washer
My short answer is no for most hiking boots. I treat the washer as an exception, not a cleaning routine, because a boot is built very differently from clothing and does not forgive heat, tumbling, and repeated soaking as easily.
The safest default is simple: if the boot has leather, suede, nubuck, insulation, waterproof membranes, or substantial glued construction, keep it out of the machine. If it is a lightweight synthetic pair and the manufacturer specifically allows machine washing, a cold gentle cycle may be acceptable, but I still see it as a compromise rather than best practice.The reason is not only cleanliness. A boot can come out of the washer looking fresh and still have weaker seams, a warped shape, or a shorter lifespan. On a trail, that matters more than a spotless upper.
Which boots can handle a wash cycle and which cannot
| Boot type | Washer risk | What usually goes wrong | Better choice |
|---|---|---|---|
| Full-grain leather hiking boots | High | Leather can stiffen, dry unevenly, and lose conditioning | Hand clean with a brush and damp cloth |
| Nubuck or suede boots | High | The nap can flatten or spot, and the finish can look patchy | Brush gently and use a suede-safe cleaner |
| Waterproof membrane boots | High | Agitation and heat can stress seams, linings, and DWR | Hand wash only, then reproof if needed |
| Insulated winter boots | High | Insulation can clump, hold water, or dry too slowly | Wipe down and air dry carefully |
| Synthetic trail shoes or very light boots | Moderate | Usually safer, but shape and glue can still suffer | Only machine wash if the care label allows it |
| Laces and removable insoles | Low | Usually manageable, though hand washing is still gentler | Wash separately and dry flat |
The useful filter here is material, not brand or price. A cheap synthetic boot may survive a careful wash better than an expensive leather model, but the premium boot is usually the one you would least want to gamble with.
What machine washing actually damages
People often focus on dirt and forget the mechanical stress. A washer does three things that hiking boots dislike: it soaks them, shakes them, and often dries them too aggressively if they get pushed into the next stage too soon.
That combination can affect several parts at once:
- Adhesives can weaken, especially around the sole and overlays, which is how separation problems start.
- Waterproofing can take a hit, because the outer surface loses its water-repellent finish faster.
- Shape and support can change if the upper twists or collapses during the cycle.
- Stitching and lining can rub harder than they do during normal hiking, especially in a crowded drum.
The GORE-TEX Brand’s footwear care guidance is blunt about this: it says not to wash footwear in the washing machine, then dry it naturally and avoid direct heat. That matches what I see in practice. A boot may survive one wash, but repeated cycles are where the damage becomes obvious.
How I clean hiking boots by hand instead
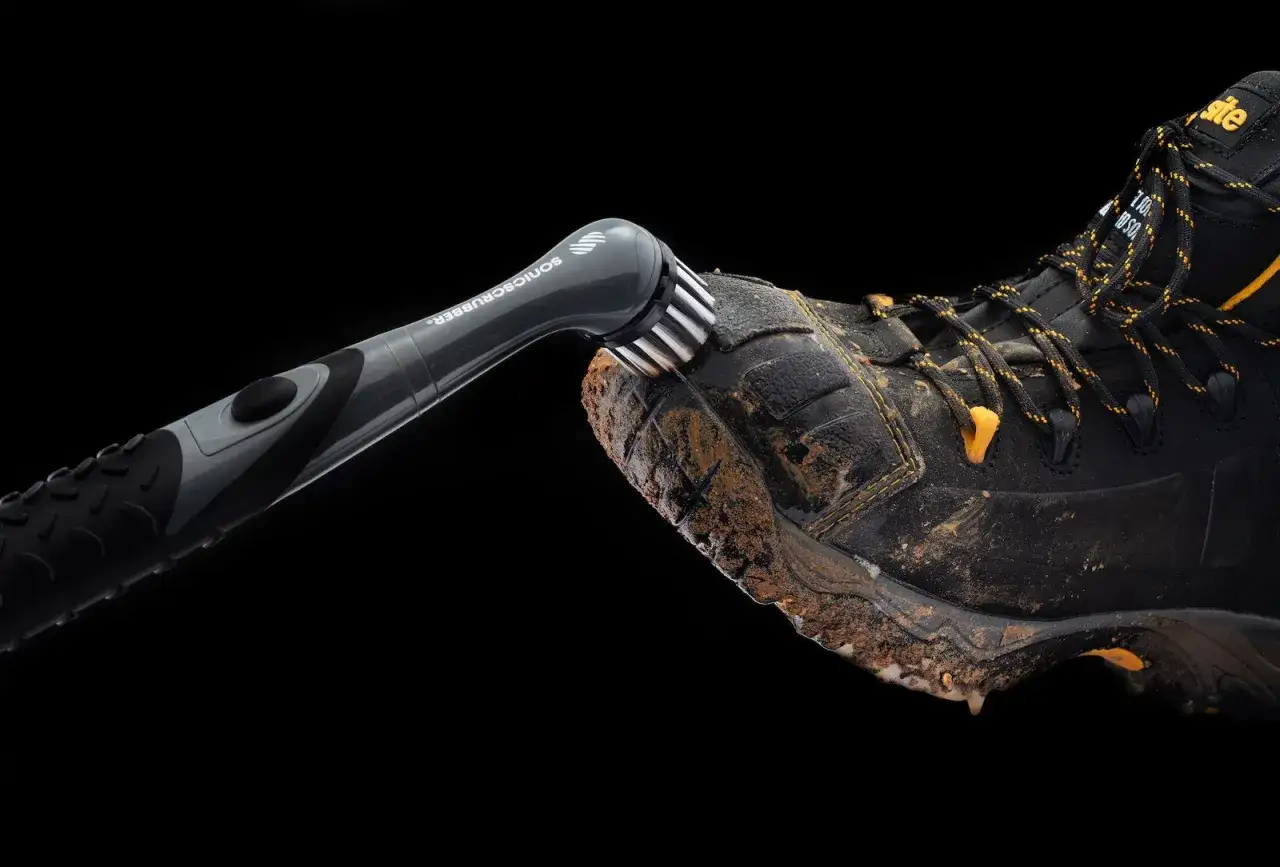
This is the routine I trust most, and it is close to what major outdoor brands recommend. The North Face advises removing the laces and insoles first, brushing away dried mud, and then cleaning with water and a cloth or brush rather than forcing the grime deeper into the boot.
- Remove the laces and insoles. This gives you access to the hidden dirt around the eyelets and lets both parts dry properly later.
- Let mud dry if it is caked on. Dry dirt brushes off better than wet sludge, which only smears into seams.
- Use a soft brush or old toothbrush to clear out the outsole and creases. For sticky mud, a damp cloth usually works better than scrubbing harder.
- Mix lukewarm water with a small amount of mild liquid soap. Avoid harsh cleaners unless the boot maker specifically recommends them.
- Wipe the upper and tongue carefully, then rinse the cloth and remove any soap residue.
- Clean the insoles separately and let everything dry apart from one another.
I prefer this method because it gives me control. I can spend more time on the heel cup, the tongue, and the sole edge without soaking the entire boot or risking damage to the construction.
If you still machine-wash them, do it the least risky way
There are rare cases where a washer makes sense, but I would only try it with simple synthetic footwear that the care label clearly approves. Even then, the goal is damage control, not a perfect clean.
- Use a cold or cool, gentle cycle.
- Place the boots in a mesh laundry bag or pillowcase to reduce abrasion.
- Add a few towels to balance the load and keep the drum from hammering the boots.
- Use a small amount of mild liquid detergent only. Skip bleach and fabric softener.
- Remove the laces and insoles first so they can be cleaned separately.
- Never move straight from wash to high heat. Air drying is the safe exit.
Even with those precautions, I would not machine-wash a pair I depend on for wet mountain days, long descents, or a trip where replacement is inconvenient. If the boot matters, hand-clean it.
Drying and reproofing matter more than the wash
Many boot problems start after the wash, not during it. A boot that dries too fast, too hot, or too unevenly can lose comfort and performance long before the next hike.
Let boots dry naturally at room temperature in a ventilated space. Stuffing them lightly with plain paper can help them hold shape and pull moisture out of the inside, but keep the paper loose enough that air still moves through the boot. A fan is useful; a radiator, fireplace, car dashboard, or direct sun is not.
Once the outer surface stops beading water, it is time to think about reproofing. DWR means durable water repellent, the finish that makes water bead and roll off instead of soaking into the outer layer. The GORE-TEX Brand recommends reapplying a water-based restorative when beading fades and avoiding waxes or greases on breathable footwear, because those can interfere with performance.
That last step is easy to skip, but it is the one that often restores the feel of a boot after a deep clean.
The boot care rule I use before a trip
My rule is simple: if the boot is leather, membrane-lined, insulated, or expensive enough that replacement would hurt, I do not put it in the washer. I brush, wipe, dry, and reproof instead.
If the footwear is a straightforward synthetic trail shoe and the care label allows machine washing, I still treat the washer as a backup plan. That keeps the boot useful longer and avoids the common mistake of cleaning the dirt off while quietly damaging the boot’s structure.For hiking footwear, the safest habit is usually the least dramatic one: clean by hand, dry slowly, and protect the outer finish before the next trail day.