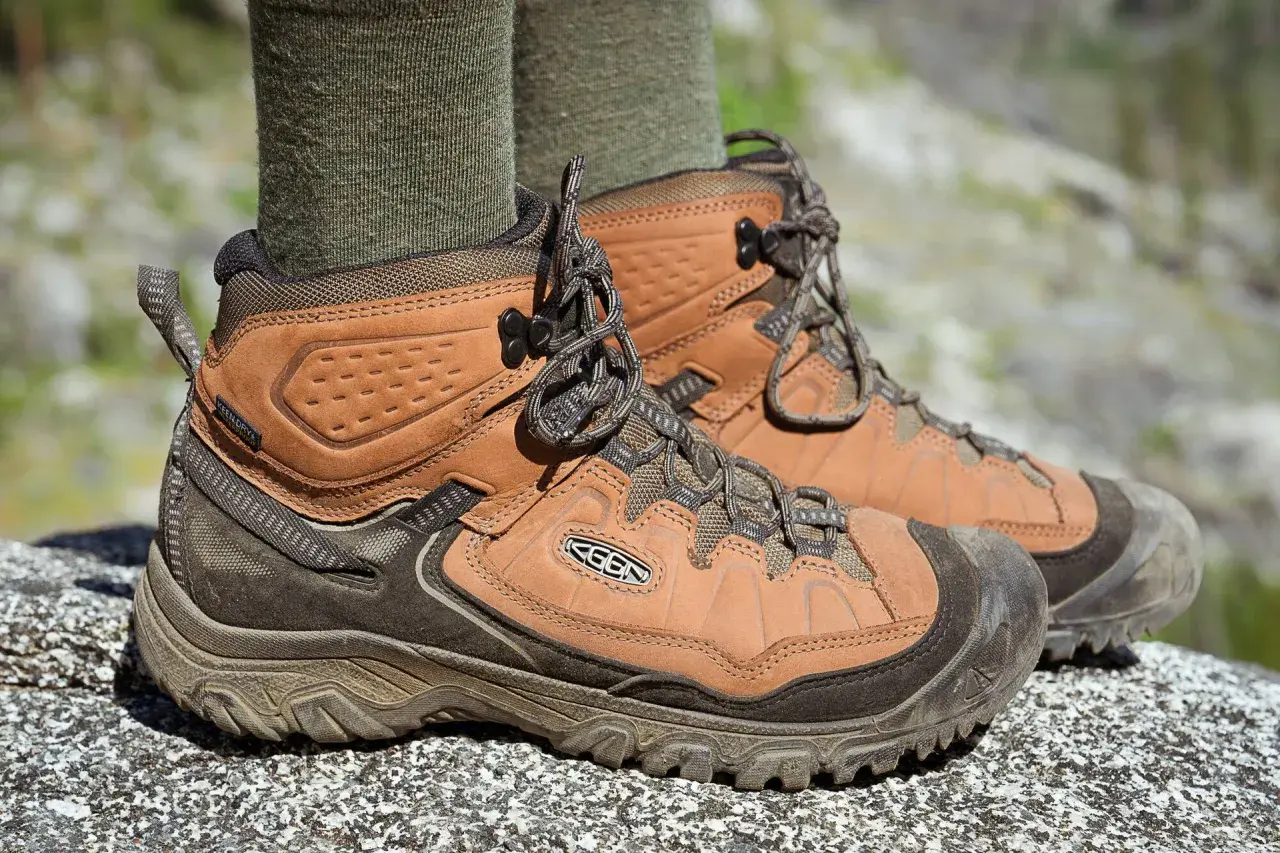
The fit rules that matter most
- Snug, not tight is the goal: the boot should wrap the foot without crushing it.
- Your toes should have room to wiggle, and they should not hit the front on descents.
- The heel should stay planted with little to no lift; repeated slipping usually means the fit is wrong.
- Leather can soften and widen a bit, but it will not fix bad length.
- Try boots with the socks, insoles, and foot swelling you expect on the trail.
- Minor pressure points can improve during break-in; true pinching usually gets worse, not better.
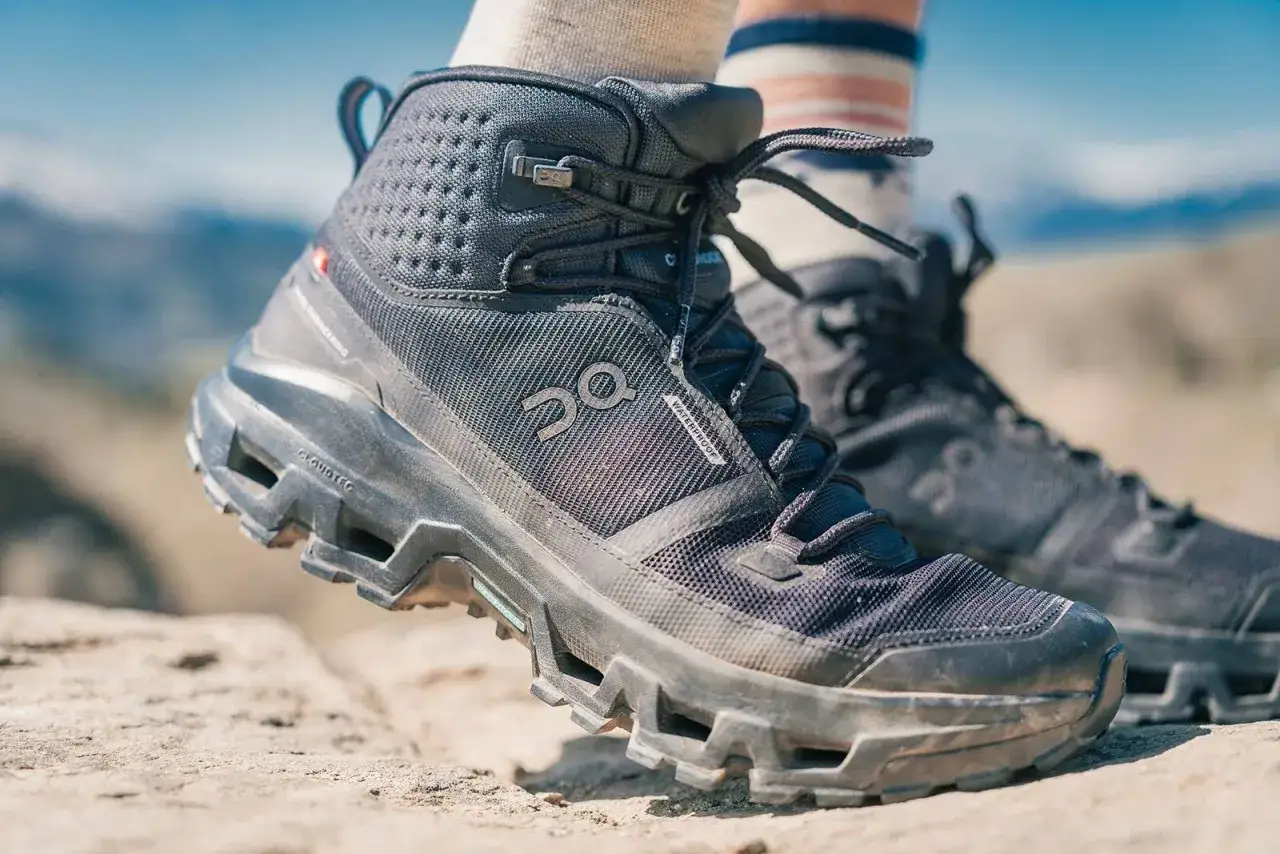
What a correct fit feels like
When I fit a leather boot, I start with three things: toe room, heel hold, and midfoot volume. If those are right, the rest is manageable. If one of them is wrong, the boot will usually advertise the problem within the first hour, often as a hot spot, a jammed toe, or a heel that rubs every time you step downhill.| Area | What you want | Warning sign |
|---|---|---|
| Toe box | Room to wiggle toes and spread them naturally | Toes touching the front or pressing into the sides |
| Heel | Locked in with minimal movement | Repeated lift, rubbing, or sliding |
| Midfoot | Supportive and secure without pressure | Pinching over the instep or an empty, sloppy feel |
| Length | About a thumb’s width ahead of your longest toe when standing | Toe contact when going downhill |
| Width | Snug along the sides without squeeze | Cramping, side pressure, or foot sliding |
The detail people miss most is volume, which is just the amount of space inside the boot above and around the foot. A boot can be the right length and still feel wrong if it sits too high on the instep or leaves dead space over the top of the foot. On a long trail day, especially on steep ground, that extra space turns into friction and instability. Once you know what a good fit feels like, the next step is testing it properly before you commit.
How to test the fit before the boots leave the house
Leather boots almost always feel better after some wear, but break-in should refine a good fit, not rescue a bad one. I always test them the same way I would expect them to be used: late in the day, with hiking socks, standing, walking, and moving on a slope if possible. Feet swell during the day, so morning fittings can be misleadingly generous.
- Wear the socks you actually hike in, and add your usual insoles or orthotics if you use them.
- Try the boots later in the day, when your feet are closer to trail size.
- Stand up, slide your foot forward, and check the space behind the heel. Roughly one finger’s width is a useful reference.
- Lace the boots firmly, then walk on level ground and on an incline or staircase.
- Pay attention to downhill pressure. If your toes tap the front, the boot is too short or the shape is wrong.
- Check the top of the foot. If the boot is laced hard and still feels hollow above the instep, the volume is off.
The downhill test matters more than most buyers realize. A boot can feel fine standing still and fail the moment the trail drops, because the foot slides forward and the toes take the hit. That is the kind of mistake I would rather catch in a fitting room than halfway down a wet stone path in the mountains. Once you understand the basic check, the next question is what leather will actually change after a few wears.
What leather will change during break-in
Leather does soften with use. It molds around pressure points, relaxes across the forefoot, and starts to move with the foot instead of against it. That is why burly leather hiking boots often need a real break-in period, while lighter models can feel nearly ready from day one. The important part is knowing what break-in can and cannot do.| What changes | Usually yes or no | What that means in practice |
|---|---|---|
| Upper softens | Yes | Stiff leather becomes more flexible and less abrasive |
| Width opens slightly | Yes | Minor tightness across the forefoot may improve |
| Heel cup settles | Somewhat | Small amounts of movement may lessen with wear |
| Length grows | No | A boot that is too short will stay too short |
| Major pinch disappears | Usually no | Severe pressure points are a fit problem, not a break-in issue |
In practical terms, leather gives you a little room to fine-tune, not a full size correction. A boot that feels mildly snug across the ball of the foot may become comfortable after a few outings. A boot that already jams the toes or crams the sides of the foot is the wrong boot. I would also treat persistent heel slip as a warning, because leather can settle, but it will not magically rebuild the boot around your foot. From there, the remaining variables are width, sock choice, insoles, and lacing.
Where width, volume, and lacing save the fit
This is where people often overcorrect. They buy a boot that is too small, hoping leather will stretch. Or they size up too much, then try to fix the extra room with thick socks alone. Neither approach is ideal. A better fit comes from matching the boot shape to your foot shape, then using the right adjustments for small mismatches.
Width is not the same as volume
Width is about side-to-side space. Volume is the total interior room, especially over the top of the foot. A boot can be wide enough yet still feel tight if the instep is low, and it can be the right width but sloppy if the boot has too much room above the foot. If you have a high instep, this distinction matters a lot because pressure over the top of the foot can become the first real pain point on long hikes.
Lacing can solve a lot, but not everything
Good lacing can tighten the heel, reduce tongue movement, and improve control on descents. It cannot fix a boot that is fundamentally the wrong size. If the heel is only slightly loose, I would try a firmer ankle lock and a better insole before giving up. If the boot still slides after that, I treat it as a shape mismatch and move on. The same goes for socks: a thicker hiking sock can help a slightly roomy boot feel more secure, but it should not be used to disguise a boot that is too long or too wide.
Read Also: Warm Feet Hiking - The Real Secret to Winter Comfort
Insoles can refine the fit
Aftermarket insoles are useful when the boot is close, but not perfect. They can take up dead space, improve arch support, and reduce heel movement. I find them most helpful in leather boots that feel a little empty under the arch or around the heel. They are less useful if the boot already pinches the forefoot, because adding volume control does not solve a short toe box.
Once you separate these variables, the common mistakes become much easier to spot before they turn into a blister on the trail. That leads directly to the failures I see most often.
The mistakes that turn a good boot into a blister machine
Most bad boot experiences start with a small, preventable judgment error. The boot is not wildly wrong; it is just wrong enough to hurt after an hour, and leather will not save it. These are the mistakes I watch for most often.
- Buying by sneaker size alone. Boot lasts vary by brand and model, so your athletic shoe size is only a rough starting point.
- Ignoring foot swelling. A boot that feels fine at 10 a.m. can feel cramped by late afternoon.
- Accepting toe contact. If your toes touch the front on a descent, the boot is too short or shaped badly for you.
- Chasing a tight heel with a too-small boot. Heel hold should come from shape and lacing, not from crushing the forefoot.
- Assuming leather will stretch enough to fix everything. It will not.
- Testing only while sitting. A boot has to work when you are standing, walking, climbing, and dropping downhill.
The easiest way to avoid all of that is to judge the boot by the worst part of the trail, not the easiest part. If you plan to hike rocky ascents, wet descents, or uneven European paths like the steep ground around the Picos de Europa, protect your toes and your heel first. Style matters less than the ability to keep walking comfortably. That is why I usually finish every fitting with one final rule.
The rule I trust when the trail is long
If you are between sizes, choose the pair that gives your toes room first and then work on heel security with lacing, socks, or an insole. If the toe box is wrong, nothing else will make the boot usable for long. If the toe box is right and the heel is only slightly loose, that is fixable. In leather hiking boots, you can fine-tune a close fit, but you cannot rehabilitate a bad one.
That is the standard I would use whether I were buying boots for a weekend loop, a wet coastal walk, or a multi-day route with steep descents. Start with honest toe room, insist on a stable heel, and give the leather time to settle. If those three pieces line up, the boots will feel better with mileage instead of worse, which is exactly what you want when the trail gets long and the ground gets rough.