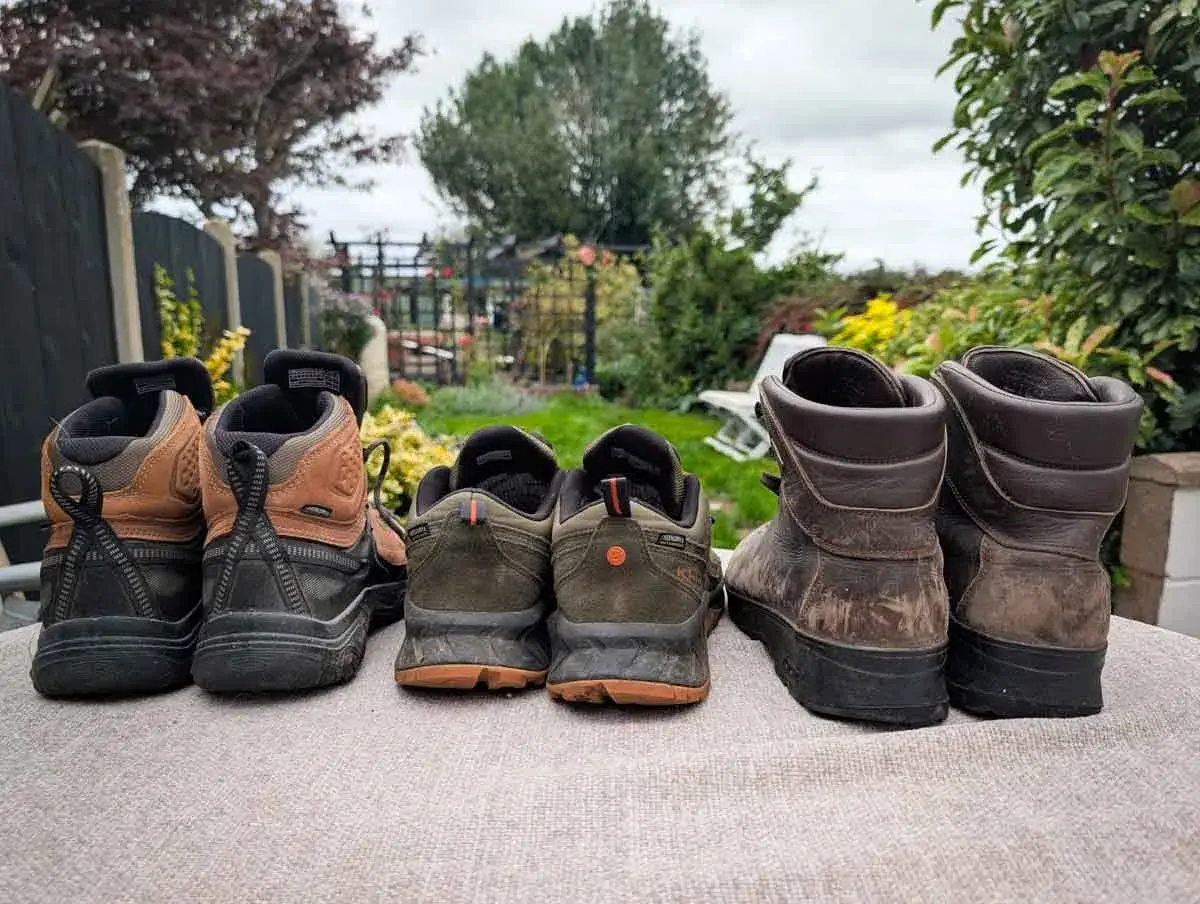
The right boot is the one that matches the trail, the load, and your foot shape
- Start with terrain and pack weight before you look at brands or styling.
- Fit should feel snug at the heel, roomy in the toe box, and stable on a downhill.
- Waterproof boots help in wet weather, but they usually breathe less than non-waterproof pairs.
- More structure helps on rough ground and heavier loads; less structure feels faster on easy trails.
- Try boots on late in the day with your hiking socks, and test them on an incline before you buy.
Start with the trail you actually hike
I always begin with the route, not the product label. A dry, well-maintained trail near a coast path in Asturias asks for something very different from a rocky, rooty climb in the mountains. If you mostly walk on easier paths with a light day pack, a lighter boot or even a hiking shoe can make more sense than a burly pair that feels impressive in the store but tiring after two hours on the trail.
Think in three layers. Easy terrain rewards flexibility and lower weight. Mixed terrain benefits from a mid-height boot with more structure. Rough, steep, or load-heavy hiking starts to justify a stiffer build, better protection, and stronger stability. The mistake I see most often is people choosing for the hardest hike they imagine doing once a year, instead of the walks they will actually repeat.
| Footwear type | Best for | Why it works | Trade-off |
|---|---|---|---|
| Low-cut hiking shoes | Day hikes, smooth trails, lighter loads | Light, flexible, and easier to move in | Less protection and less confidence on rough ground |
| Mid-height hiking boots | Mixed terrain, shoulder-season hiking, moderate loads | Balanced support without feeling overly stiff | Warmer and a little heavier than low-cut shoes |
| Full-height boots | Steep, rocky, wet, or load-heavy routes | Most protection and structure under pressure | Heavier, slower to dry, and more boot than many hikes need |
That breakdown is simple, but it saves money. Once you know where your hikes live on that spectrum, fit becomes the next filter, because the wrong shape can ruin a perfectly sensible boot.
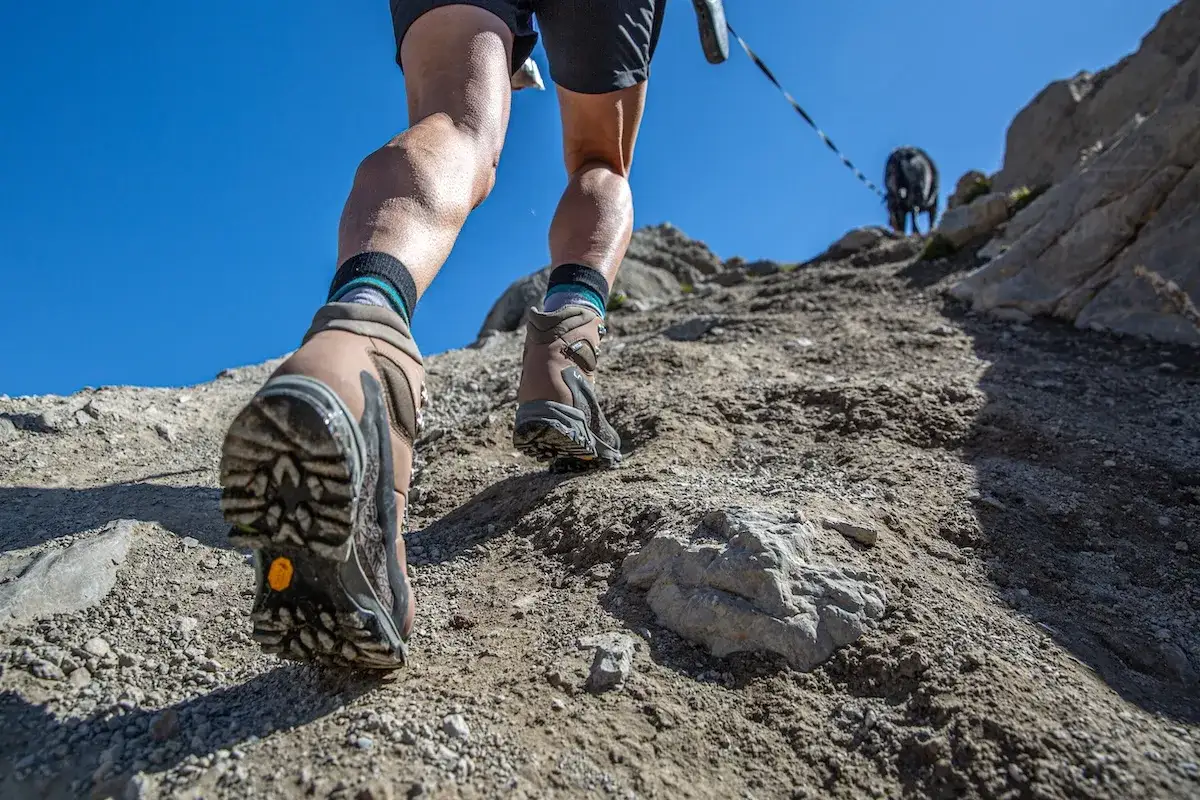
Fit is more important than brand or price
Fit decides whether the boot disappears under you or keeps announcing itself with every step. I want a boot to feel snug through the midfoot and heel, but never tight in a way that traps the forefoot. Your longest toe should have roughly a thumb’s width of space in front of it, because feet swell during a hike and slide slightly on descents.
Heel hold matters just as much. If your heel lifts too much, you are setting yourself up for rubbing, hot spots, and blisters. At the same time, the toe box should let your toes spread and move naturally. A toe box that feels “nice and fitted” in the shop often becomes miserable after a long downhill. I would rather have a little extra space up front than a boot that crushes the front of my foot when I am tired.
- Try both feet, because many people are slightly different from one side to the other.
- Wear the socks you actually hike in, not thin casual socks from the fitting room.
- Check width as well as length; some feet need a wide platform more than a longer size.
- Lace the boot firmly enough to lock the heel, but not so hard that you create pressure on the top of the foot.
- Walk downhill if the store allows it, because that is where bad fit reveals itself fastest.
If you get fit right, the boot should feel controlled rather than clamped. Once that part is working, weather protection is the next question, and that choice has a bigger effect than many buyers expect.
Waterproofing is useful, but not always the best choice
Waterproof boots sound like the safe answer, and sometimes they are. If you hike in wet grass, shoulder-season rain, slushy snow, or muddy coastal conditions, a waterproof membrane can keep your feet more comfortable for longer. On a drizzly day, that matters. On a route where puddles, drizzle, and damp brush are part of the plan, I usually lean toward waterproofing.
But waterproof is not a free upgrade. Membranes tend to breathe less than non-waterproof uppers, and that becomes obvious in hot weather or on dry summer climbs. If your feet run warm, a non-waterproof boot can feel cooler, dry faster after sweat or stream crossings, and simply be more pleasant over a long day. That is why I do not treat waterproofing as a default; I treat it as a climate decision.
- Choose waterproof if your routes are frequently wet, cold, muddy, or shoulder-season heavy.
- Choose non-waterproof if you hike mostly in warm, dry conditions and value airflow.
- Choose leather when you want durability and a more traditional feel, accepting that it usually dries slower.
- Choose synthetic when lower weight, faster drying, and easier break-in matter more than maximum longevity.
The right answer depends on where you walk most often, not on a logo that says “weather-ready.” From there, the next thing I look at is how the boot handles movement under load.
Support comes from the whole system, not just ankle height
People often talk about hiking boots as if higher cuffs automatically mean better support. In practice, support comes from the full package: the midsole, the outsole, the upper, the lacing, and how the boot distributes your weight on uneven ground. A tall collar can help with debris and can feel more secure, but it will not compensate for a sloppy fit or a soft, unstable platform.
Stiffer boots usually feel better on rocky paths and with heavier packs because they resist twisting and reduce fatigue when the trail keeps changing angle. More flexible boots feel easier and more natural on smoother terrain, especially if you move quickly or hike light. I usually think of this as a trade between protection and freedom. The more protection you gain, the more boot you carry.
- Stiffer midsoles help when rocks, roots, and pack weight are doing the work of tiring your feet.
- More flexible boots feel better on easier trails and for hikers who care about speed and nimbleness.
- A grippy outsole matters on loose dirt, damp stone, and descents where confidence drops first.
- Deep, aggressive lugs are useful in mud and soft ground; flatter patterns tend to feel smoother on hard-packed trail.
For scenic routes with a mix of wet stone, gravel, and long descents, I usually prefer a boot that feels stable without being brick-like. Once support is sorted, the final decision is whether the boot is actually comfortable after a real test walk.
Try them on late in the day and test the descents
I never trust a boot that only feels good standing still. Feet swell during the day, so trying footwear on in the afternoon or after walking is a better test than buying first thing in the morning. Wear the socks and insoles you plan to use on the trail, lace the boots properly, and walk for long enough to notice pressure points. Ten calm steps are not enough.
Pay special attention to the downhill feel. A boot can seem fine on flat ground and then slam your toes on a descent. If that happens in the shop, it will almost certainly happen on the trail. I also like to test how the boot bends at the forefoot. It should flex where your foot naturally bends, not fight your stride.
- Check toe room with your heel slid fully back.
- Walk uphill and downhill if possible.
- Notice whether the heel stays planted without pinching the forefoot.
- Take a few minutes to feel for hot spots around the arch, ankle bones, and tongue.
- Give the boots a couple of short outings before a longer hike.
Break-in is less dramatic than people make it sound, but it still matters. Modern boots should not feel like torture devices, yet even a good pair often needs a short adjustment period before a full-day hike. That last step leads to the checklist I would use before paying for any pair.
The checklist I use before I commit to a pair
When I narrow down a boot, I run through a simple decision list. It keeps me from buying on impulse, and it cuts through the noise of marketing claims that sound useful but rarely decide comfort on the trail.
- The boot matches the terrain I hike most often.
- The fit leaves room for toe movement without letting my heel slip.
- The weather protection matches the climate, not just the badge on the box.
- The sole feels stable enough for the descents I actually face.
- The boot feels acceptable right away, not only after I imagine it “breaking in.”