Wet boots change a hike quickly: blisters show up earlier, feet cool faster, and a long descent feels twice as long. Knowing how to waterproof hiking boots starts with matching the treatment to the material, not just spraying everything the same way. In this guide I break down what actually works for leather, suede, nubuck, and synthetic uppers, how to prep the boot properly, and when the outer finish needs to be refreshed again.
The shortest route is to match the treatment to the boot and keep the outer shell clean
- DWR is not the same as the waterproof membrane. The outer layer sheds water; the membrane does the deeper waterproofing.
- Clean first, treat second. Dirt blocks coverage and makes most products work worse.
- Use the right formula for the upper. Full-grain leather, nubuck, suede, and synthetic fabric each respond differently.
- Dry gently. Room temperature, airflow, and patience beat direct heat every time.
- Refresh when beading disappears. If water stops rolling off the surface, the finish is fading.
- Fix damage before you seal it. Split stitching, failed glue lines, or a torn rand need repair, not more product.
What waterproofing actually changes on a hiking boot
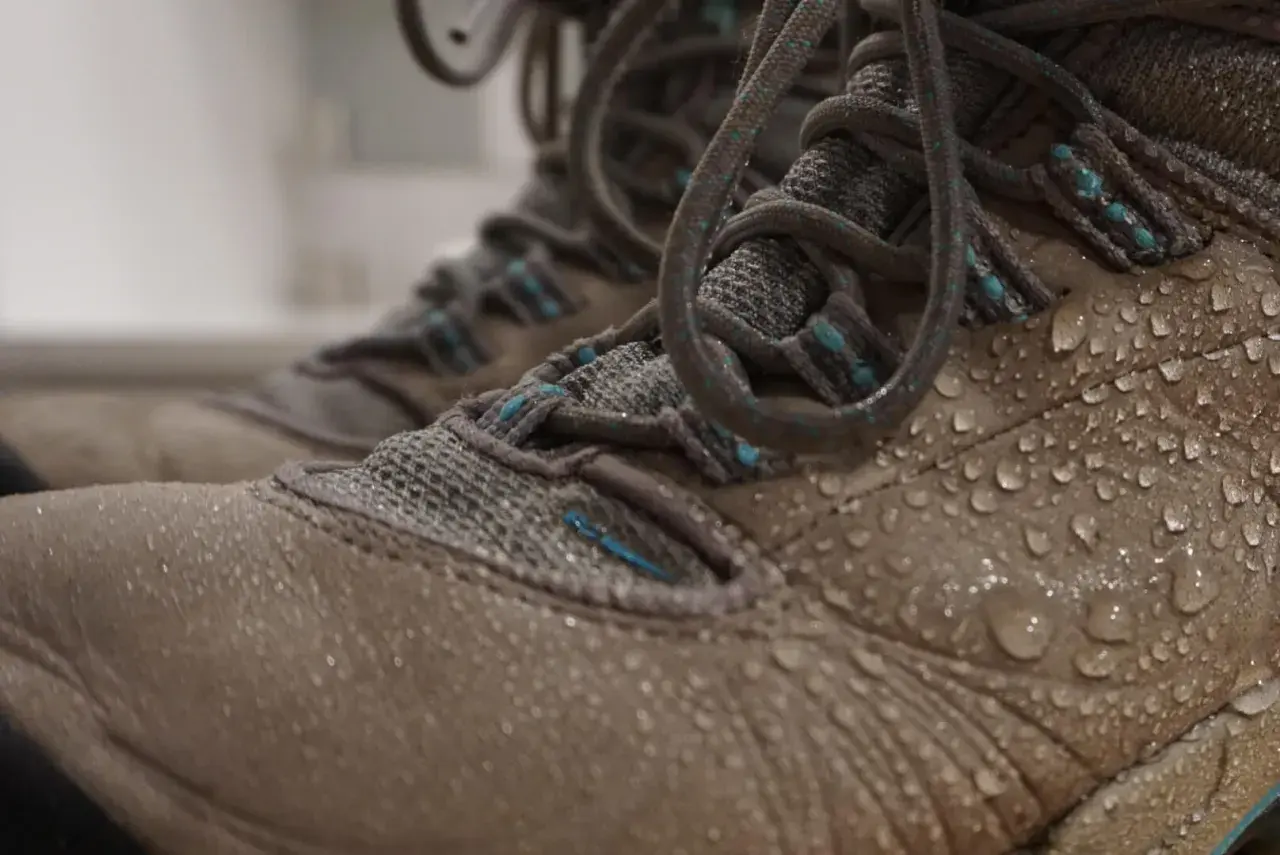
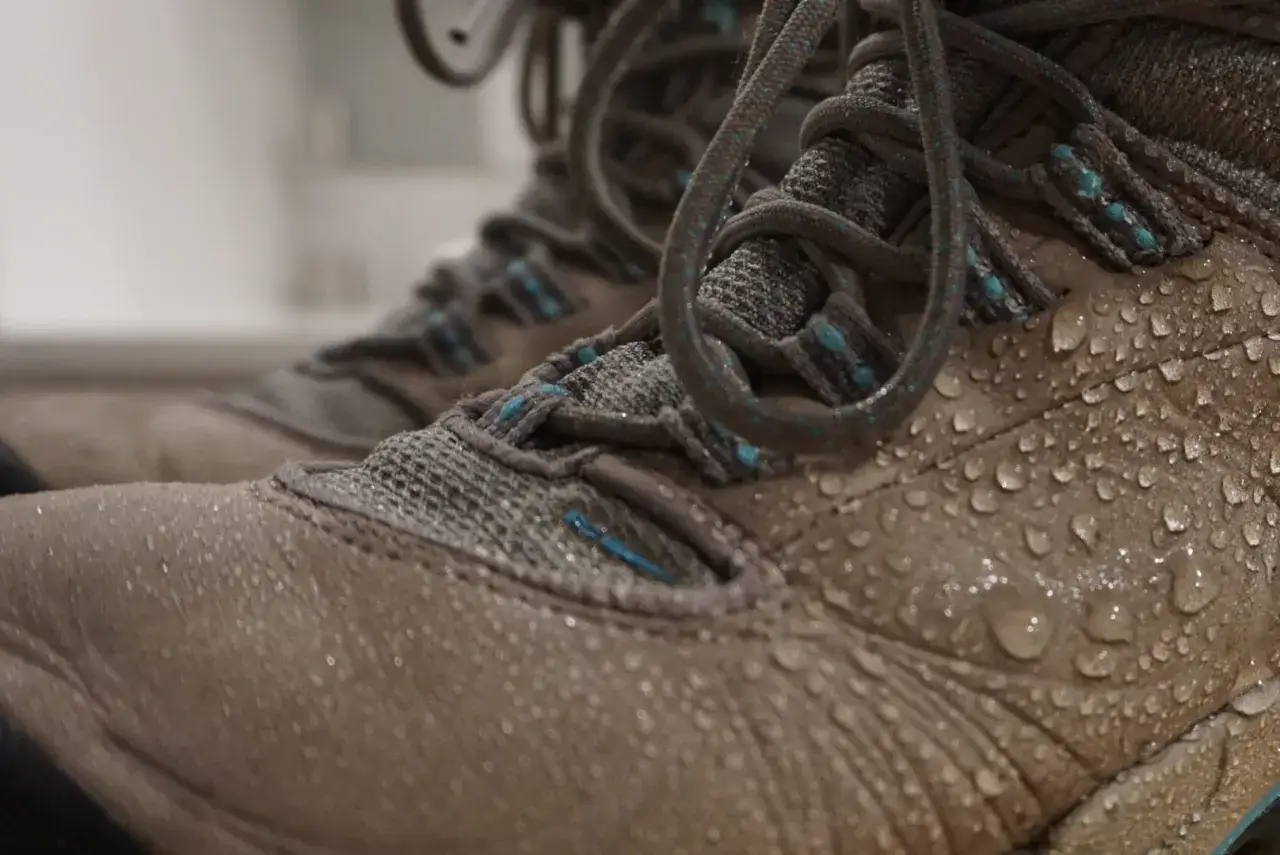
Most people think waterproofing is one single layer, but it is really a system. On many hiking boots, the outer material has a durable water repellent finish, usually called DWR, that makes rain bead and roll off. Under that, a membrane or tightly built leather structure helps keep water from getting through the boot.
That distinction matters. If the outer shell wets out, the boot can feel cold and heavy even when the membrane is still doing its job. I see this a lot on damp coastal trails and long mountain days: the boot is technically still waterproof, but the comfort drops because the surface is soaked. Once you understand that, the next step is obvious, which is choosing the right treatment for the boot’s upper.
Choose the right treatment for the upper material
I treat boot material first and product second. A good formula on the wrong upper can flatten texture, clog breathability, or simply sit on top of the boot and do very little. If you own hybrid boots, match each section to its material instead of forcing one product across the whole upper.
| Boot material | Best treatment | Why it works | What I avoid |
|---|---|---|---|
| Full-grain leather | Leather-safe wax, cream, or liquid treatment made for boots | Conditions the hide and helps water bead on the surface | Heavy grease on breathable membrane boots or thick layers that build up |
| Suede | Dedicated suede spray or foam | Protects the nap without flattening the finish | Wax-based products that darken and stiffen the texture |
| Nubuck | Nubuck-specific spray | Preserves the brushed feel while restoring repellency | Grease or heavy creams that turn nubuck shiny |
| Synthetic or fabric-heavy uppers | Water-based DWR spray | Restores beading without changing the boot’s feel too much | Wax and grease, which can clog the fabric and reduce breathability |
| Waterproof/breathable membrane boots | Clean outer shell, then use a spray-on DWR on the exterior only | Keeps the membrane working while refreshing the shell that faces the weather | Anything that coats the membrane or blocks the boot from breathing |
My rule is simple: if the boot has a breathable membrane, keep the treatment light and surface-level. If the boot is full-grain leather and built to take more conditioning, you can use a richer product, but only if the care label allows it. That decision saves you from over-treating the boot before you even start cleaning it.
Clean the boots so the treatment can bond
Waterproofing products work best on clean boots, and that is not just a nice-to-have detail. Dirt and dried mud prevent the treatment from reaching the material evenly, and on leather they can stop the finish from soaking in where it matters most.
- Remove the laces so you can reach the tongue, eyelets, and stitching.
- Brush off loose dirt with a soft brush before adding water.
- Wash the boots with a cleaner that matches the boot type and the manufacturer’s instructions.
- Rinse thoroughly so no cleaner residue is left behind.
- Let the boot reach the moisture level the product wants. Some treatments work best on damp leather, while others should go on after the boot has dried.
- Inspect seams, rands, eyelets, and flex points for real damage before you treat anything.
I also check whether the wetness is coming from the outside or from inside sweat. That sounds obvious, but it saves a lot of wasted effort. If the stitching has split or the rand has separated from the upper, no topical treatment will fix that leak. It is a repair problem, not a waterproofing problem.
Apply the treatment without choking the boot
The best applications are even, light, and material-specific. A thick coat rarely works better than a careful one, and on breathable boots it can make the whole system feel worse. The goal is to renew the surface protection, not seal the boot in a glossy shell.
Full-grain leather boots
Work a small amount of leather-safe cream or wax into the upper with your fingers or a cloth, then push it into the stitched areas and flex points. Pay extra attention to the toe, heel, and the places where the boot bends while you walk. Stop once the leather looks evenly conditioned instead of shiny and overloaded.
Suede and nubuck boots
Use a spray made for rough leather and apply it in light, even passes. I keep the nozzle moving so the surface gets a uniform mist instead of wet spots that darken the texture. Once the boot is dry, a gentle brush can lift the nap back into shape, which is one reason I prefer a dedicated suede or nubuck product over a generic coating.
Read Also: Why Hiking Shoes Fail in Storage - Prevent Damage & Save Your Boots
Synthetic and membrane boots
For synthetic uppers and many waterproof membrane boots, a water-based pump spray is usually the cleanest option. Focus on the outer fabric and leather overlays, not the membrane itself. One light coat is usually enough; if the product needs a second pass, let the first one settle before adding more.
Hybrid boots need a bit more judgment. If a boot mixes leather, mesh, and nubuck, I treat each material like its own zone. That takes a little longer, but it keeps the boot flexible, breathable, and less likely to turn sticky or shiny in the wrong places.
Dry, test, and reapply at the right time
After treatment, drying is where a lot of people get impatient and damage the work they just did. I let boots dry naturally in a ventilated spot at room temperature, and I keep them away from direct heat. A fan is useful, and a convection-style boot dryer can help, but a radiator, stove, car heater, or hot sunny sill is a bad trade for most hiking boots.
- Give the boots at least a full day in normal conditions, and longer if the air is damp or the leather is thick.
- Use newspaper or a gentle boot dryer if you need to speed things up, but change the paper when it gets wet.
- Do a simple beading test when the boot is dry: a few drops of water should sit on the surface and roll off instead of darkening the upper immediately.
- Reapply when water stops beading cleanly, after a hard cleaning, or after repeated wet outings.
If the boot still feels damp on the inside, do not assume the treatment failed. Sometimes the outer shell is fine and the problem is a slow dry-down or an interior lining that held onto moisture. The distinction matters because the fix changes from more waterproofing to better drying and better ventilation.
Avoid the mistakes that make boots leak faster
Most waterproofing failures are not caused by a bad product. They are caused by the wrong product, the wrong prep, or too much heat. A few small mistakes can shorten the life of the boot and make the next treatment less effective.
- Applying treatment over mud or salt. The finish cannot bond properly if the surface is dirty.
- Using wax or grease on breathable membrane boots. That can hurt breathability and leave the boot feeling clammy.
- Overloading nubuck or suede. Heavy coatings flatten the texture and make the boot look worn out faster.
- Drying with direct heat. Heat can distort shape, weaken adhesives, and age the materials too quickly.
- Ignoring structural damage. Split stitching, a detached rand, or a failed seam needs repair first.
- Confusing sweat with leakage. If the outside of the boot is dry but your socks are wet, the problem may be moisture management, not waterproofing.
That last point matters more than people expect. I have seen hikers chase waterproof sprays for weeks when what they really needed was a better sock system, a little more ventilation, or a boot that simply suited the weather better. The right fix is usually narrower than the frustration suggests.
The routine I use before a wet day on the trail
Before a long wet stretch, I keep the routine simple and repeatable. I brush the boots clean, check the seams and rand, refresh the outer finish if water no longer beads, and let everything dry fully before I pack them. On trips with frequent rain or muddy approaches, I also pair the boots with gaiters and a spare pair of socks, because waterproofing works best when the rest of the system is sensible too.
- Clean the boots as soon as mud has dried.
- Refresh the DWR before the first serious storm, not halfway through it.
- Let the boots dry naturally after every soaked outing.
- Inspect the toe, heel, eyelets, and stitching for wear.
- Repair damage early instead of trying to coat over it.
If you keep the upper clean, match the product to the material, and dry the boots gently, the waterproofing will last longer and feel better on the trail. That is the part most hikers want anyway: not a perfect boot, just a reliable one when the weather turns.