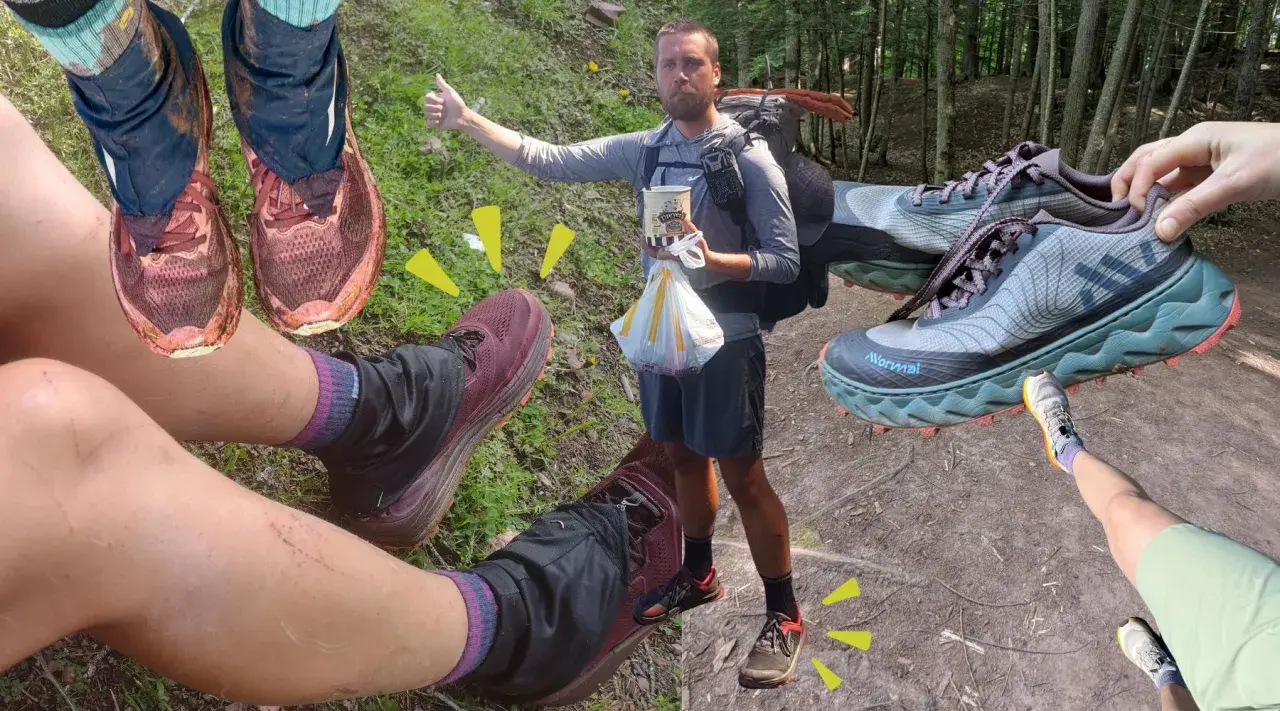
Proper hiking-shoe fit is less about the number on the label and more about what the shoe does when your feet swell, your toes hit a descent, and your heel starts working uphill. In this guide, I focus on the checks that matter on real trails, from casual day hikes to rocky routes where small fit mistakes turn into blisters, bruised nails, or wasted energy.
I’m keeping this practical: what a good fit feels like, how to test it correctly, and how to tell the difference between a shoe that needs a small adjustment and one that is simply the wrong shape for your foot.
The right fit protects your toes, heels, and energy on the trail
- Your toes need room to wiggle, but they should not slam into the front on descents.
- Your heel should stay planted with minimal lift when you walk, climb, or stop-start on uneven ground.
- The midfoot should feel secure without numbness, pinching, or pressure over the instep.
- Try hiking shoes in the afternoon with the socks and insoles you actually plan to use.
- If width, volume, or heel shape feels wrong, the size number is usually not the real problem.
What a good hiking-shoe fit actually feels like
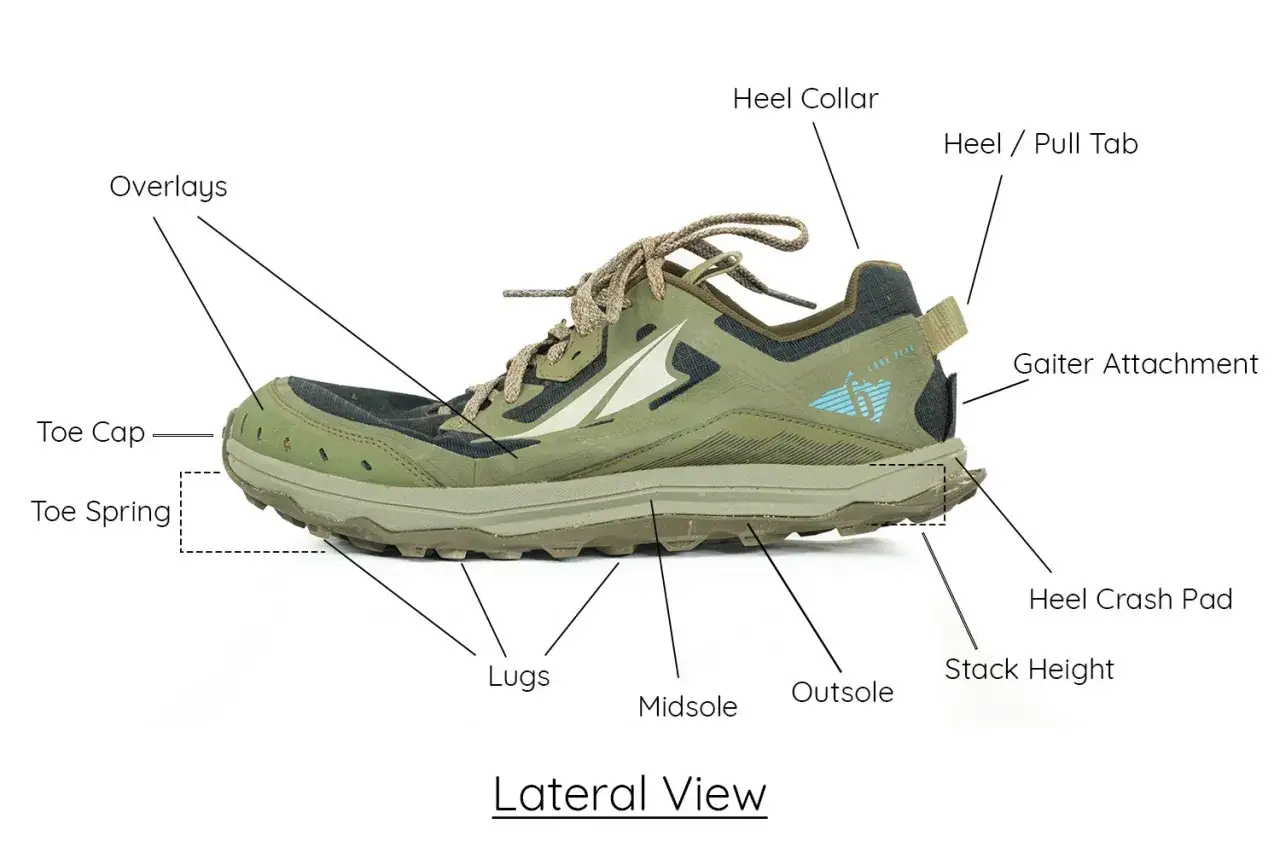
When I fit hiking shoes, I start with three zones: toe box, midfoot, and heel. The toe box should give your toes enough space to spread and move forward on descents, the midfoot should feel secure, and the heel should stay planted without rubbing.
| Area | What good fit feels like | What usually means trouble |
|---|---|---|
| Toe box | Toes can wiggle and do not touch the front when you stand still | Pressure on toenails, numbness, or black toenails after downhill sections |
| Midfoot | Snug and stable, with support over the arch and instep but no squeezing | Lace bite, numbness, or a hot spot across the top of the foot |
| Heel | Minimal lift, even when you walk uphill or take a longer stride | Rubbing, slippage, or a blister at the back of the heel |
That balance matters because hiking footwear is supposed to be supportive, not restrictive. I want enough structure to keep the foot stable on uneven ground, but not so much compression that the shoe becomes a problem every time the trail tilts down. Once that baseline makes sense, the next step is testing how the shoe behaves when you move.
Try them on like you plan to hike in them
The easiest way to get fit wrong is to try shoes on in the morning, with thin socks, while standing still on a flat floor. Feet change through the day, and trails are rarely flat. I test hiking shoes late in the day, in the socks I actually hike in, with the same insoles I plan to use if I wear aftermarket ones.
- Loosen the laces, slide your foot all the way forward, and check for about one finger of space behind the heel before you lace up.
- Lace the shoe firmly, then stand, walk, and go up and down stairs or a slope if you can.
- Pay attention to heel lift, toe bang, and any pressure across the top of the foot after a few minutes.
A useful rule of thumb is simple: your toes should have room to move, but your foot should not slide around inside the shoe. If you can feel the front on a downhill step, the shoe is probably too short or too low in volume. If your heel floats even after you tighten the laces, the last is likely wrong or the shoe is too large.
The last is the shape the shoe is built around, and it matters more than most shoppers realize. A shoe can be the right length and still fit badly if the last is too narrow, too shallow over the instep, or too roomy in the heel. If you are between sizes, I usually start by trying the larger one, then I check whether the heel still locks down cleanly.
Once you know how to test the shoe, the real question becomes whether that fit matches your foot shape and the kind of terrain you actually hike.
Match the fit to your foot shape and the terrain
Fit is not one-size-fits-all, and terrain changes the equation. A shoe that feels perfect on a mellow forest path can feel unstable on wet rock, while a stiffer model that shines on long mountain days can feel heavy or overbuilt for casual walks.
| Hiking scenario | What I look for in fit | Why it matters |
|---|---|---|
| Short day hikes | Comfort first, with light hold through the heel and midfoot | You do not need aggressive lockdown if the route is easy and the pack is light |
| Steep or rocky descents | Extra toe room and strong heel retention | Downhill impact is where poor sizing shows up fastest |
| All-day mountain hikes | Room for swelling, stable midfoot support, and no pressure points | Feet often expand as the day goes on |
| Wet or technical terrain | Precise hold and predictable foot placement | Loose shoes make slippery ground feel worse than it is |
I also separate width from volume. Width is side-to-side room, while volume is the total space over and around the foot, especially over the instep. In U.S. sizing, that is why regular and wide versions of the same model can feel completely different even when the length is identical. If you have a high instep, a broad forefoot, or a narrow heel, the right width can matter more than the number stamped on the box.
That distinction becomes even more important on long hikes in places like the Picos de Europa or the Rockies, where swollen feet and repeated descents expose fit problems quickly. Once you understand the terrain, the next step is fixing the small variables that often get blamed on the shoe itself.
The small adjustments that change the fit most
Before I blame the shoe, I adjust the variables I can control. Socks, lacing, and insoles can turn a borderline fit into a workable one, but they cannot rescue a shoe that is fundamentally the wrong shape for your foot.
Socks
Choose the socks you will actually hike in. A heavier wool blend adds warmth and a little volume, while a thin synthetic sock can make the shoe feel looser and reveal heel slip you would otherwise miss. I use socks to fine-tune fit, not to compensate for the wrong size.
Lacing
Different lacing patterns solve different problems. A heel-lock lacing pattern, sometimes called a runner’s loop, can reduce lift at the back of the foot, while skipping an eyelet over a pressure point can ease irritation across the instep. If the top of your foot feels crushed, relacing is worth trying before you give up on the pair.
Read Also: Merrell Nova 4 Review - Your Next Trail Shoe?
Insoles
Replacement insoles can improve arch support or take up extra space in a roomy shoe, but they should not create crowding at the toes. If adding an insole makes the front of the shoe feel tight, the shoe was already too short or too shallow. That is a shape problem, not an accessory problem.
The goal is to make the shoe disappear once you start walking. If you are still noticing the fit every few minutes, the solution is probably not another sock layer; it is a better match between the shoe and the foot.
Common mistakes that make hikers misread fit
A lot of bad purchases come from misreading comfort in the store. I see the same mistakes repeatedly, and most of them are avoidable if you know what to watch for.
- Buying too snug in the toe box. It may feel secure at first, but downhill pressure usually shows up later as sore nails or blisters.
- Sizing up without checking the heel. Extra length can hide toe crowding while creating heel slip.
- Using thick socks to “fix” a loose shoe. That can mask the real issue and make the shoe hot, bulky, or unstable.
- Assuming break-in will solve everything. Materials can soften a little, but a bad shape rarely becomes a good one.
- Ignoring one problem foot. If one foot is larger or has a different arch height, fit the harder-to-fit foot first.
The symptom I trust most is pain that repeats in the same spot. A one-off annoyance can come from a wrinkled sock or bad lacing; a repeated hot spot usually means the shoe is mismatched to your foot or your gait. That is the point where I stop negotiating and start looking for another size, width, or model.
The last checks I make before I trust a pair on trail
Before I keep a pair, I ask three blunt questions: can my toes move, does my heel stay quiet, and can I walk downhill without my toes hitting the front? If the answer to any of those is no, I do not try to talk myself into it.
- If the shoe feels almost right but slightly long, I test a heel-lock lacing pattern first.
- If the toe box is fine but the top of the foot feels pressed, I try a different volume or a different lacing pattern.
- If the heel is loose no matter how I lace it, I move on to a narrower heel cup or another last.
- If the shoe only feels good with very thick socks, I treat that as a warning sign, not a win.
The best hiking shoes feel secure without demanding constant attention. When the fit is right, you stop thinking about your feet and start noticing the trail, which is exactly where your attention should be on a long climb, a wet ridge, or a rocky descent.