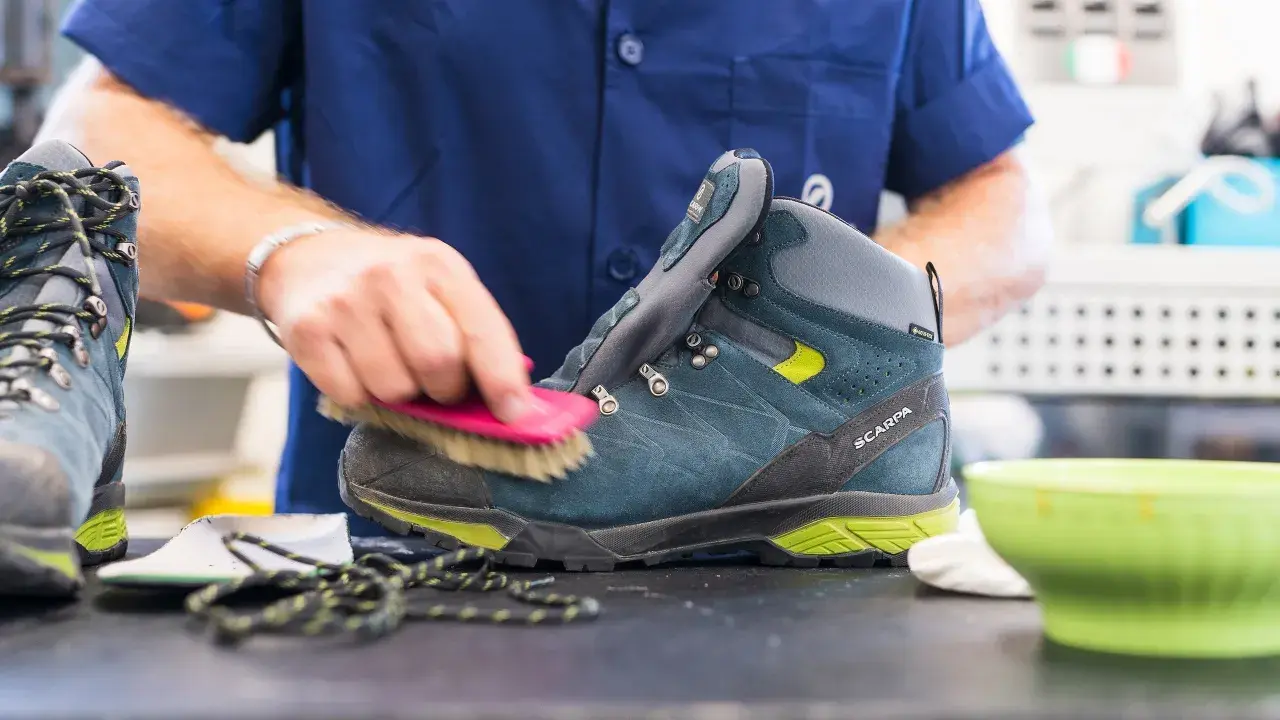
The routine that keeps hiking shoes ready for the next trail
- Brush off dirt after every hike; dried grit is what grinds into leather, mesh, and stitching.
- Remove laces and insoles before drying so moisture does not stay trapped inside.
- Dry at room temperature in a ventilated place, away from radiators, direct sun, and other heat sources.
- Reproof only when water stops beading on the outer surface; new boots usually do not need immediate treatment.
- Use material-specific care: leather needs conditioning, while suede, nubuck, and synthetics need lighter, more targeted treatment.
- Stop trying to save a worn-out pair when the sole is flat, the midsole is collapsed, or structural damage has gone beyond surface care.
Start with cleaning, because grit does the real damage
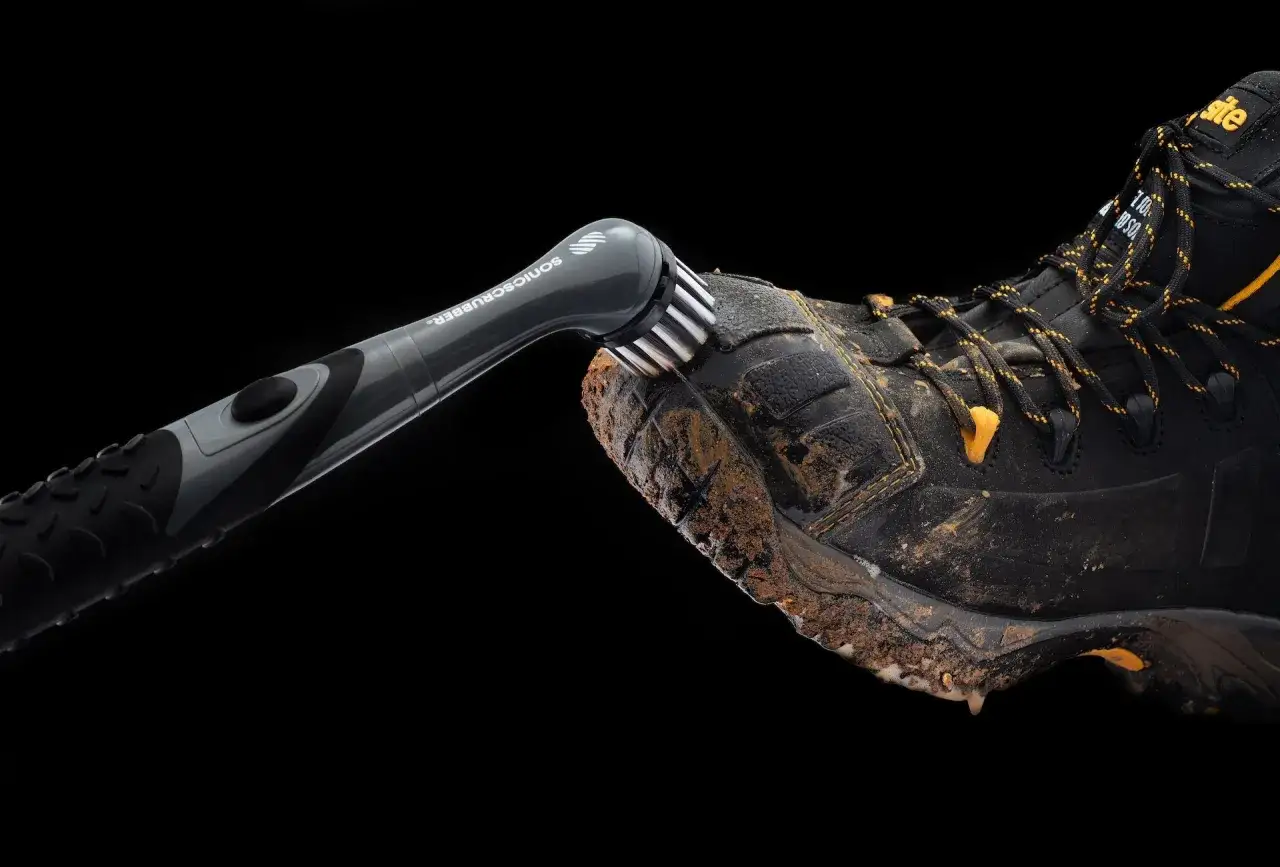
The fastest way to shorten the life of hiking shoes is to let mud dry into the upper and the tread. Fine grit works like sandpaper every time the boot flexes, and dried mud pulls moisture out of leather as it hardens. My rule is simple: if the pair came off a muddy trail, I clean it the same day, even if the job is only a quick one.
For basic cleaning, I usually keep it simple. The whole process often takes under 10 minutes unless the shoes are heavily caked in clay or packed with grit. Start by removing the laces, then knock off loose dirt from the outsole and upper with a soft brush. If the mud is stubborn, rinse with running water and use a boot cleaner or a mild soap solution that the manufacturer allows. Avoid bar soap and strong detergents, because they can leave residues that are unhelpful for leather and waterproof membranes.
- Remove laces and, if possible, the insoles.
- Brush off loose dirt before it hardens.
- Rinse the shoe with clean water.
- Use a soft brush or sponge on the upper and the lugged sole.
- Rinse thoroughly so no cleaner is left behind.
- If you are dealing with mildew, use a very diluted vinegar mix only if the material can handle it and the manufacturer has not warned against it.
I also pay attention to the eyelets, hooks, and seam lines. Those small areas collect grit faster than people expect, and they are often where wear starts. Once the outside is clean, the drying process becomes much more effective, which is the next step that matters more than most hikers think.
Dry them slowly so the shape and waterproofing survive
Drying is where a lot of good boots get damaged. Heat is the enemy here. High temperatures can warp glue, stiffen leather, and shorten the life of synthetic materials, so I never set hiking shoes beside a radiator or in direct sun to “speed things up.” Room temperature and airflow are the safer choice.
After washing, loosen the laces fully and pull the tongue open so air can move through the shoe. Remove the insoles and dry them separately. If the boots are still wet inside, stuff them with newspaper or clean paper towels and replace the paper whenever it feels damp. A fan helps, especially in humid weather, and it can make the difference between “dry by morning” and “still damp by dinner.”
- Dry in a cool, ventilated room.
- Keep shoes unlaced so they do not hold creases while drying.
- Do not use a hair dryer, radiator, oven, or direct sun.
- Store them open to air, not in a plastic bag or airtight box.
If you hike often in wet climates, I treat a boot dryer with caution unless the brand specifically approves it and the setting is genuinely low heat. For most trail footwear, patience is the safer maintenance tool. Once the pair is dry, the next question is whether the outer layer still repels water properly.
Renew water resistance only when the surface stops beading
Most hiking footwear leaves the factory with some level of durable water repellent finish on the outside. That finish wears down with abrasion and cleaning, so the real test is simple: does water still bead and roll off, or does it soak into the fabric? If the surface darkens quickly and stays wet, it is time to renew the outer treatment.
I do not reproof on a fixed calendar. A weekend hiker might only need it a few times a year, while someone hiking in persistent rain or on abrasive desert trails may need it more often. The shoe tells you when to act. For waterproof boots with a membrane inside, the membrane itself does not get “treated”; the outer fabric does. That distinction matters because many people try to fix a wet feeling that is actually coming from a tired outer shell, not a failed membrane.
- Clean first, then treat; waterproofing products work best on clean, damp boots.
- Match the product to the material; leather, nubuck, suede, and mixed uppers do not all want the same formula.
- Use leather conditioner for full-grain leather when the leather looks dry or feels less supple.
- Use lighter reproofing products for nubuck or suede so you do not flatten the surface texture.
- Avoid wax-heavy treatments if you want the option of resoling later, because residue can interfere with bonding.
That material distinction leads directly to the part many hikers skip: different uppers need different care, even when the shoes look similar from the outside.
Match the routine to leather, nubuck, synthetic, or membrane footwear
There is no single care routine that fits every pair. A leather mountain boot, a lightweight synthetic trail shoe, and a waterproof mid-cut all age differently. When I look after hiking footwear, I start by asking what the upper is made of, because that tells me how aggressive the cleaning and treatment should be.
| Material | Best care | Avoid | Why it matters |
|---|---|---|---|
| Full-grain leather | Clean, then condition and reproof when the leather looks dry or stops shedding water. | Letting the leather dry bone-dry before treating it, or coating it in heavy grime. | Keeps the leather supple and helps prevent cracking. |
| Nubuck or suede | Use a soft brush, a material-safe cleaner, and a reproofing product made for rough leather. | Wax-heavy products that flatten the nap and change the feel of the surface. | Protects the texture without sealing the material too aggressively. |
| Synthetic mesh or textile | Rinse, brush, dry fully, and refresh the outer water repellent layer when needed. | Conditioners intended for leather. | Lightweight uppers dry faster, but they still lose surface repellency over time. |
| Waterproof membrane footwear | Clean the outer shell and restore the outer DWR finish when water stops beading. | Assuming the membrane itself needs a special coating or washing the boots in a machine. | The membrane works best when the outer layer is not saturated with water. |
For people who hike in mixed conditions, this is the practical rule: leather needs the most hands-on care, synthetics need the least, and membrane boots need the outer shell to stay in good shape so the waterproof system can do its job. That keeps the whole boot performing as a unit instead of treating every pair as if it were built the same way.
Handle small failures before they become expensive repairs
Good maintenance is not just about making shoes look clean. It is also about spotting the moment when care stops being enough. I check a pair after muddy outings for early signs of failure: fraying laces, loose stitching, rounded-off tread, crushed heel foam, and seams that stay wet long after the rest of the shoe has dried.
- Replace laces early if the sheath is fraying or the lace no longer cinches smoothly.
- Watch the insoles; if they keep smelling despite proper drying, they may be holding too much moisture or bacteria.
- Inspect the outsole; when the lugs are flattened or the heel edge leans inward, grip is declining.
- Check the toe rand and stitching; a small separation is worth fixing before it spreads.
- Use a cobbler for serious gouges that go through the leather or for damage that affects structure, not just appearance.
There is a practical limit to what cleaning and waterproofing can solve. If the midsole has lost its rebound, the inside stays damp no matter what you do, or the sole is close to smooth, the pair is telling you it has reached the end of its useful life. That is not a failure of maintenance; it is just wear.
When repair is smarter than more cleaning
The best maintenance routine is the one that keeps you honest. A pair that still fits well, dries normally, and regains water beading after treatment is worth keeping in rotation. A pair that smells permanently stale, never fully dries, or keeps letting water through at the flex points is no longer a maintenance project; it is a replacement decision.
What works best for me is a simple rhythm: brush and air out the shoes after every hike, clean them properly after muddy days, reproof only when the outer layer stops shedding water, and store them dry in open air between trips. That routine is enough for most hikers in the United States, whether the trail is a rainy forest loop, a rocky western ridge, or a long travel day where the boots spend more time in a car than on your feet. Keep that cycle consistent and the footwear will usually give you many more good miles before it needs real repair or retirement.