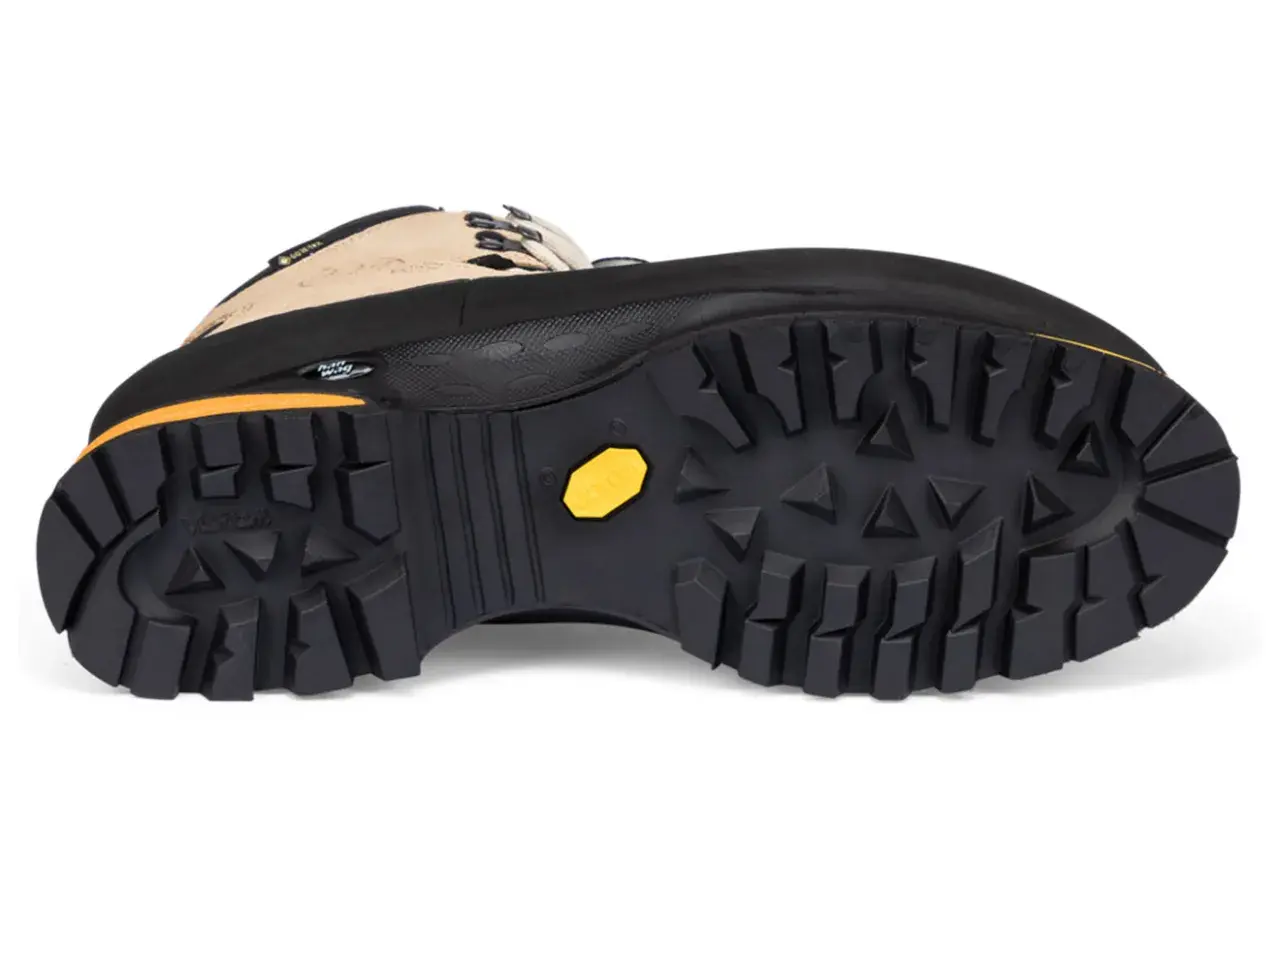
Does hairspray make shoes non slip? It can add a short-lived tacky film, but that is very different from true slip resistance. For hiking footwear, I treat it as a last-minute hack for a smooth indoor floor, not a fix for wet rock, mud, or a worn-out outsole. This article explains what the spray actually changes, why it falls short on trails, how to test it safely, and which traction fixes make more sense for hiking shoes.
The short answer is that it can help briefly, but it is not trail-grade traction
- Hairspray can make a clean, dry sole feel stickier for a short time.
- It does not rebuild tread, improve rubber quality, or fix worn lugs.
- Moisture, dust, and grit reduce the effect very quickly on hiking shoes.
- For trail use, outsole cleaning, better rubber, or traction devices are more reliable.
- Use it only as an emergency workaround on low-risk surfaces.
What hairspray actually does to a shoe sole
In practice, hairspray leaves a thin film that can increase friction for a little while. I think of that as temporary tack, not real traction. It can be useful on a smooth dance floor or a polished hallway, where the shoe just needs a touch more bite and the surface stays predictable.
That effect comes from the residue, not from any change in the shoe itself. The outsole still has the same rubber compound, the same lug pattern, and the same wear pattern after the spray dries. So if a shoe already has poor grip because the tread is flat or the rubber is glazed, hairspray is only masking the problem for a moment.
Why it is a poor match for hiking footwear
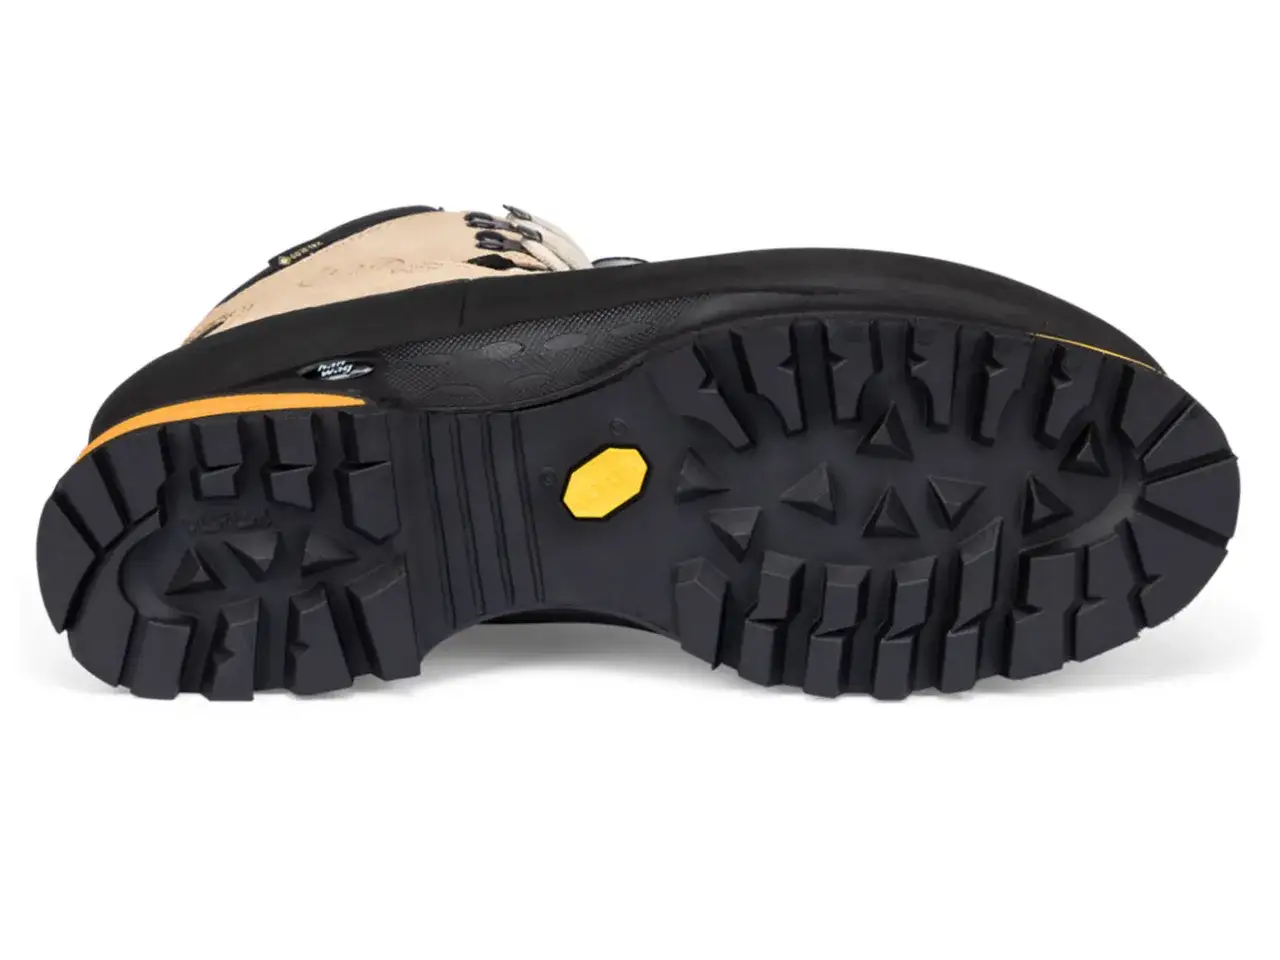
Hiking traction is a system, not a single sticky coating. The outsole compound, lug depth, lug spacing, flex pattern, and the condition of the sole all matter. Softer rubber usually gives better bite on wet ground, while harder rubber tends to last longer but grip less, which is the kind of tradeoff Hanwag highlights in its grip guide.
Hairspray does none of that work. It can feel slightly helpful on a dry, clean floor, but trails bring water, grit, mud, pine needles, and constant abrasion. Once the residue starts collecting dust, the sole can feel inconsistent, and that is exactly the wrong direction for a hiker who needs repeatable footing on descents, roots, and slick stone.
For me, that is the key test: if a solution disappears the moment the terrain becomes messy, it is not a trail solution.
How to test it without trusting it too much
If you still want to try the spray, keep the test small and controlled. Clean the outsole first, let it dry fully, and spray only the bottom of the shoe. Mammut recommends brushing and rinsing outdoor shoes regularly to remove dirt buildup, and that advice matters here because a dirty sole already ruins grip before any product is added.
- Test the shoe indoors on a dry, safe surface first.
- Walk normally, then make a slow turn and a small stop.
- Check whether the sole feels tackier or whether it starts to feel gummy.
- Repeat on a lightly dusty patch, because trail dust changes the result fast.
- Stop using it if residue transfers to floors, socks, or your hands.
If the shoe is for hiking, I would never use this test to justify a steep descent, wet rock, or a scramble. The point is to see how the sole behaves, not to prove that a shortcut is dependable.
Better ways to improve traction on the trail
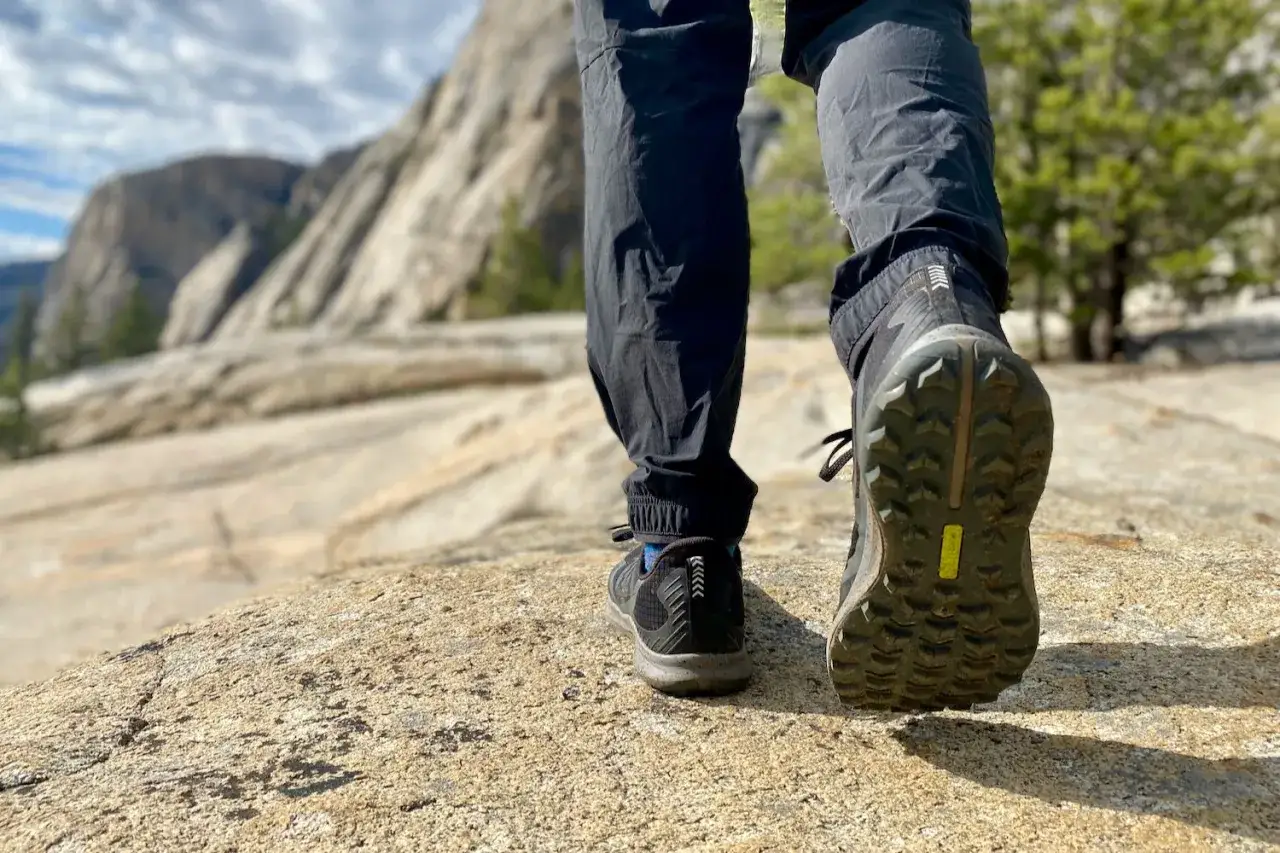
When the problem is real traction, the safest fix is the one that matches the terrain. I prefer to think in terms of the shoe, the surface, and the weather, because those three factors tell you whether you need cleaning, replacement, or a proper traction aid.
| Option | Best for | What it does | Main limitation |
|---|---|---|---|
| Clean the outsole | Muddy, dusty, or caked-on trail shoes | Restores the rubber’s original contact with the ground | Cannot fix worn or hardened tread |
| Choose better hiking rubber | Regular trail use and wet stone | Improves bite through a better compound and lug design | Costs more upfront than a quick fix |
| Grip pads or sole patches | Flat, smooth surfaces and casual wear | Adds physical texture to the sole | Not ideal for uneven terrain or long hikes |
| Traction devices | Snow, ice, and frozen paths | Adds metal bite where rubber alone is not enough | Must be removed on bare rock or pavement |
| Replace worn shoes | Boots with flattened lugs or glazed rubber | Restores dependable trail grip at the source | It is the least glamorous option, but usually the right one |
That last row is the one many people avoid, but it is often the real answer. If a pair has lost its edge, no sticky spray is going to turn it back into a confident hiking shoe.
What I would do before the next hike
If the shoes only feel a little slick, I would clean the outsole, inspect the tread, and compare them on a dry sidewalk before changing anything else. If they still feel insecure, I would skip the hairspray trick and move straight to a better outsole or a proper traction device.
For most hikers in the United States, that is the practical line: use temporary hacks for low-risk, short-term situations, and rely on real footwear design when the route can punish a mistake. On a trail, predictable grip matters more than a quick fix that only works until the surface gets wet, dusty, or steep.