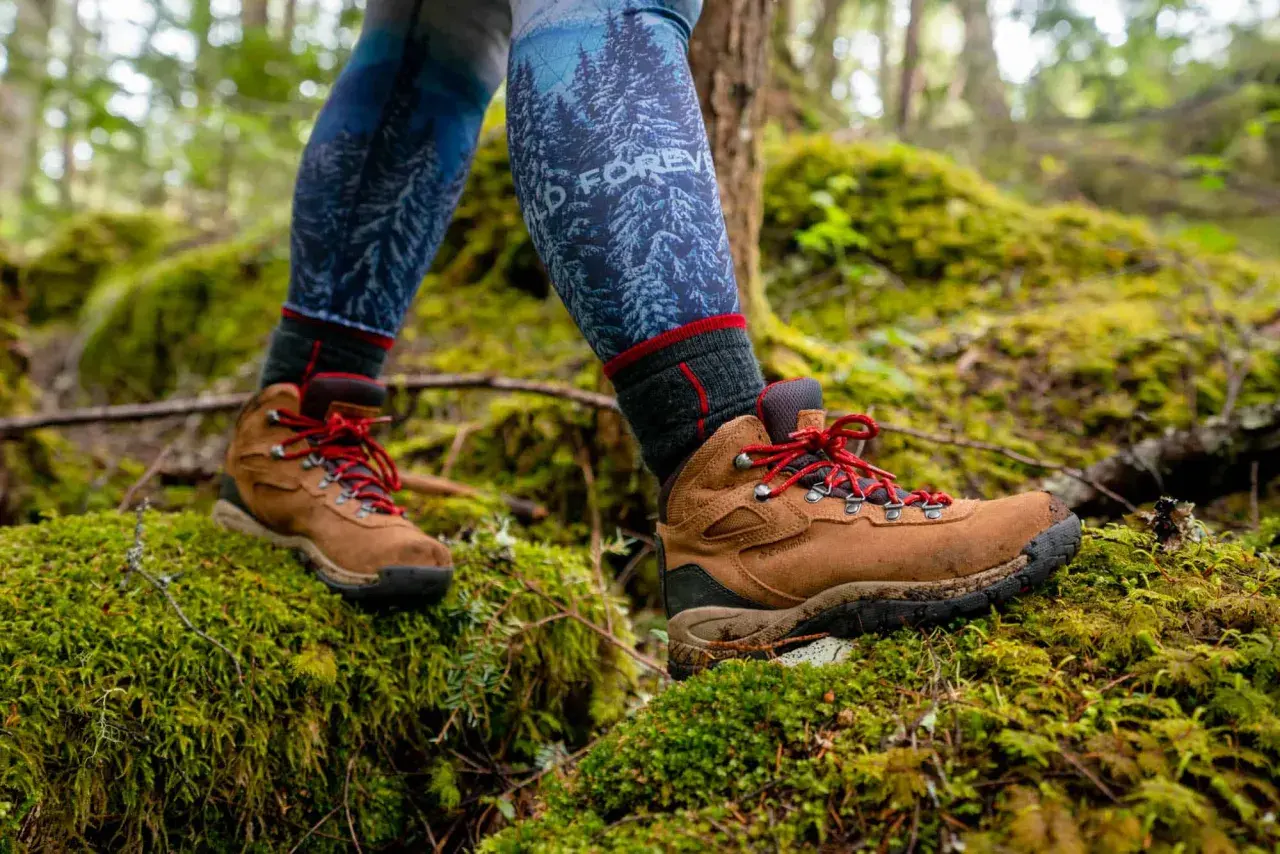
Hiking boots should feel secure from the moment you lace them up, but not so tight that they pinch on the first climb. The practical answer to how to know if boots are too big is to check whether your heel stays locked, your toes stay clear on descents, and the boot still feels stable once you start walking on uneven ground. That matters even more on long mountain days, where a sloppy fit turns into blisters, bruised toes, and wasted energy fast.
Quick signs your hiking boots are too large for the trail
- Heel lift happens every step instead of staying anchored in the heel cup.
- Your foot slides forward and taps the front of the boot on descents.
- The boot feels empty over the instep even after you fully tighten the laces.
- You can wiggle side to side inside the boot instead of feeling centered.
- The sole flexes in a strange place, or the boot creases awkwardly when you walk.
- A good hiking fit usually leaves about a thumb's width at the toe, not a huge gap.
The clearest signs your hiking boots are too big
The fastest way I judge fit is by looking for movement, not just comfort. A boot can feel soft in the store and still be wrong if your foot is not held in place. When the size is off, the symptoms usually show up in the same few spots: heel, toes, midfoot, and the top of the foot.
| What you notice | What it usually means | Why it matters | What I would do next |
|---|---|---|---|
| Heel lifts on every step | The boot has too much length or volume in the rear | That movement is a blister factory | Try heel-lock lacing first; if it keeps happening, the boot is too big |
| Toes tap the front on downhill steps | Your foot is sliding forward inside the boot | That leads to bruised or black toenails | Test on stairs or a slope; if it repeats, the fit is off |
| Foot moves side to side | The boot is too roomy in the midfoot or heel | You lose stability on uneven ground | Check whether a different width or last fits better |
| Empty space over the top of the foot | The boot has too much volume | Lacing cannot fully control the foot | Try insoles only if the problem is minor |
| Boot folds or creases strangely | The flex point is not lining up with your foot | Walking feels sloppy and inefficient | Move on to a different model if the crease point is clearly wrong |
If several of those signs show up together, the boot is not just “a little roomy.” It is probably the wrong size, or at least the wrong shape for your foot. That leads directly to the next question: how do you test fit before you trust them on trail?
How to test the fit before you take them outside
Try boots on late in the day with the socks you actually hike in. Feet swell during walking, heat, and long descents, so a fit that only works with thin everyday socks is not a real trail fit. REI’s fit advice makes the same point: once the boot is fully laced, you should still not feel empty space over the top of the foot.
Check the heel first
Stand up, step forward, and then walk for a few minutes. Your heel should stay anchored in the heel cup. A little movement can happen, but if the heel lifts enough that you notice it on each step, the boot is too big or the last does not match your foot shape.
Test on a slope or stairs
Go uphill and downhill if the store allows it, or use stairs at home. Downhill is the real test: if your toes drift into the front of the boot, you will feel it within a mile on the trail. That toe tap is one of the easiest ways to spot excess length.
Read Also: Low vs Mid Hiking Shoes - Which Is Best For Your Hike?
Look at the top of the foot
Lace the boot the way you would for an actual hike. If the upper still feels hollow or roomy over the instep after you tighten it, that is usually a volume problem, not a lacing problem. The boot may be the right length but the wrong shape for your foot.
Once you know how to test fit, the next step is figuring out how much room is normal and where the line turns from comfortable to sloppy.
How much room is normal in a hiking boot
Some space is good. You need enough room for toe splay, socks, and foot swelling by the end of a long day. AMC’s fitting guide uses a simple benchmark: when you push your toes to the front of an unlaced boot, a helper should be able to slide roughly one finger behind the heel. That is a useful in-store check, not a law, but it keeps you from confusing comfortable room with too much room.
| Fit area | Normal feel | Too big feel |
|---|---|---|
| Toe box | Toes can wiggle without hitting the front on descents | Foot slides forward and taps the front |
| Heel | Secure, with little to no lift | Heel rises every step |
| Midfoot | Snug over the arch and instep | Feels empty or unstable even when laced |
| Side-to-side control | Foot stays centered over the sole | Foot rolls or drifts inside the boot |
If you are right on the edge, a half-size difference can be fine. Once the extra room becomes obvious, though, you are no longer buying comfort; you are buying movement. That is where the next section matters, because movement is what hurts you on the trail.
Why oversized boots become a trail problem fast
Extra space is not just annoying. It changes the way your foot loads, flexes, and lands with every step. On flat pavement you might barely notice it. On rocky ground, loose boots punish you quickly.
- Blisters form where skin rubs against the lining, especially at the heel and sides of the foot.
- Toe bruising shows up when your foot keeps sliding forward on descents.
- Instability increases because the boot cannot hold your foot centered over the sole.
- Fatigue rises because your muscles keep correcting a sloppy landing instead of moving efficiently.
- Wrong flex point can make the boot crease in the wrong place, which feels awkward and can shorten the life of the footwear.
That is why a boot that feels “fine” in the parking lot can turn into a problem by mile three, especially on steep mountain routes where every downhill step pushes your foot forward. The good news is that small fit issues are sometimes fixable, but only up to a point.
What to try before replacing the boots
If the boots are only slightly roomy, there are a few fixes worth trying. If they are obviously too big, do not waste time trying to engineer a cure.
- Use a heel-lock lacing method. This lacing pattern creates more hold around the ankle and can reduce heel lift without crushing the forefoot.
- Try a surgeon's knot. That is a locking knot at the pressure point over the top of the foot; it helps separate lower-foot tension from ankle tension.
- Swap the insole. A thicker or more supportive insole can fill dead space and improve heel hold, especially if the boot is slightly high-volume.
- Wear the correct hiking sock. A thicker merino or hiking sock can help a borderline fit, but it should not be used to rescue a boot that is clearly too long.
- Check the width and last. Sometimes the issue is not length at all. If the boot is the wrong shape for your foot, another model in the same size can feel dramatically better.
One thing I would not do is size up again just to avoid a little pressure on the instep. If the boot only becomes usable after you tighten it so much that the top of your foot hurts, the fit is wrong from the start.
The final fit check I trust before a long hike
Before I take a new pair onto a full-day hike, I do one last walk that includes a few minutes of climbing, a few minutes of descending, and a few turns on uneven ground. The boot should feel like it follows my foot, not like my foot is steering around inside it.
- I can walk without thinking about my heel.
- My toes have room, but they do not strike the front.
- The boot feels snug over the midfoot after lacing.
- There is no visible sliding when I step downhill.
- I can keep them on for 15 to 20 minutes without hot spots building quickly.
If a boot fails two or more of those checks, I treat it as the wrong size or the wrong model. A good hiking boot should disappear under you on trail days, and that only happens when the fit is secure enough to control movement without forcing your foot into an unnatural shape.