
What matters most when cleaning Timberland boots
- Let mud dry first, then brush off loose grit before adding water.
- Use mild soap and a soft cloth for smooth leather, not heavy scrubbing.
- Use a suede or nubuck brush and a material-specific cleaner for napped uppers.
- Clean laces, insoles, and outsoles separately so dirt does not spread back onto the boot.
- Air-dry overnight in a ventilated room, away from heat and direct sun.
- Re-protect the boots after drying with conditioner or water repellent, depending on the finish.
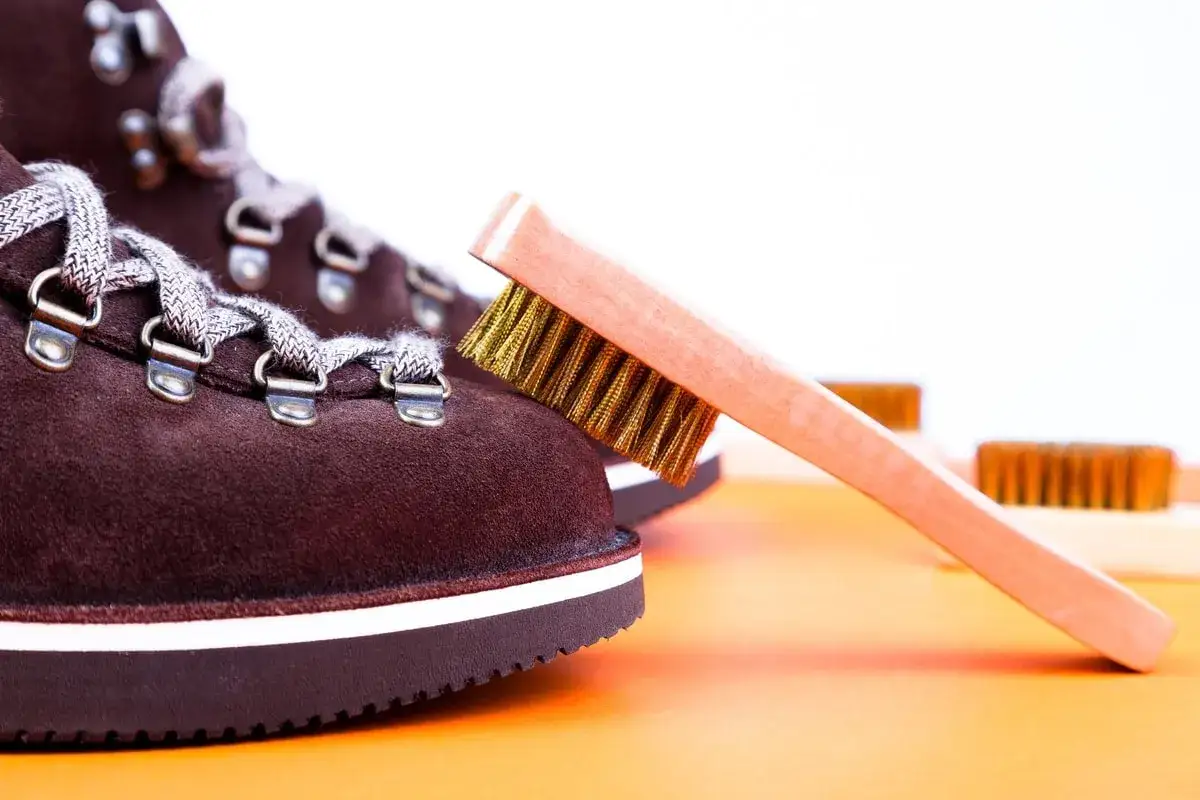
Start with dry dirt, loose grit, and the laces
I always begin with the part most people skip: dry prep. If the boots are caked with mud, let that mud harden first. Once it dries, it lifts off more cleanly and you avoid pushing grit deeper into the stitching or rubbing it into the leather. For a pair that has just come back from a wet trail or a city walk through salt and slush, this first step saves a lot of damage later.
- Remove the laces so you can reach the tongue and eyelets.
- Tap the soles together to shake out loose dirt and small stones.
- Use a soft boot brush to remove dry mud from the upper and welt.
- Check the tread and edges of the sole for packed grit.
This prep usually takes 5 to 10 minutes, but it makes the rest of the job cleaner and faster. Once the loose dirt is gone, the next step is choosing the right method for the boot’s material.
Use the right cleaning method for the material
Timberland boots are not all built the same, and the finish matters more than the logo. Smooth leather can tolerate a little water and mild soap. Nubuck and suede need a gentler touch because the fibers show marks quickly and flatten if you overwork them. If I only had one rule here, it would be this: clean the material, not just the dirt.
| Material | Best approach | Avoid | Aftercare |
|---|---|---|---|
| Smooth leather | Soft cloth or sponge with warm water and a small amount of mild soap | Soaking, harsh detergent, direct heat | Dry fully, then condition lightly and buff |
| Nubuck | Dry brush first, then use a nubuck-safe foam or cleaner | Heavy scrubbing, over-wetting, regular leather conditioner | Brush the nap back up and add protective spray once dry |
| Suede | Suede brush, eraser bar, and a suede-specific cleaner | Soaking, aggressive circular scrubbing, heat drying | Restore the texture with a brush and protect with spray |
| Mixed-material boots | Clean each panel separately, starting with the most delicate surface | One cleaner for everything without checking the label | Finish according to the most delicate material on the boot |
For nubuck especially, I keep the water use minimal. A little foam or a lightly damp cloth is enough for most stains. If the boot has leather trim, clean that trim separately instead of soaking the whole upper. That careful split is what keeps the boot looking like footwear and not a rescue project, which is exactly why the next step matters.
Clean the inside, laces, and outsole separately
A lot of grime hides where people do not look first. Dirt settles inside the lace rows, between the sole lugs, and along the collar where sweat and trail dust mix. If you only wipe the visible upper, the boot may look cleaner for a day and still smell or feel gritty the next time you wear it.
- Laces: wash them in a bowl of warm water with a little mild soap, then rinse and air-dry flat.
- Insoles: if they are removable, lift them out and wipe them with a barely damp cloth; let them dry completely before putting them back.
- Interior lining: use a lightly damp cloth to remove sweat residue or dust near the ankle opening.
- Outsole: scrub packed mud out of the tread with a stiff nylon brush or an old toothbrush.
- Stitching and seams: clean gently so dirt does not harden around the welt.
If odor is the bigger issue than visible dirt, do not keep adding water. Too much moisture inside the boot tends to create more problems than it solves. A careful wipe-down and a long dry-out period usually work better than an aggressive soak.
Dry them slowly and bring the texture back
Drying is where many boots get ruined. I pat the upper with a clean towel, then stuff the boots with plain white paper or a clean cloth to help them hold shape. Do not use newspaper; ink transfer is a real nuisance, especially on lighter uppers. After that, I leave them in a ventilated room and forget about them for the night.
Plan on roughly 12 to 24 hours for normal drying, and closer to 24 to 48 hours if the inside got damp. Do not speed things up with a radiator, heater, hair dryer, or direct sun. Heat can stiffen leather, flatten nubuck, and weaken adhesives over time. If the boot is suede or nubuck, brush it once it is fully dry to lift the nap back up. If the leather looks a little dull, that is the point where a light conditioner makes sense.
One small trick helps with water marks: if a patch dries unevenly, dampen the whole panel lightly and let it dry evenly rather than trying to spot-fix just the ring. That is often the difference between a clean boot and a boot with a visible stain halo, which leads straight into long-term protection.
Protect the boots before the next hike
Cleaning gets you back to zero; protection keeps you from starting over too soon. For smooth leather, I like a light conditioner after every deep clean, or whenever the leather starts to feel dry. For nubuck and suede, I avoid leather conditioner unless the product label explicitly says it is safe. Those finishes usually do better with a water- and stain-repellent spray applied after the boot is completely dry.
If you wear the boots regularly, a simple rhythm works well:
- After every muddy hike: brush off dirt and let the boots air out.
- Every 4 to 6 wears: do a fuller clean if the boots are getting visibly dusty or salty.
- After a deep clean: restore the nap on suede or nubuck and apply protection.
- Before a rainy trip: refresh the water repellent so the upper sheds moisture better.
That cadence matters more than perfection. Boots that are brushed often and protected regularly always recover better than boots that are ignored until the stains have set for months, and that brings me to the errors I would avoid every time.
The mistakes that do the most damage
I see the same few mistakes again and again, and most of them are easy to avoid once you know what to watch for. The biggest issue is usually impatience: people want the boots clean fast, so they reach for more water, more heat, or more force than the material can handle.
- Machine washing can stress the glue, warp the shape, and rough up delicate uppers.
- Hot water or direct heat can dry out leather and damage the boot structure.
- Scrubbing nubuck or suede too hard flattens the texture and leaves shiny patches.
- Using the wrong cleaner can stain or strip the finish, especially on napped materials.
- Re-wearing the boots before they are fully dry traps moisture and smell inside the lining.
- Ignoring the outsole leaves packed grit that keeps abrading the boot from below.
If a stain does not budge after a careful clean, I do not escalate immediately. I let the boot dry completely, brush it again, and try a second pass with the right cleaner. That slower approach usually works better than overcorrecting on the first round.
The routine that keeps Timberlands ready for the next trail
If I were keeping one pair in regular rotation for hiking, travel, and wet-weather wear, I would keep the routine simple: dry brush after use, clean only what needs cleaning, dry overnight, then protect the material before the next outing. That is enough for most boots and much safer than treating every mark like an emergency.
Good boot care is mostly about consistency. A pair that gets ten minutes of attention after a muddy weekend will usually outlast a pair that gets one harsh rescue scrub every few months. Keep the routine gentle, match it to the material, and your Timberlands will stay comfortable, structured, and ready for whatever the path throws at them next.