A pair of hiking shoes can sit quietly in a closet for months and still lose the battle with moisture, heat, and age. When that happens, the failure often shows up as a crumbling midsole, cracked leather, or a sole that peels away before the next trail day. I’m going to break down why that happens, how to tell whether the pair is still salvageable, and what storage routine actually keeps hiking footwear ready for the next trip.
What matters most when hiking shoes are stored for too long
- Moisture is the main enemy. Wet linings, sweat residue, and humid closets drive mold, odors, and breakdown.
- Polyurethane midsoles are vulnerable to hydrolysis. That is the chemical breakdown that turns a midsole crumbly or sticky over time.
- Leather needs conditioning, not soaking. If it dries out, it cracks; if it stays damp, it mildews.
- Breathable storage beats sealed plastic. I prefer open airflow, shoe trees or paper, and a desiccant pack.
- Not every damaged pair is worth saving. If the midsole is disintegrating, replacement is usually safer than a cosmetic repair.
Why hiking footwear breaks down in storage
Stored shoes do not fail for one reason. They usually fail because several slow processes pile up at the same time: leftover moisture, humidity in the closet, aging adhesives, and materials that simply do not like being idle for years. REI points out that sole delamination can come from hydrolysis in polyurethane midsoles, which is why a boot can look fine on the upper while the bottom starts turning sandy or soft.I see that pattern often with hiking footwear that has sat in a closet between seasons. The person remembers the last good hike, not the damp socks, the sweat that stayed in the liner, or the fact that the boots were tucked away before they were fully dry. Add a warm closet, a basement corner, or a spot near a radiator, and the damage speeds up.
There is also a difference between dry aging and wet breakdown. Leather that dries out cracks and stiffens. PU foam that absorbs moisture can crumble. Adhesives can weaken and let layers separate. Once you know the failure mode, the next step becomes a lot easier: you can read the damage instead of guessing at it. That leads naturally to the signs I look for first.
What the damage looks like on different materials
| Material or part | Typical failure | What it looks like | What it usually means |
|---|---|---|---|
| PU midsole | Hydrolysis and crumbling | Soft, sticky, or sand-like foam; pieces flake off | The structure is breaking down, not just dirty |
| EVA foam | Compression and aging | Flattened feel, less bounce, uneven cushioning | The shoe may still wear, but support is reduced |
| Leather upper | Drying and cracking | White creases, stiff panels, surface cracks | The leather needs conditioning, if the damage is still shallow |
| Glue lines and seams | Adhesive failure | Edges lifting, sole gaps, toe or heel separation | Storage or age has weakened the bond |
| Textile or mesh | Mildew and odor retention | Musty smell, dark spots, persistent dampness | The shoe was stored before it was fully dry |
KEEN recommends storing boots in a cool, dry place away from direct sunlight, and that is still the baseline I trust. The reason is simple: different materials fail in different ways, but they all dislike heat and trapped moisture. If you can identify the pattern early, you can decide whether the pair needs cleaning, conditioning, a resole, or a full replacement. Once you know what you are looking at, storage becomes a lot more deliberate.
How to store hiking footwear so it survives the off-season
I treat closet storage as part of boot care, not an afterthought. If I know a pair will sit unused until a spring trip, a Camino-style walk, or a summer mountain route, I clean it before it goes away and I store it as if it still matters.
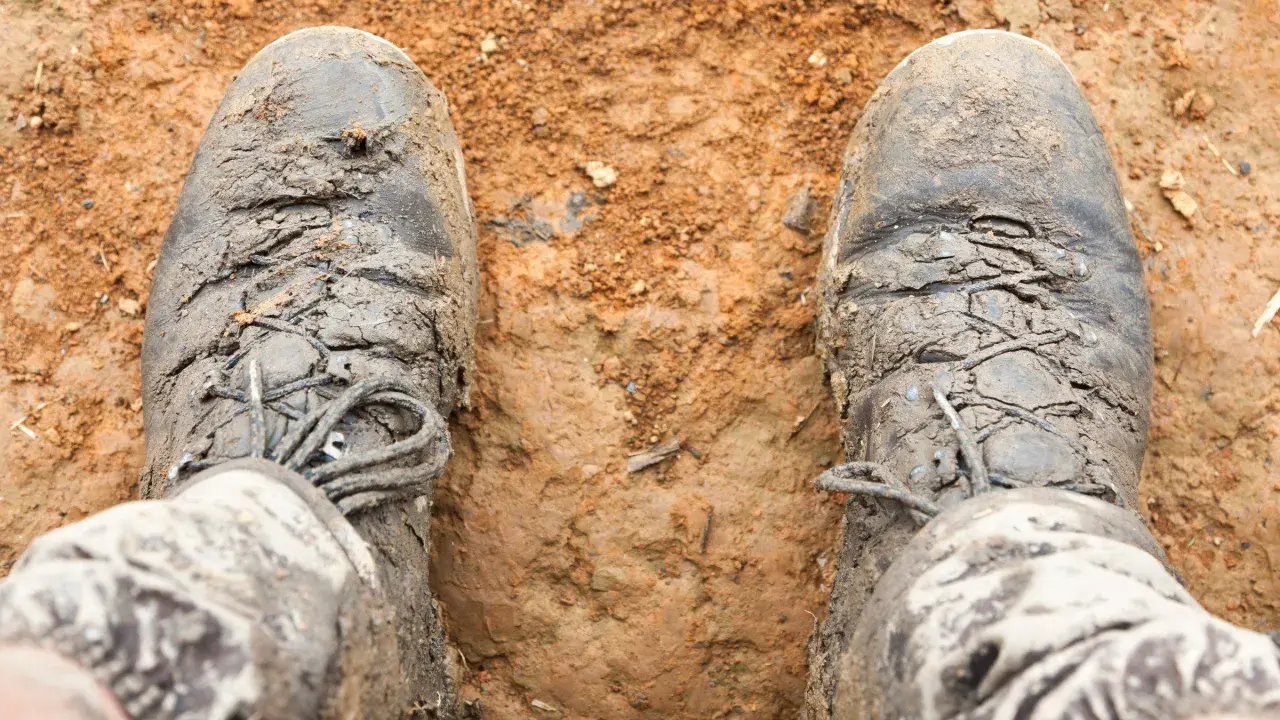
- Clean off dirt, salt, and grit. Dried mud traps moisture, and salt is hard on leather and stitching. Brush the outsole, wipe the upper, and clear debris from the seams.
- Dry everything completely. I usually give hiking shoes at least 24 hours after a normal outing, and closer to 48 hours if the liner, insole, or tongue still feels cool or damp. Remove the insoles and loosen the laces so air can move through the shoe.
- Condition leather lightly. A dry leather upper is not a badge of honor. It is a warning sign. Use a product that fits the leather type, and do not overdo it. Too much conditioner can soften support and attract dirt.
- Use shape support. Shoe trees work well for leather boots, but plain unprinted paper can also help absorb leftover moisture and keep the toe box from collapsing.
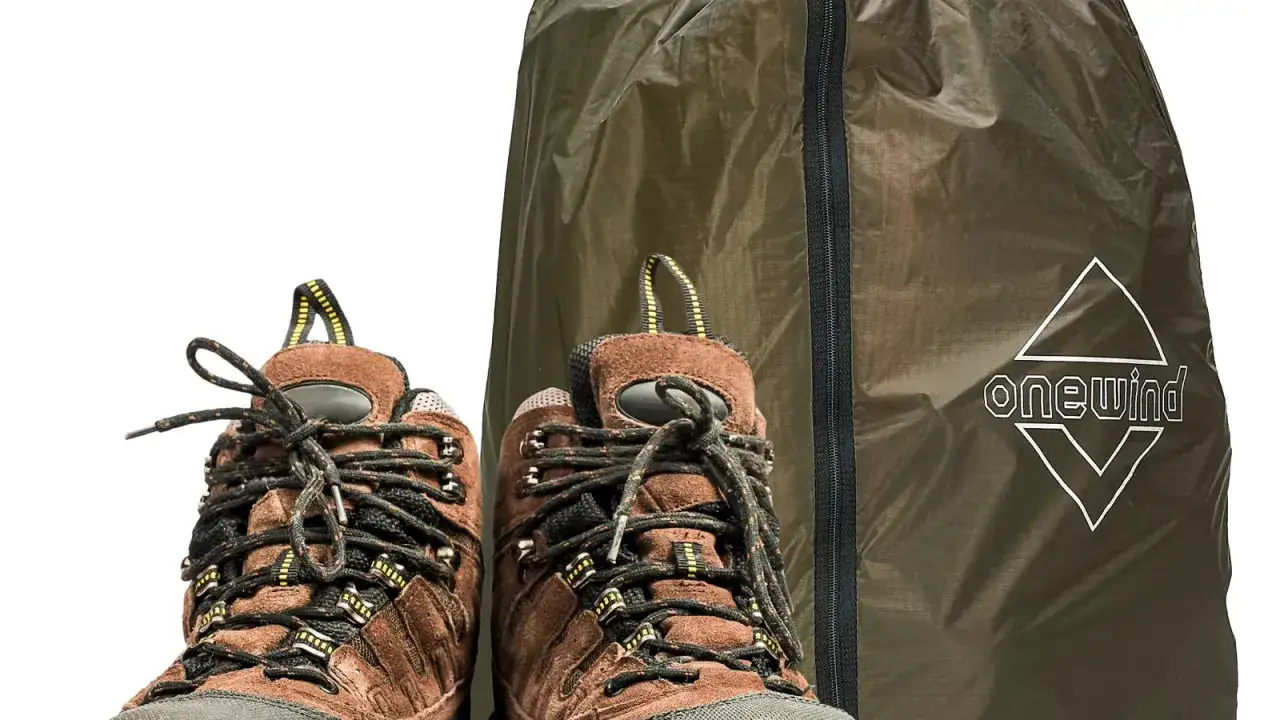
- Choose breathable storage. Cotton bags, open shelving, and the original cardboard box are usually better than sealed plastic bins. Plastic traps moisture. A breathable container lets the shoe finish drying.
- Keep them in a genuinely dry spot. A closet is only safe if it stays dry. I aim for a space that feels stable and not clammy, ideally under 50 percent relative humidity. If the closet is on an exterior wall, near a laundry area, or above a damp basement, I would move the shoes elsewhere or add a dehumidifier.
- Avoid compression. Do not stack boxes so tightly that the midsole gets bent for months. Foam and glued layers do not appreciate constant pressure.
The point is not to create museum storage. It is to avoid the conditions that quietly shorten the life of trail shoes. If the pair is already failing, though, good storage habits are only half the question. You still need to decide whether the damage is repairable.
What to do if a stored pair is already coming apart
If a boot or trail shoe is shedding foam, separating at the sole, or smelling deeply musty, I stop treating it like a normal pair of hikers. The first rule is simple: do not test it on a long or technical trail. A failed midsole on flat pavement is annoying. A failed sole on wet rock or a descent is a problem.
Here is how I sort the situation out:
- Surface dirt or residue only. Clean and dry the shoe, then reassess. Sometimes what looks like breakdown is just old grime.
- Leather is stiff but intact. Clean it, condition it lightly, and give it a chance before you give up on it.
- The sole edge is lifting but the rest is sound. A cobbler may be able to repair it, especially on stitched or higher-end boots.
- The midsole is crumbling, sticky, or turning to dust. That is usually hydrolysis or age-related foam failure. At that point, glue is not a real solution.
- The shoe is moldy inside. Dry it fully, brush away visible growth outdoors, and check whether the smell returns after a day or two. If it does, the lining may be beyond a simple rescue.
I am fairly skeptical of “quick fixes” on trail footwear that has already lost structural integrity. A temporary edge bond can get a pair through travel, but it will not restore confidence on uneven ground. If you are packing for a trip, especially one with long descents or mixed terrain, safety matters more than squeezing one more use out of a tired pair. That is why the repair-versus-replace decision deserves its own look.
When repair makes sense and when replacement is smarter
In the US, a basic resole often lands somewhere around $80 to $180 for common hiking boots, and more complex work can climb above $200. That price range is why I always compare the repair cost with the value of the boot itself, not just the original purchase price. A $220 pair that fits perfectly may be worth saving. A budget pair with a crumbling PU midsole usually is not.
| Condition | Best move | Why |
|---|---|---|
| Leather upper is solid, outsole is worn | Resole | The boot still has structure, so the repair buys real life |
| Midsole is crumbling or sticky | Replace | The failure is inside the boot and usually keeps spreading |
| Surface mold and odor only | Clean, dry, and reassess | The pair may still be usable if the structure is intact |
| Leather is cracked and the sole is separating | Replace or get a formal cobbler assessment | Multiple failure points make the economics weaker |
The test I use is blunt: if the upper is good and the shoe can be rebuilt cleanly, repair is worth a quote. If the foam is disintegrating, the whole pair is effectively aging from the inside out. At that stage, trying to save it usually costs more in time than it is worth. Once that decision is made, the last step is turning storage into a routine instead of a once-a-year scramble.
The closet routine I trust before the next season on the trail
I like a simple, repeatable checklist because it is more realistic than a perfect system that never gets used. Before I put hiking footwear away, I brush it, dry it, remove the insoles, and check the flex point at the forefoot and heel. If the pair is leather, I condition it lightly. If it is synthetic, I make sure no wet grime is hiding in the seams.
Then I store the shoes with breathing room. No sealed plastic. No damp basement corner. No pile of gear pressing on top of them. If I know they will stay untouched for months, I add a moisture absorber and check the pair at the start and end of each season. That habit matters even more if the shoes are waiting for a trip that takes planning, like a hut-to-hut week in the Alps or a long walk in Spain, because you do not want to discover a failure the night before departure.
The good news is that most closet damage is preventable. The pair does not need luxury treatment. It needs to be clean, dry, uncompressed, and stored where humidity cannot quietly do its work. That is usually enough to keep a good hiking shoe from becoming another case of shoes falling apart in the closet before it ever sees the trail again.