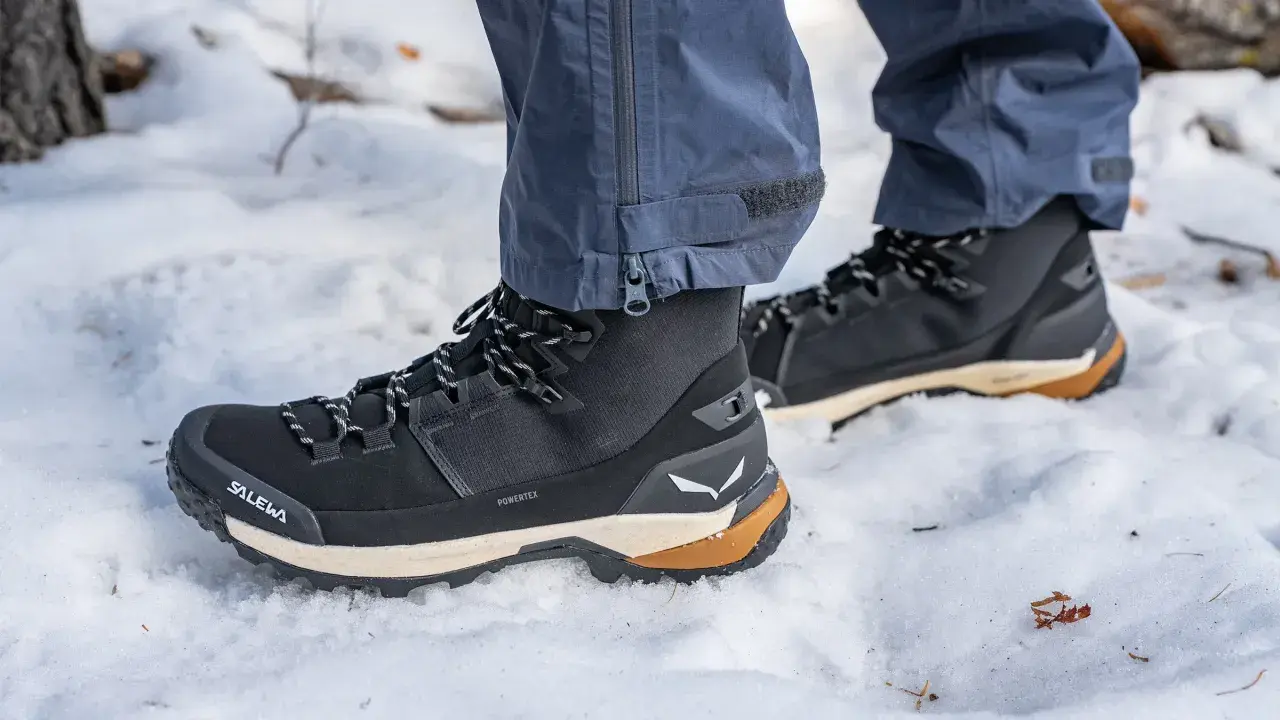
Winter hiking boots have to do three jobs at once: keep moisture out, hold enough warmth in, and stay stable on slick ground. The hard part is that improving one of those usually weakens another, so choosing well is really about matching the boot to your pace, terrain, and tolerance for cold. In practice, that is how to choose winter boots without overbuying warmth or ending up with a pair that feels fine indoors and wrong on the trail.
The factors that decide whether a winter boot really works
- Fit comes first. If the boot crushes your toes or lifts at the heel, warmth and stability both suffer.
- Insulation should match your pace. Active hikers usually need less than people who move slowly or stop often.
- Waterproofing matters most in slush and wet snow. Dry cold is a different problem than thawing trail conditions.
- Traction is about the outsole, not the brand name. Lug shape and rubber softness make a real difference on packed snow and ice.
- Mid-height boots are the safest default for most winter hikes. Taller boots help in deeper snow, while low boots trade protection for agility.
- Try them on like you will actually use them. Winter socks, downhill steps, and extra layers change the way a boot feels.
Start with fit, because winter warmth starts at the toes
I start with fit before I think about insulation. If the boot presses the forefoot or crushes the toes, the extra material cannot insulate properly, and cold feet usually arrive faster than expected.
Try boots on with the socks you will actually wear, not with a thin everyday pair. I want enough room to wiggle my toes, but not so much space that my heel slides around. A good rule is a thumb’s width of space in front of the toes when you stand, then a secure heel when you walk. If the fit changes drastically after a few minutes, the last shape is wrong for your foot.
- Check width first. Winter socks add bulk, and a narrow forefoot can turn a warm boot into a pressure point.
- Test heel lock. Too much lift creates blisters and wastes energy on every step.
- Walk downhill if you can. That is where your toes tell the truth about the fit.
- Try them late in the day. Feet swell a little, and winter hiking usually happens when you are already warm from moving around.
A boot that only feels good standing still is not enough; I want one that stays neutral when I bend the forefoot and step off-camber on frozen ground. Once fit is right, the real decision becomes how warm the boot needs to be.
Match insulation to your pace and temperature, not just the forecast
Insulation is where a lot of people overbuy. More is not always better, especially if you hike hard and generate heat quickly. For winter trail use, I treat the insulation rating as a rough guide, not a guarantee.
| Insulation level | Best for | Main tradeoff |
|---|---|---|
| Uninsulated to light insulation | Fast winter hiking in relatively mild, dry cold | Warmth margin is small once you slow down |
| 200g | Active day hikes, milder winter days, hikers who run warm | Can feel thin during long stops or deep cold |
| 400g | Colder weather, slower pace, snowshoeing, standing around | More bulk and less breathability |
| 600g+ | Very cold conditions or low-activity use | Usually too warm and heavy for moving fast |
For most winter hikers, 200g is the better starting point if the trail is brisk and the temperature is not brutal. I move up to 400g when the pace slows, the day gets colder, or I know I will spend time standing still at viewpoints, trail junctions, or snowshoe breaks. If you run cold, the warmer option makes sense sooner; if you run hot, too much insulation can leave your socks damp and your feet chilled later.
That tradeoff leads straight into the next question, because insulation is useless if melting snow gets inside the boot in the first place.
Choose waterproofing that fits real winter weather
Winter weather is not one thing. Dry cold, thawing slush, wet snow, and cold rain each punish footwear in a different way, and I would choose differently depending on which one I expect most.
For mixed winter hiking, I look for a waterproof membrane, sealed seams, and a tongue that is gusseted so snow and slush cannot work their way in through the lace area. Water-resistant fabric can be fine for light cold and occasional moisture, but it is a weak choice once the trail turns wet. A boot can look rugged and still soak through at the stitching or around the collar, which is the kind of failure that shows up halfway through the hike.
- Waterproof boots are the safer option for slush, wet snow, and freeze-thaw conditions.
- Water-resistant boots can work in dry cold, but they are not the pair I would trust for long winter trail days.
- Breathability still matters. A boot that traps sweat can feel wet from the inside even when it never leaks from the outside.
- Collar height helps. More coverage makes snow intrusion less likely, especially when the trail is soft or uneven.
If your route involves frozen puddles, slushy trailheads, or wet snow near thaw, I would rather have a properly built waterproof boot than a lightly insulated boot with better ventilation. If the weather is cold and dry, the balance shifts a little toward breathability, but the shell still has to protect the foot. Grip is the next part of that balance.
Read the outsole like a trail map
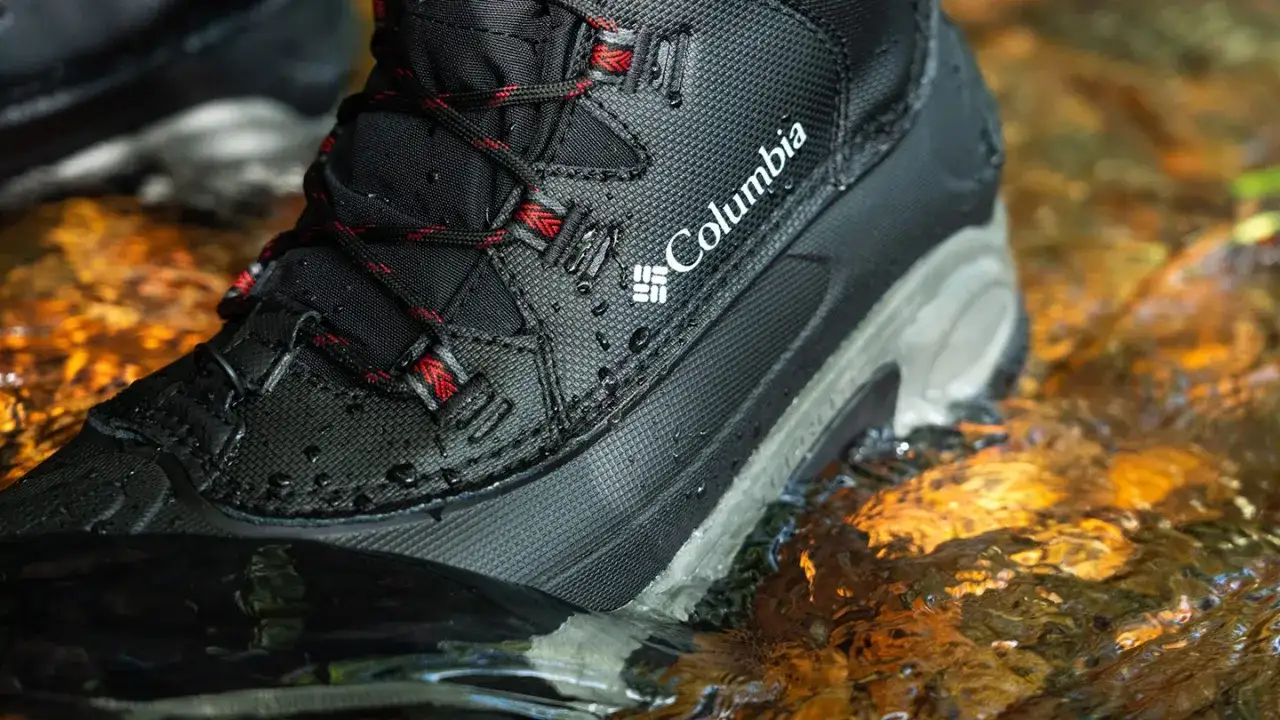
On winter trails, the outsole matters as much as the upper. I look at the tread pattern, the rubber compound, and the shape of the sole, because those three details tell me more than a glossy product photo ever will.
Lugs are the raised blocks on the sole. Deep, multidirectional lugs tend to bite better into soft snow and shed slush more effectively than shallow, decorative tread. Softer winter rubber usually grips cold rock and packed snow better than hard rubber, especially when temperatures drop. A slightly flatter, stable platform can also help on uneven frozen ground because it feels less twitchy underfoot.
- Deep lugs help on unpacked snow and soft trail edges.
- Soft rubber usually grips cold, slick surfaces better than stiff fashion-boot soles.
- A defined heel brake can help on descents by giving the sole more bite when you are moving downhill.
- Compatibility with microspikes matters if you hike on icy trails often; microspikes are traction devices that strap over the boot for extra grip.
That last point is important: if the trail turns into polished ice, no boot alone is enough. In those conditions I want a boot that works cleanly with traction devices instead of fighting them. Grip matters, but so does the way the boot carries your ankle and lower leg through uneven winter terrain.
Choose boot height for snow depth and stability
For most winter hikes, mid-height boots are the best compromise. They give more snow protection and ankle security than low-cut shoes without feeling as bulky as tall pac boots.
| Cut | Best for | Why it works |
|---|---|---|
| Low-cut | Packed trails, light snow, fast moving days | Lighter and more flexible, but less protective in deep or loose snow |
| Mid-cut | Most winter hikes, mixed terrain, common cold-weather use | Balances mobility, support, and snow protection |
| High-cut | Deeper snow, snowshoeing, rougher off-trail travel, heavier loads | Better coverage and usually more protection, but can feel stiffer and slower |
Once you know the right height, the last step is to test the boot the way your feet will actually use it.
Test the boot like you will actually hike in it
I do not trust a boot until it survives a real try-on. A few minutes standing in a store tells you almost nothing about how it will feel after an hour on uneven winter ground.
- Wear the socks you plan to hike in, or socks close to that thickness.
- Stand up, lace both boots fully, and check whether the heel lifts when you walk.
- Walk up and down a slope or stairs if the shop allows it, because downhill pressure exposes toe crowding fast.
- Bend the forefoot and twist the boot slightly to feel whether it is stable without being rigid like a ski boot.
- Check whether the boot still feels comfortable when your ankle flexes and your foot moves naturally.
- Make sure there is room for a thicker winter sock without making the boot sloppy.
I also pay attention to small annoyances, because winter magnifies them. A stiff lace hook, a tongue that shifts, or a collar that rubs slightly can become a real problem once the boot is wet, cold, and covered in grit. If a boot feels questionable in the store, it usually gets worse outside, not better. That is why I would rather reject a promising pair early than try to force a borderline fit onto the trail.
The combination I would start with for most winter trail days
For most hikers, the safest starting point is a waterproof mid-height boot with about 200g to 400g of synthetic insulation, a grippy outsole, and enough room for a warm sock without heel lift. That combination covers the widest range of winter trail conditions in the U.S., from damp cold in the Pacific Northwest to packed snow in the Northeast, without forcing you into a boot that feels clumsy on longer walks.
If you hike fast and generate a lot of heat, lean lighter and spend more attention on traction. If you move slowly, carry a heavier pack, or spend time standing around in real cold, lean warmer and taller. And if your route requires crampons or front-pointing on steep ice, stop shopping in the winter-hiking aisle altogether and move into mountaineering footwear, because a standard winter boot is the wrong tool for that job. The best pair is the one that keeps your feet dry, stable, and comfortably warm after the first mile, not the one that simply looks toughest on the shelf.