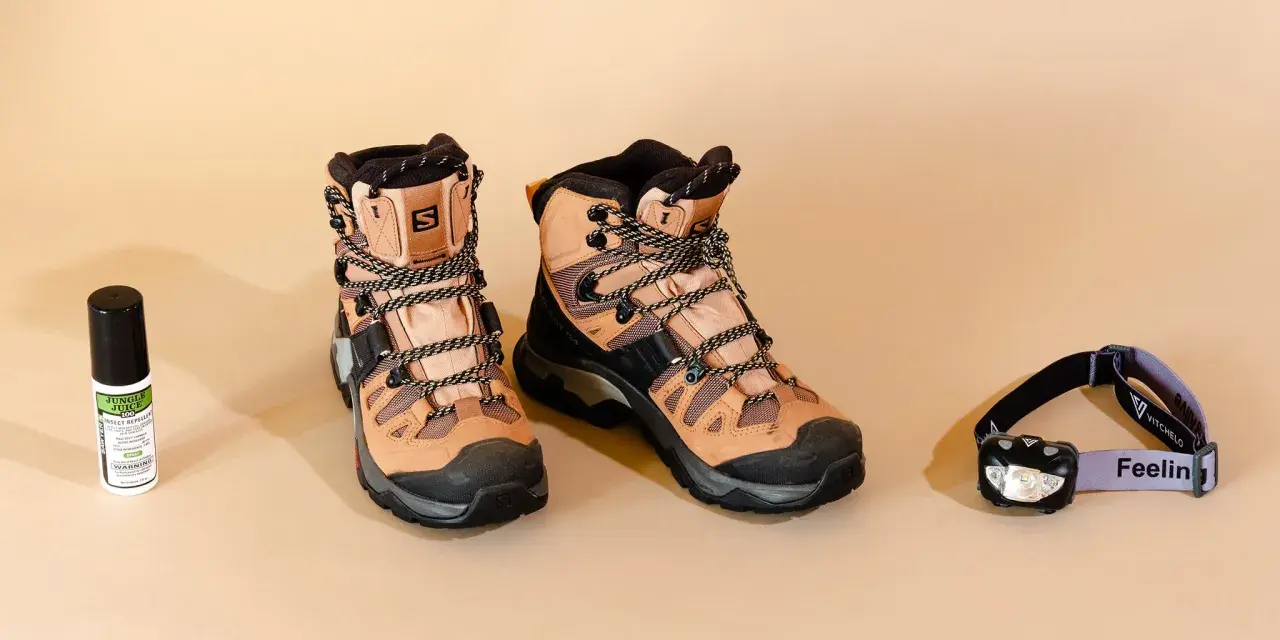
The practical answer to wanderschuhe worauf achten is simpler than most shopping guides make it: choose footwear for the trail, the weather, and the way your foot actually moves. In this article I break down the checks that matter most before you buy hiking boots, from fit and ankle support to traction, waterproofing, materials, and the first real test on the trail. If you hike on rocky coastal paths, steep mountain descents, or long mixed routes, those details make the difference between a good outing and a miserable one.
The main checks that matter before you buy
- Match the boot to the route. Flat paths, wet forest trails, and loaded mountain days need different levels of support.
- Fit beats brand. Your heel should stay locked, and your longest toe should still have thumb-width room in front.
- Higher cuffs help, but they do not fix a sloppy fit. Stability comes from the whole shoe, not just ankle height.
- Waterproofing is useful in rain and mud, but it always trades some breathability.
- The outsole and midsole shape comfort more than marketing claims do. Grip, stiffness, and cushioning change how the boot feels after a few hours.
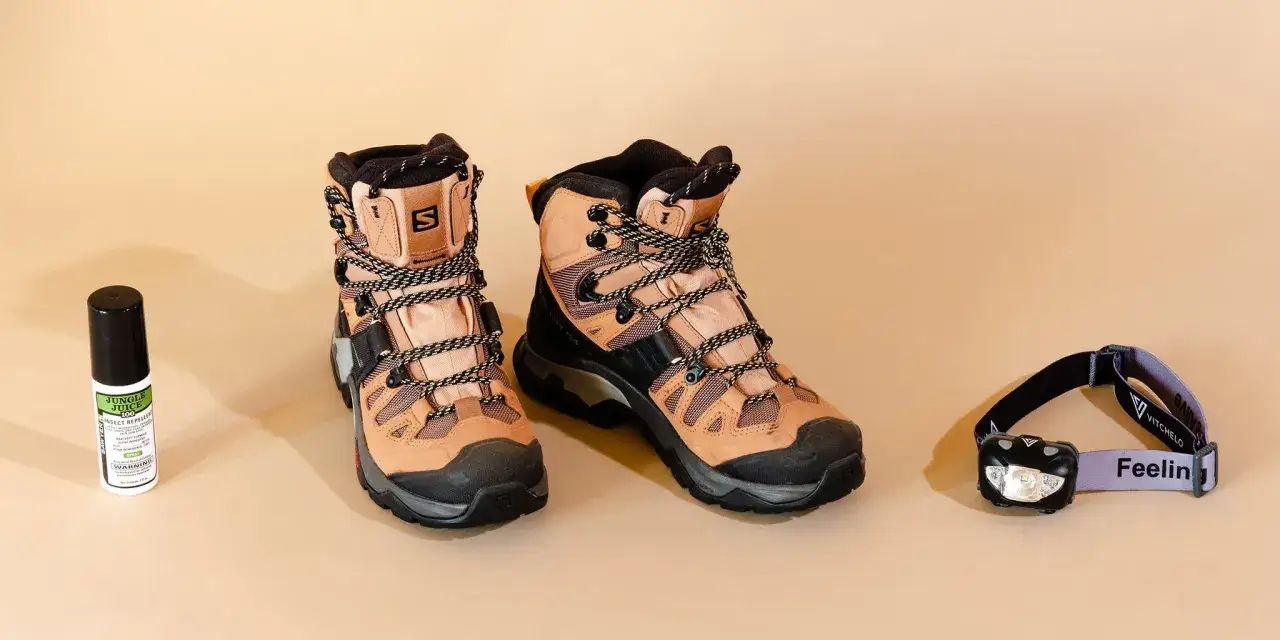
Start with the route, not the brand
I start with three questions: where will you hike, how long will you be out, and how much load will you carry? REI's current boot guide makes the same split between hiking shoes, day hiking boots, backpacking boots, and mountaineering boots, and that is still the cleanest way to think about the market. A light shoe can be perfect on groomed trails and day walks; a stiffer boot earns its place when the ground gets rough, the weather turns wet, or the pack gets heavier.
For scenic routes on European stone paths, muddy forest loops, or steep descents in the mountains, I usually look for a mid-cut boot before I look for anything burly. But I would happily choose a hiking shoe for warm-weather day hikes, fast walking, or travel days where I want one pair that can handle town and trail.
| Type | Best for | What it gives you | What you give up |
|---|---|---|---|
| Hiking shoe | Short to moderate day hikes, lighter loads, groomed trails | Light weight, better breathability, quicker drying | Less ankle coverage and less underfoot protection |
| Day hiking boot | Mixed trails, wet weather, uneven ground | More support and protection without feeling overly bulky | Heavier, often warmer, may need break-in |
| Backpacking boot | Multi-day trips and heavier packs | More structure, more durability, more stability | Stiffer ride and less freedom of movement |
| Mountaineering boot | Snow, ice, technical alpine routes | Maximum support, protection, and cold-weather capability | Expensive and specialized |
Some European boot makers break the decision down into categories from casual hiking to alpine use, and that framework is still useful. Once you know the trail profile, the fit question becomes much easier to judge.
Fit is the real make-or-break
This is the part I would never rush. A boot can have excellent materials and still fail if the fit is off by even a little. The most common problems I see are heel lift, cramped toes, and too much volume over the midfoot, because all three turn into blisters, hot spots, and lost confidence on descents.
My rule is simple: the boot should feel snug everywhere but tight nowhere. You want your heel held in place, your forefoot able to spread, and enough room that your toes do not slam forward when you walk downhill.
- Heel hold: Your heel should stay seated when you walk, climb stairs, and step onto an incline. If it lifts, friction will usually show up later as a blister.
- Toe room: Leave a thumb's width between your longest toe and the end of the insole. Decathlon also recommends roughly 1.5 to 2 cm of room in the forefoot so your toes can move on descents.
- Foot volume: Some feet are low-volume and narrow, others are wide or high-volume. If the boot has space over the top of the foot even when tightly laced, the shape is wrong.
- Socks and orthotics: Try the boot with the socks you actually hike in, and bring orthotics if you use them. The right size in a thin sock can become the wrong size in a wool hiking sock.
I also prefer trying boots later in the day, when feet have swollen a little. That sounds minor, but it saves a lot of regret. If a pair feels merely acceptable in the shop at 10 a.m., it may feel cramped after six hours on the trail.
The easiest way to think about fit is this: if I notice the boot in a bad way after twenty minutes, I stop there. Good hiking footwear disappears under you; bad fit keeps asking for attention.
Traction, stiffness, and cushioning change the feel after hour three
When people ask what makes one boot feel solid and another feel sloppy, they usually mean three things at once: the outsole, the midsole, and the overall stiffness. That is where a lot of the real performance lives.
Deep lugs matter on mud, loose gravel, and wet roots. Shallower, more closely spaced lugs can feel smoother on hardpack and rock. The rubber compound matters too: softer rubber often grips wet stone better, while harder rubber tends to wear more slowly. If you hike on mixed terrain, I look for an outsole that feels confident on both dirt and stone instead of one that is aggressively specialized. A defined heel brake, the rear part of the outsole that bites on descents, is also worth paying attention to if your routes drop steeply.Midsole stiffness is just as important. A stiffer platform helps when you carry more weight or walk across uneven terrain because it reduces how much your foot has to work against every small rock. A softer boot feels more flexible and natural on easy trails, but it can become tiring when the route gets rocky or when the pack is heavy. Cushioning helps on long descents, but too much can make the boot feel vague. A rock plate, a thin protective layer under the forefoot, can be a better upgrade than extra foam if sharp stone is part of your regular route.
That is also where break-in starts to matter. Many hiking shoes are flexible and ready faster, while burlier boots often need time before a long trip. I never trust a new pair on a big hike until I have walked in them on stairs, curbs, and uneven ground first.
The practical takeaway is straightforward: choose enough stiffness to stay stable, but not so much that the boot feels like a plank on easy terrain. The right middle ground saves energy instead of wasting it.
Waterproofing and materials should match the climate
Waterproofing is one of the most misunderstood features in hiking footwear. People often treat it like a universal upgrade, but the right choice depends on where and when you hike. On damp coastal routes, wet forest trails, or shoulder-season mountain days, a waterproof boot can be a real advantage. On hot summer trails, the same membrane can trap heat and slow drying.
I think of it this way: waterproofing protects against outside moisture, while breathability protects against your own sweat. You almost never get both at their absolute best in one boot. If your routes often stay dry and warm, breathable synthetic uppers can be the smarter choice. If you spend a lot of time in rain, wet grass, snowmelt, or chilly mornings, a waterproof membrane starts to earn its keep.
Materials matter for the same reason. Leather usually brings more durability, better long-term structure, and a more supportive feel, but it also tends to be heavier and slower to dry. Synthetic uppers are lighter, often less expensive, and usually dry faster after a wet day, which is a real advantage for travel. I tend to favor synthetic or hybrid builds for warm-weather hiking and leather-heavy construction for rougher, longer routes where durability matters more than speed.
For the kind of mixed weather you get on many European mountain trips, I would rather have a boot that dries reasonably well than one that promises total waterproofing but turns into a sauna by midday. That balance matters more than the logo on the side.
Durability and price only matter after the fit is right
Once the boot fits and handles the right terrain, then I start thinking about value. A cheap boot that wears out early is not cheap, and an expensive boot that you barely use can be overkill. The sweet spot depends on how often you hike and how hard you are on footwear.
REI's current guidance is useful here because it puts a rough lifespan on different categories: hiking shoes often start to break down after about 500 miles, while sturdier boots can last more than 1,000 miles. That does not mean every boot will behave exactly that way, but it is a good reminder that more structure often buys more lifespan.
In practical terms, I would think about spend like this:
- If you hike only a handful of weekends a year, comfort and fit matter more than premium leather or niche alpine features.
- If you hike most months of the year, stronger outsole rubber, better stitching, and a more stable midsole become worth paying for.
- If you carry heavier loads or regularly hike rough terrain, resoleable or more durable construction can save money over time.
Maintenance is part of the price too. A boot that is cleaned, dried slowly, and reproofed when needed will last longer than one that is left muddy in a car trunk. The best value is not the cheapest pair on the shelf; it is the pair that still feels dependable after a full season.
Before the first long hike, test the boot like it will be used
I never trust a boot just because it felt okay while standing still. The real test is movement. Before a long hike, I want to know how the boot behaves on slopes, stairs, and uneven ground, because that is where small fit problems become expensive mistakes.
- Put the boots on late in the day with the socks you will actually hike in.
- Lace them firmly and walk up and down stairs or a ramp if you can.
- Check for heel slip, toe bang, pinching over the forefoot, or pressure on the tongue.
- Wear them for at least 15 to 20 minutes and pay attention to any hot spots.
- Take them on one short, low-stakes walk before committing to a full day in them.