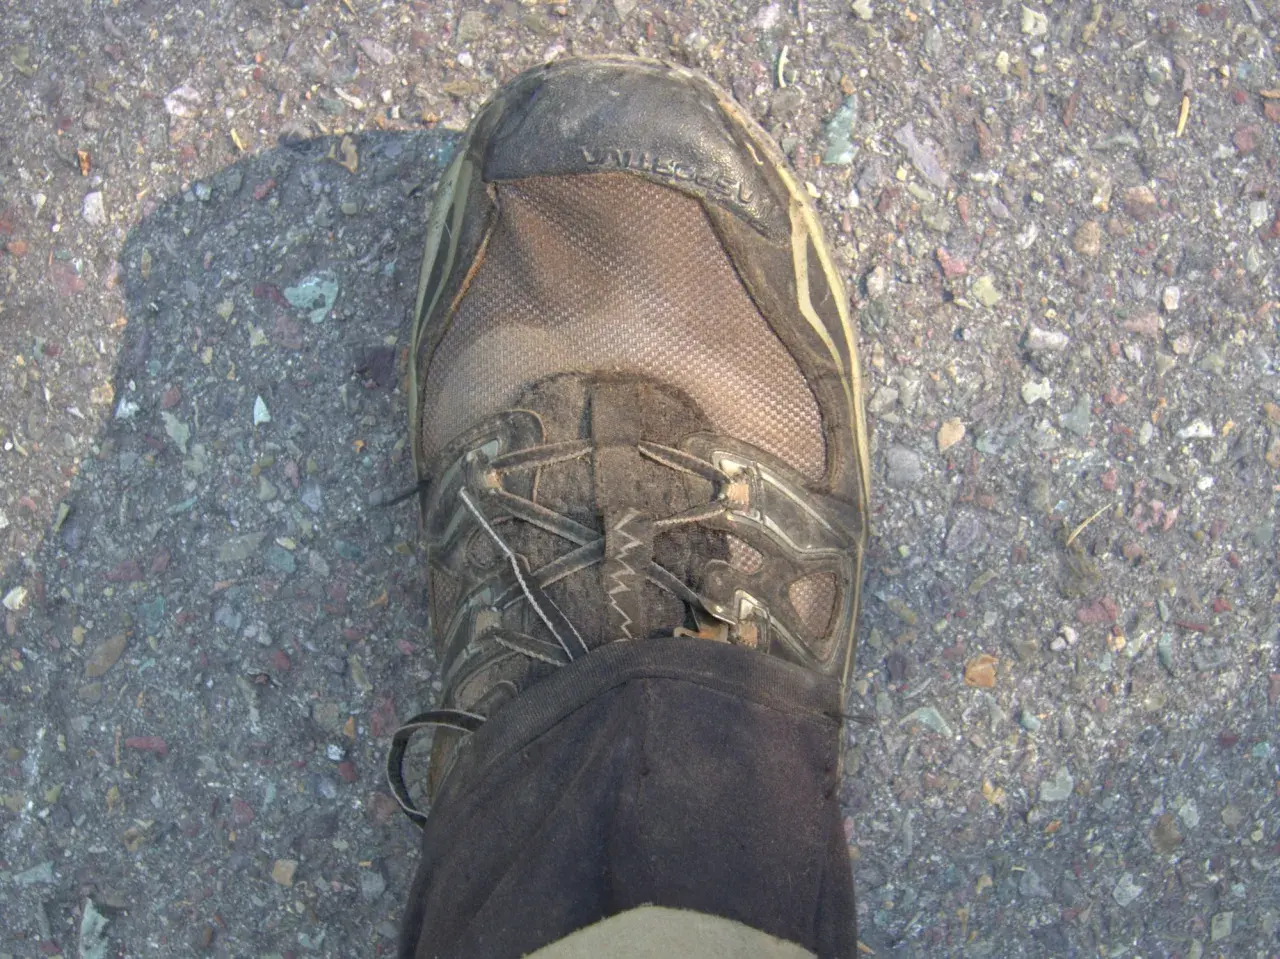
Cleaning Gore-Tex hiking footwear is less about scrubbing hard and more about protecting the membrane, the waterproof inner layer, and the water-repellent finish on the outside. This guide answers how to clean Gore-Tex shoes without damaging breathability, meaning the ability of moisture vapor to escape, and it walks through the wash, the dry, the DWR refresh, and the mistakes that shorten the life of a good pair. I focus on the steps that matter on real hiking footwear, not on shortcuts that only make the shoes look clean for a day.
What matters most before you start cleaning
- Remove laces, shake out grit, and brush off dry mud before water touches the shoe.
- Use lukewarm water and a small amount of liquid detergent, not bleach or a washing machine.
- Dry the shoes slowly at room temperature, away from radiators, fireplaces, and direct sun.
- Refresh DWR only when water stops beading on the outer fabric.
- Check the care tag first if the upper uses leather, suede, nubuck, or mixed materials.
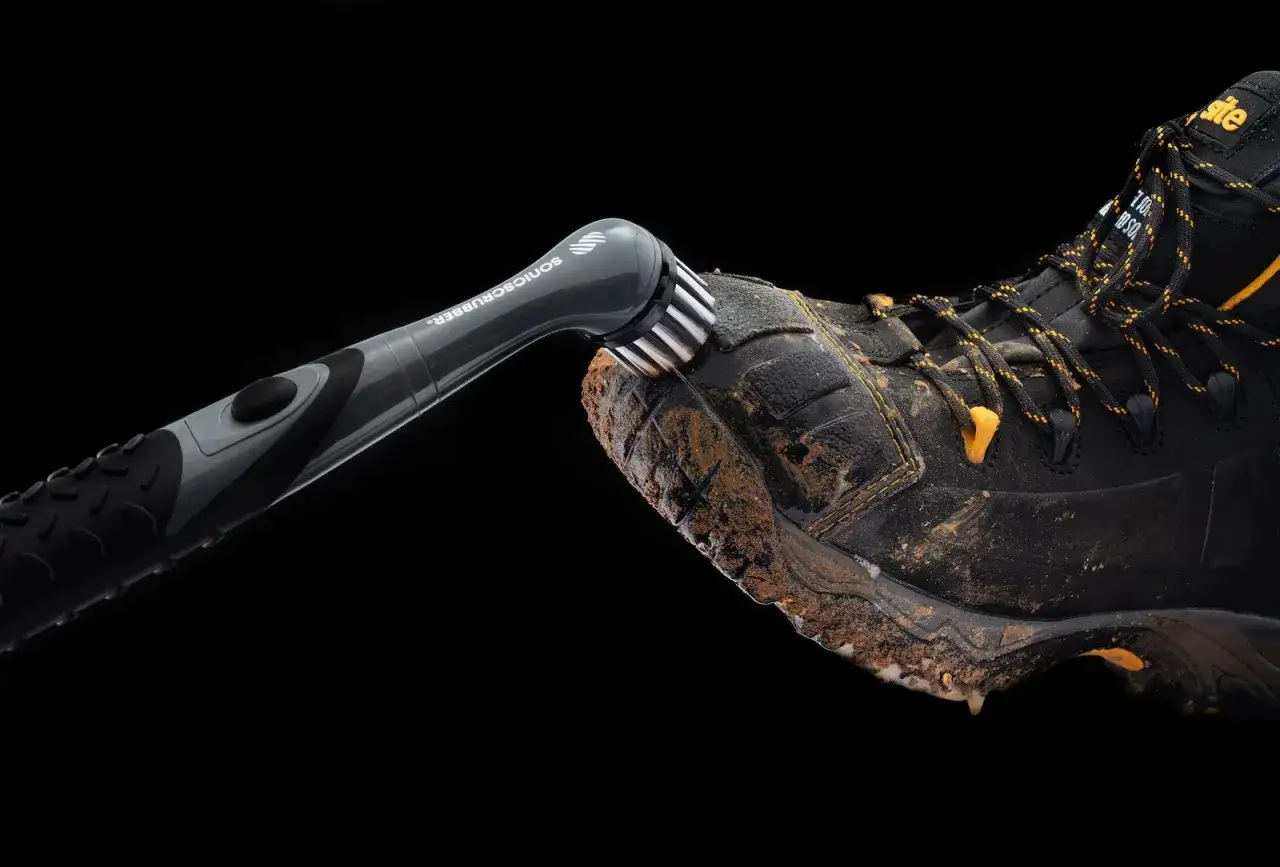
The safest way to wash Gore-Tex hiking shoes
I always begin with the dry debris. Laces come out, the insole comes out if the design allows it, and I shake sand, gravel, and trail grit from the collar, tongue, and inside the shoe. That small step matters because grit acts like sandpaper once the shoe starts flexing.
- Brush off loose dirt with a soft brush or sponge.
- Mix lukewarm water with a small amount of liquid detergent.
- Work the upper gently, especially around seams and flex points.
- Rinse with clean water until no soap residue is left behind.
- Let the shoes dry naturally before deciding whether the outer finish needs a refresh.
Never put Gore-Tex shoes in a washing machine. I also avoid bleach, harsh stain removers, and abrasive pads, because they can damage the upper or make the shoe perform worse than it did before the wash. For leather hiking shoes, I stay close to the manufacturer’s instructions and keep the scrubbing lighter than I would on synthetic mesh.
| Use | Skip | Why it matters |
|---|---|---|
| Lukewarm water | Hot water | Gentler on adhesives, leather, and mixed uppers |
| Small amount of liquid detergent | Bleach or heavy stain remover | Protects the membrane and outer finish |
| Sponge or soft brush | Abrasive pad or wire brush | Clears dirt without scuffing the material |
| Clean-water rinse | Leaving residue behind | Detergent film can trap dirt and dull performance |
Once the surface is clean, the next job is to dry it the right way, because heat damage usually happens after the wash, not during it.
Dry them slowly so the membrane keeps working
Gore-Tex footwear performs best when it dries at normal temperature with good airflow. I keep it far away from direct heat because high temperatures can weaken adhesives, age leather faster, and warp the shape before the upper is fully dry.
- Leave the shoes in a room with steady air circulation and low humidity.
- Take the insoles out and dry them separately.
- Use a fan or newspaper if you want to move the process along a bit.
- If you use a boot dryer, choose a convection-style model that moves warm air gently rather than blasting heat at the shoe.
I also avoid storing damp hiking shoes in a garage, trunk, or closed gear bin. If they stay wet too long, odors build, the lining feels clammy, and the outer materials take more abuse than they should. That is also the point where the water-repellent finish starts to matter again.
When water stops beading, the DWR layer needs a refresh
DWR stands for durable water repellent, which is the finish on the outside of the shoe that helps water bead up and roll off. It is not the waterproof membrane itself, so when a pair starts to feel “less waterproof,” the problem is often a dirty or worn outer finish rather than a failed inner layer.
I reapply a water-based DWR treatment only after the shoe is clean and dry, and only when I see the upper absorbing water instead of beading it. If I use a treatment at all, I keep it to a footwear-safe pump spray. I skip waxes and greases, because they can interfere with breathability and leave the shoe feeling sealed in the wrong way.
| What I see | What it usually means | What I do |
|---|---|---|
| Water beads and rolls off | DWR is still active | Keep using the shoes |
| Upper darkens and soaks in water | DWR is fading | Wash first, then reapply a water-based treatment |
| Outside feels wet but the inside stays dry | The membrane is still doing its job | Refresh the outer layer rather than panicking about a leak |
The useful habit here is order: clean first, dry fully, then treat the finish if it truly needs it. That sequence keeps the upper from getting coated with dirt and makes the next hike feel much more predictable.
How I handle mud, salt, and trail grime after long hikes
Not every mess should be treated the same way. Fresh mud is best handled once it has dried enough to brush off cleanly, while salt stains from sweat, winter slush, or coastal spray need a damp cloth and mild cleaner before they crust into the fabric.
- Thick mud - let it dry, knock off the chunks, then wash the remaining film.
- Fine dust and grit - brush it away early so it does not grind into the upper.
- Outsoles - clear pebbles and packed clay so traction stays reliable.
- Odor - remove the insoles, dry everything fully, and wash the inside if the smell lingers after a wet trip.
For stubborn contamination, I stay conservative and avoid jumping straight to harsh chemicals. On hiking footwear, the goal is not just to erase the stain; it is to keep the shoe functional for the next climb, descent, and stream crossing.
The mistakes that shorten the life of waterproof hiking shoes
Most damage comes from shortcuts that feel efficient in the moment. A washing machine cycle, a radiator, or a bottle of aggressive cleaner can do more harm than several muddy hikes combined.
- Machine washing can stress seams, adhesives, and the structure of the upper.
- Direct heat can harden leather and weaken the bond around the sole and rand.
- Harsh stain removers can be too aggressive for waterproof membranes and mixed materials.
- Wax and grease can reduce breathability and make the shoe feel clammy.
- Ignoring the inside leaves grit, odor, and damp insoles in place, which slows drying and wears the shoe from within.
There is one more limitation worth saying clearly: cleaning cannot fix a separated sole, a torn upper, or a membrane that has physically failed. Maintenance can extend the life of a solid pair, but it cannot reverse structural damage.
A simple maintenance rhythm that keeps trail shoes working longer
The routine I trust is boring, and that is exactly why it works. After muddy or wet hikes, I brush the shoes the same day or the next morning, I dry them slowly, and I only reapply DWR when the outer fabric stops beading water.
- After every muddy hike: remove grit and clear the outsole.
- After a few wet outings: wash the uppers with lukewarm water and mild liquid detergent.
- When water starts soaking in: refresh the DWR finish.
- Before storing them: make sure the shoes and insoles are completely dry.
That rhythm is usually enough to keep Gore-Tex hiking shoes breathable, comfortable, and ready for the next trail day, whether the route is a rainy ridge walk in the Alps or a muddy weekend loop closer to home.