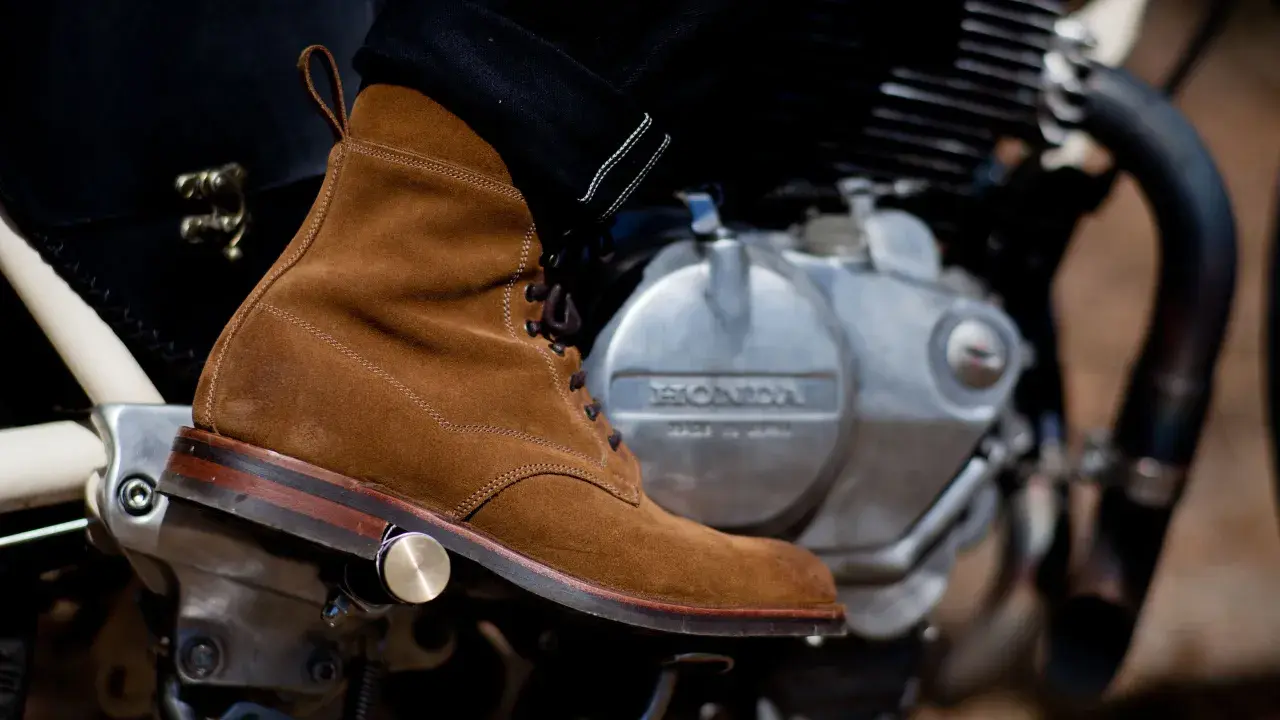
Boots change the way your feet move, and that is why a comfortable walk in them depends on more than just toughness or traction. Learning how to walk in boots is mostly about fit, lacing, stride control, and choosing the right rhythm for uneven ground, whether the surface is a wet coastal path, a rocky ridge, or a cobbled lane in an old mountain town. Get those details right and the boots start to disappear under you, which is exactly what you want.
The essentials that make boots easier to walk in
- Fit comes first. A boot should hold the heel securely and leave enough room for toes to move on descents.
- Break boots in gradually. Start indoors, then do short local walks before a full trail day.
- Lacing solves many problems. Heel slip, instep pressure, and toe pinch often improve with a different lacing pattern.
- Shorter steps work better. Boots usually feel smoother when you stop overstriding and keep your feet under your body.
- Downhill needs control. Slight knee bend, steady balance, and careful foot placement matter more than speed.
- Hot spots are a warning. Fix friction early, because small rubs turn into blisters fast.
Why boots feel different from shoes
The first thing I tell people is that boots are not just heavier shoes. A hiking boot usually has a stiffer sole, a higher collar, and more structure through the midfoot and heel, which can help on rough ground but also changes the way your ankle, knee, and hip work together. If you try to walk in them exactly the way you walk in trainers, the stride often feels clumsy, loud, or tiring.
That extra structure is useful on uneven terrain, but it also means the boot wants a more deliberate gait. You will usually feel the difference most on descents, where the foot wants to slide forward, and on long flat stretches, where a stiff sole can punish overstriding. I think of boots as tools, not armor: they help when they match the terrain, but they still need a walking style that works with the boot instead of against it. Once that is clear, the setup becomes much easier to fix.

Set the boot up before the first mile
I do not start with technique if the boot is poorly set up. Fit and lacing come first, because no walking style can fully compensate for heel slip, toe smash, or a boot that pinches across the instep. AMC’s fit guidance is sensible here: the heel should stay planted, the toes should not hit the front on a slope, and the foot should not slide side to side inside the boot.
When I break in a new pair, I keep the ramp slow and boring. REI’s advice is close to what I recommend in practice: wear them indoors first, then around the block, then on a short trail before I ask them to handle a full day. A boot can feel fine for ten minutes and still fail after two hours, so I prefer to test it in stages.
| What you feel | Likely cause | What I try first |
|---|---|---|
| Heel slipping up and down | Too much volume around the heel or instep | Use a heel-lock or surgeon’s knot, then reassess the fit |
| Pressure on the top of the foot | Laces crossing too tightly over the instep | Try window lacing to open a small pressure-free section |
| Toes jamming on descents | Boot is too short, too loose, or not re-seated properly | Kick the heel back into place, retie snugly, and check sizing |
| Numbness or side squeeze | Boot is too narrow or too tight overall | Stop using that setup and test a wider last or different model |
That table is the practical part. The technical part is simple: a surgeon’s knot helps lock tension in one place, window lacing relieves pressure on the top of the foot, and a heel-lock pattern can reduce heel lift. Once the boot is stable, the walking itself gets much easier to control.
Walk with a shorter, quieter stride
My default in boots is a shorter stride than I would use in light shoes. I keep my feet under my body, land with control, and let the boot roll through the step instead of reaching forward and braking hard with the heel. That makes a bigger difference than most people expect, especially on mixed ground where one step is smooth and the next lands on a root, stone, or patch of loose gravel.
There is also a noise test I like: if the boot sounds heavy and slappy, I am probably overstriding or landing too rigidly. A quieter step usually means better control. I also keep a soft bend in the knees rather than locking them, because locked legs transfer more shock up the chain and make balance worse. On flat ground, the movement should still feel natural, but not lazy. The goal is a compact, efficient stride, not a shuffle. That same logic becomes even more important once the trail starts tilting up or down.
Handle climbs and descents without fighting the boot
Uphill in boots, I shorten the stride again and keep a steady rhythm. A slight forward lean from the ankles is fine; bending at the waist usually just wastes energy. If the grade is steep, I prefer switchbacks or a zigzag path instead of driving straight up the fall line, because that reduces the load on calves and keeps traction more reliable. Steady cadence matters more than trying to power through with big steps.
Downhill is where most boot discomfort shows up. I soften my knees, keep my torso balanced over my feet, and avoid leaning back as if I am trying to stop myself from falling forward. That backward lean actually makes balance worse and pushes the toes harder into the front of the boot. Shorter steps give me more control, especially on loose or wet surfaces. Trekking poles help too, but they do not replace good foot placement; they just take some load off the legs and improve stability. The rule I use is simple: if the slope feels uncertain, my steps should get smaller, not faster.
On a long descent, I also check whether my foot has started sliding forward inside the boot. If it has, I stop and retie before the toes take a beating. That small pause is far cheaper than spending the next hour protecting a bruised forefoot.
Stop blisters before they start
Blisters are not random. They usually come from friction, moisture, and repeated movement in the same spot. That is why sock choice and foot dryness matter so much. I prefer hiking socks made from wool or synthetic fibers rather than cotton, because they manage moisture better and reduce the chance of a damp, rubbing foot. On long or wet outings, I will often carry a spare pair of socks so I can change before the foot gets soft and irritated.
The most important habit, though, is to react early. A hot spot is not something to ignore and hope for the best. It is the warning light that tells you the foot is shifting inside the boot, the lace tension is off, or the sock has bunched up. If I feel rubbing under the heel or along the little toe, I stop, adjust the laces, smooth the sock, and inspect the fit before it turns into a full blister.
- Keep feet dry whenever you can.
- Trim toenails before longer hikes.
- Use moleskin or tape on a hot spot, not as a substitute for bad fit.
- Retie laces after the first hour if the boot has settled.
- Change socks if the inside of the boot gets wet and stays wet.
If the same blister keeps returning in the same place, I do not blame my technique first. I assume the boot or sock system is wrong and start adjusting from there. That leads straight into the next question: when is the problem not walking style at all?
Know when the boot is the problem, not your technique
Some boots can be walked in well, but still fit the wrong foot or the wrong terrain. If I still get heel lift after proper lacing, if my toes hit the front on every descent, or if my foot goes numb after a short, easy walk, I stop trying to “learn the boot” and start questioning the boot itself. A good pair should not require constant negotiation.
Here are the signs I take seriously:
- Repeated black toenails after descents usually mean the boot is too short or the foot is sliding forward.
- Hot spots in the same place often point to poor shape match, not just weak lacing.
- Side squeeze or numbness suggests the last is too narrow.
- Constant heel lift means there is too much volume in the heel or instep.
Sometimes the fix is a different size. Sometimes it is a different width. And sometimes the honest answer is that you do not need a heavy boot for the terrain you actually walk. On easier paths, a lighter hiker or trail shoe may give you better movement with less fatigue. I have no interest in pretending boots are always the right answer, because on many walks they are simply more boot than the route demands.
The habits that make long boot days easier
When I know I am facing a long day, I keep the routine very plain. I check the fit before I leave, walk the first kilometer conservatively, and treat any rubbing as a problem to solve immediately instead of a nuisance to tolerate. I also re-seat my heel after breaks, because boots often loosen a little once the foot warms up and the leather or fabric settles.
- Start slower than you think you need to.
- Retie before the boot starts rubbing, not after.
- Use shorter steps on rough, wet, or steep ground.
- Let your knees stay soft, especially on descents.
- Carry socks or tape if the day is long enough to deserve them.
That is the real answer to walking well in boots: make the boot fit the foot, make the stride fit the terrain, and do not wait for pain to tell you something is off. On a damp trail in Asturias or a long rocky approach anywhere else, that small discipline is what keeps the walk steady, efficient, and worth repeating.