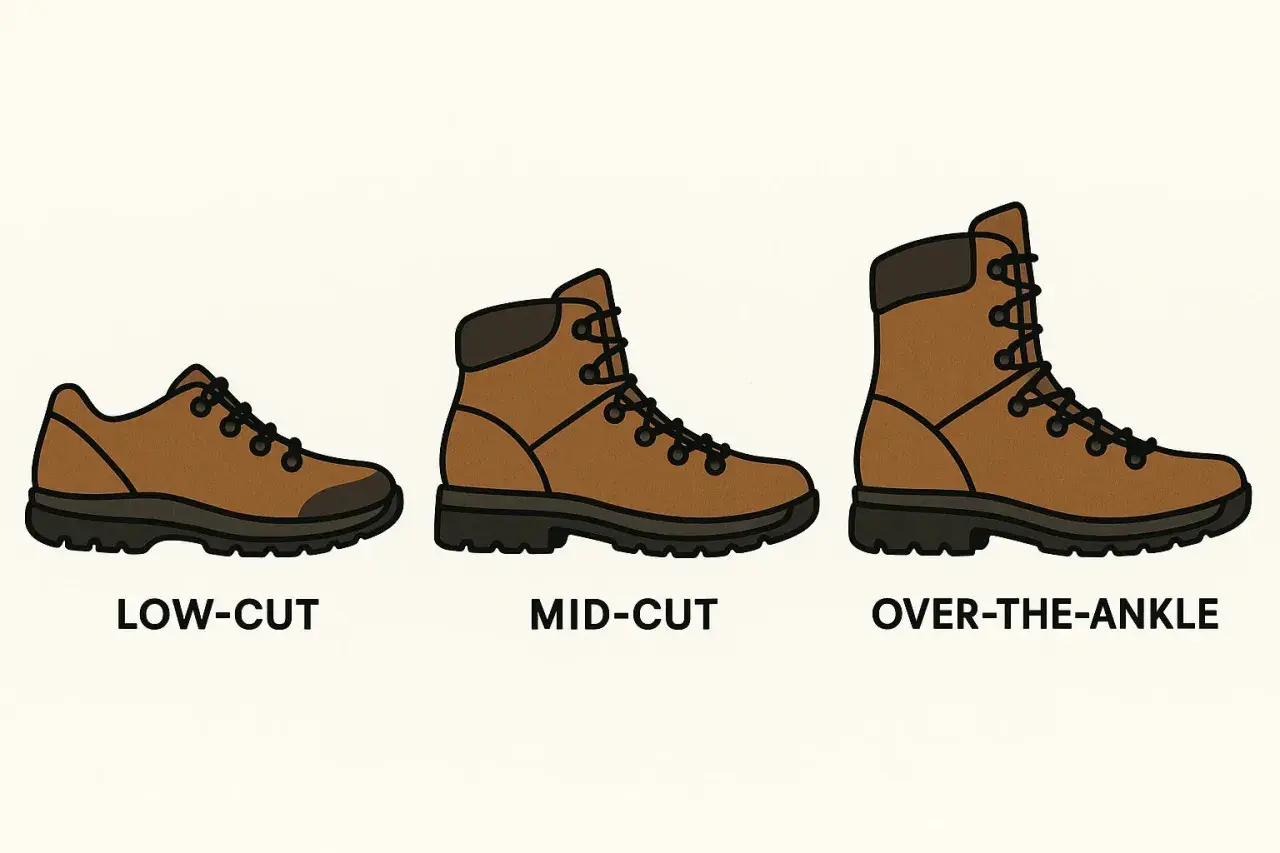
The key fit signals to check before you buy
- Fit the larger foot. Most people have one foot that is slightly bigger, and that foot should set the size.
- Leave toe room. Aim for about a thumb’s width in front of the longest toe when you are standing.
- Keep the heel stable. A little movement is tolerable, but repeated lifting is a blister waiting to happen.
- Do not ignore width. A boot can be the correct length and still feel wrong if the forefoot is squeezed.
- Try boots late in the day. Feet usually expand after hours on them, which is exactly when hiking boots need to feel right.
How boots should feel when the size is right
A properly fitted hiking boot should feel snug, not tight. Your toes need enough room to wiggle, but the rest of the foot should not slide around as you walk. If the boot only feels comfortable when you cinch the laces hard across the top of your foot, the shape is probably wrong, even if the length seems close.
I also pay attention to what happens on a downhill slope. On steep European trails, especially rocky descents in places like Asturias, the Pyrenees, or the Alps, the front of the boot gets punished. If your toes touch the end every time you step down, the boot is too short or too shallow in the toe box, the front section around your toes. Once that baseline makes sense, measuring the foot properly becomes much easier.
How to measure your feet at home
Measure both feet in the socks you actually plan to hike in. If you can, do it later in the day when your feet are at their largest. I always size to the longer foot first, then use width and volume to decide whether the boot shape is truly right.
- Place a sheet of paper against a wall and stand on it with your heel touching the wall.
- Mark the longest toe on each foot, because that is not always the big toe.
- Measure from the wall to the mark, then repeat for the other foot.
- Measure the widest part of the foot as well, because length alone does not tell you whether the forefoot will feel crushed.
- If a store uses a Brannock-style fitting device, check length, width, and arch length before you make a decision.
| What you measure | Why it matters | What to do with it |
|---|---|---|
| Length | Prevents toe bang on descents | Fit to the longer foot and keep thumb-width room |
| Width | Prevents side squeeze and hot spots | Choose a wide version or a different model if the forefoot feels pinched |
| Volume | Shows how much space sits over the instep and across the midfoot | Adjust with lacing, socks, or a different last if pressure builds on the top of the foot |
Length gets you in the right neighborhood. Width and volume decide whether the boot stays comfortable after an hour, which is where a lot of buyers discover the difference between a decent fit and a good one. From there, the next question is how that boot works with the rest of your setup.
Match the boot to your socks, foot volume, and trail plans
Boot size is never just the boot. Thick hiking socks, thin liner socks, custom orthotics, and even the upper shape of the boot all change how the fit feels. The term to know here is last, which is the mold a boot is built on. A low-volume last suits a narrow, lean foot; a roomier last is better for a broader forefoot or higher instep, the top of your foot.
If you hike mostly on short, flat trails, a closer fit can work. If you carry a pack, walk long descents, or spend hours on uneven ground, a little extra toe room is usually the safer call. That is one reason I would not judge a hiking boot the same way I judge a casual shoe. A boot that feels slightly generous in the shop may be the one that saves your toes after three hours of climbing and braking downhill.
| Hiking setup | Fit direction that usually works best |
|---|---|
| Day hikes with a light pack | Snug midfoot, normal toe room, no obvious heel lift |
| Long mountain descents | Extra toe room and a secure heel pocket |
| Cold-weather hiking | Enough volume for thicker socks without cramping the forefoot |
| Orthotics or high insteps | More internal volume and a boot that laces comfortably over the top of the foot |
If the boot matches your socks and your trail plans, the in-store test becomes far more meaningful. That is the point where movement reveals problems that standing still hides.
Try them on the way you will actually hike
Stand up, lace the boots the way you would on a trail, and walk for at least 10 minutes. If the store has a slope, steps, or a ramp, use it. I care more about how a boot behaves under motion than how it looks on a shelf, because the shelf never exposes heel lift, toe bang, or pressure over the instep.
| What you feel | What it usually means | What to try next |
|---|---|---|
| Toes tap the front on a downhill | Too short or too shallow in the toe box | Try half a size up or a roomier shape |
| Heel lifts on every step | Too long or the wrong heel shape | Adjust lacing, then test a different width or model if it persists |
| Pressure over the instep | Too much volume over the top of the foot | Loosen the lacing pattern or move to a different last |
| Side-to-side sliding | The boot is too wide for your foot | Try a narrower width or a more secure fit |
| Numb toes after a few minutes | Compression, often from width or volume | Do not force it; test a roomier boot |
If you regularly hike steep ground, check the fit while stepping down, not just while walking flat. That one test is often the difference between a boot that feels acceptable and one that actually works on real terrain. Once you can trust the motion test, the next step is deciding when to size up or change width.
When to size up, choose wide, or switch models
My rule is simple: change the size only to solve a length problem, and change the width or model to solve a shape problem. If you are between sizes, I usually test the larger one first for hiking boots, especially if you hike long distances or carry a pack. The extra room can be useful, and a slightly roomy boot is easier to fine-tune than a boot that is too short.- Size up if your toes graze the front on descents or the boot feels short even before you start walking.
- Choose wide if the length is fine but the forefoot feels squeezed from the sides.
- Switch models if heel lift keeps showing up even after lacing adjustments.
- Use an insole if the boot is only a little loose and you want to take up some internal space.
- Be cautious with synthetic uppers because they usually change shape less than leather over time.
That is also why I do not trust the label by itself. Two boots with the same US size can fit very differently because the last, toe box, and heel cup are not built the same way. A better boot is not the one with the smallest number, but the one that lets your foot stay relaxed without sliding around. The last check is a quick reality test before you commit.
One last fitting check before you commit
Before you buy, run through the same checklist one more time with both boots on: toes free, heel stable, forefoot uncrushed, and lacing comfortable across the instep. If possible, walk on a slope and stand for a minute with your weight forward, because that is when sizing mistakes show up fastest. If the boot only feels good when you ignore one of those checks, keep looking.
- Fit the larger foot, not the smaller one.
- Do not settle for heel slip that keeps repeating.
- Do not buy a boot that pinches at the forefoot and hope it will magically relax.
- Try the socks you will actually wear on the trail.
- Trust movement, not just standing comfort.
That is the practical way to choose hiking boots with confidence: measure honestly, test in motion, and let shape matter as much as size. When the boot is right, you notice the trail, not your feet.