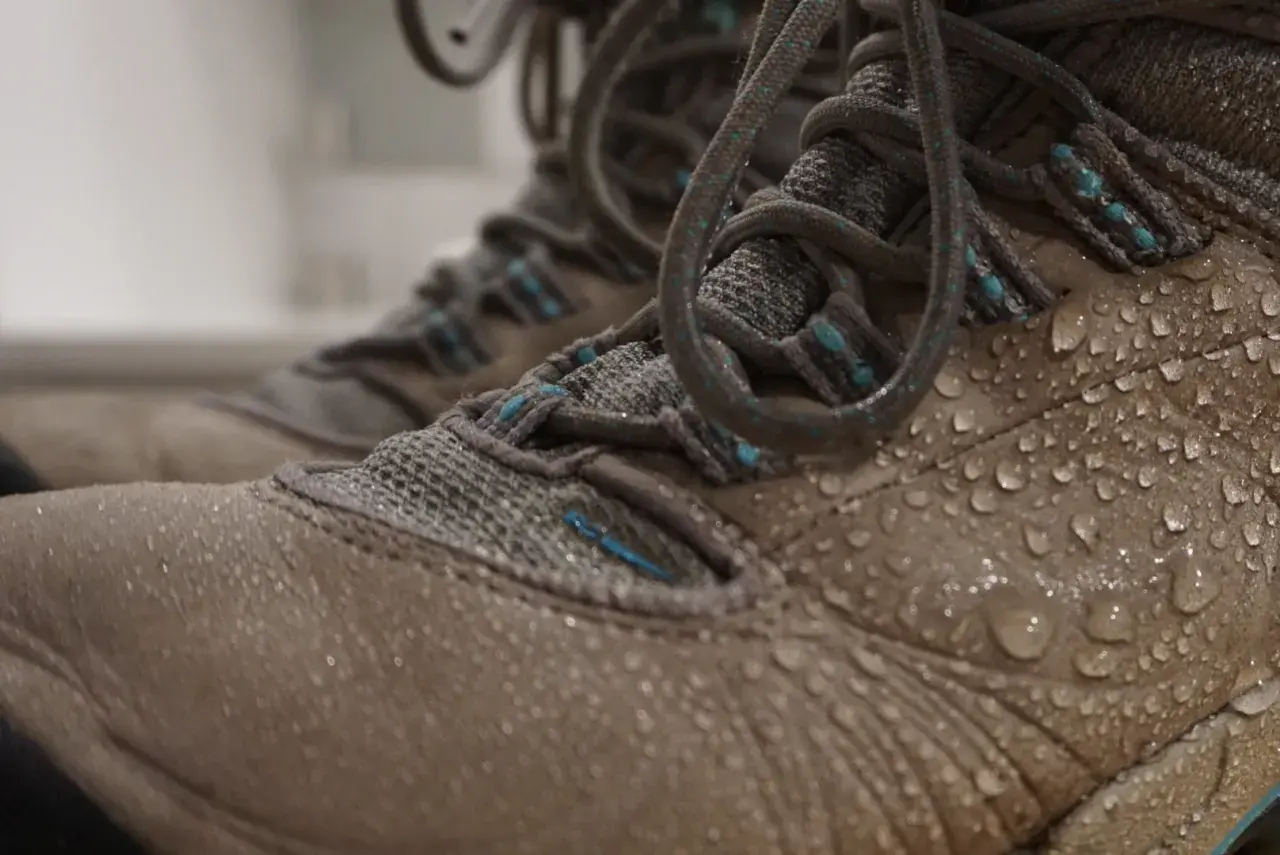
Boot interiors collect the worst part of a hike: sweat, grit, mud, and the damp smell that hangs around if you rush the drying. The practical answer to how to clean inside of boots is almost always the same, remove the footbeds, clean gently, and dry everything completely. In hiking footwear, that matters because trapped moisture does more than smell bad, it shortens comfort, breaks down materials faster, and makes the next hike feel less fresh than it should.
What matters most before you start cleaning boot interiors
- Remove the removable parts first, especially insoles and laces, so moisture and grit do not stay trapped.
- Use only a light touch, a damp cloth, mild soap, and soft brushing are usually enough for the inside.
- Dry at room temperature, because direct heat can damage adhesives and warp materials.
- Treat odor separately from dirt, since a clean-looking boot can still smell if the footbed stays damp.
- Match the method to the material, especially if the boot has a liner, membrane, leather interior, or insulated insert.
The safest way to clean the inside of hiking boots
I always start with the removable parts: laces, insoles, and any liner that can come out safely. That lets me clean the boot shell and the footbed separately, which is the easiest way to remove sweat and dirt without over-wetting the whole boot. The same basic logic is what I follow from REI’s boot-care guidance, gentle cleaning, separate drying, and no direct heat.
- Pull out the insoles and leave the boots open so air can move through the collar and tongue.
- Tap out loose dirt and brush away dust or dried grit from the interior seams, heel cup, and tongue area.
- Wipe the lining with a barely damp cloth dipped in lukewarm water with a few drops of mild soap. Keep the cloth damp, not dripping.
- Use a soft brush or toothbrush only on stubborn spots, especially around stitching where sweat and dust collect.
- Rinse the cloth and wipe again so soap residue does not stay inside the boot.
- Let everything air-dry separately before putting the boot back together.
If the inside is only dusty or slightly sweaty, this is usually enough. I do not soak the lining unless the manufacturer says the boot is built for it, because excess water is where most people accidentally create the next problem. Once the dirt is gone, odor is usually the next issue.
What to do about odor, sweat, and mildew
Not every smell means the boot is dirty in the usual sense. Sweat odor is mostly moisture plus bacteria, while mildew is a sign that the boot stayed damp too long. I treat those differently because the wrong fix can make the problem worse. A strong perfume spray may hide the smell for an hour, but it does nothing about the damp footbed that caused it.
| Problem | What I do | What I avoid |
|---|---|---|
| Fresh sweat odor | Remove insoles, air them out, and use a small amount of baking soda in a thin cloth or spare sock overnight. | Masking sprays and heavy fragrances |
| Stale odor after a wet hike | Wipe the footbed and lining with mild soap, then dry with a fan or newspaper stuffing. | Soaking the inside of the boot |
| Visible mildew or musty patches | Spot-clean with a cloth dampened with a vinegar-water mix, then dry fully. | Bleach, direct sun for long periods, or storing the boot while still damp |
For odor control, Timberland’s simple baking-soda trick still holds up in real use, especially when the boot is clean but smells tired. I use it when the problem is light to moderate, not when the inside is visibly dirty or soaked. If the smell keeps coming back after a proper clean, the footbed is usually the culprit, not the outer shell. That brings us to the part that matters almost as much as the cleaning method itself, the boot’s material and construction.
Why the material changes the cleaning method
I do not clean every boot interior the same way, because hiking footwear is built in layers. A synthetic lining, a leather-lined boot, a waterproof membrane, and a boot with a removable insulated liner all respond differently to moisture. If you treat them all the same, you can end up with stiff leather, trapped moisture, or a liner that never quite dries.
| Boot interior type | Best approach | Watch out for |
|---|---|---|
| Synthetic lining | Mild soap, lightly damp cloth, soft brushing, air-dry fully | Over-wetting the heel and toe box |
| Leather-lined interior | Minimal water, quick wipe-downs, slow drying at room temperature | Too much moisture can stiffen or darken the leather |
| Waterproof membrane boot | Gentle cleaner only, no harsh detergents, no soaking | Detergent residue can interfere with performance |
| Removable insulated liner | Check the label first, then spot-clean or hand-wash only if allowed | Some liners can shrink, lose loft, or flatten if washed carelessly |
This is the part people skip when they are in a hurry, and it is where mistakes get expensive. If the boot has a manufacturer label that says spot-clean only, I respect that. If the liner comes out, I treat it like its own piece of gear, not a side note. Once you know what you are cleaning, the next step is to dry it correctly, because drying is where a good clean is either preserved or wasted.
Drying and reassembly without damaging the boot
I am strict about drying because heat damage is quiet at first and obvious later. High heat can weaken adhesives, warp materials, and make the inside feel worse the next time you wear the boot. That means no radiator, no fireplace, no campfire, and no long blast from a heater. If the boots are only lightly damp, I usually leave them open in a room with steady air and a fan nearby. If they are soaked, I stuff them with newspaper and change it when it feels damp.
- Separate the insole from the boot so both pieces can dry at the same time.
- Open the tongue fully and loosen the collar so air can move through the entire interior.
- Use a fan before you use heat, because moving air dries boot interiors more safely than warm air.
- Wait for a completely neutral feel, not just a boot that seems dry on the surface.
As a rough rule, lightly damp boots often need overnight drying, while soaked boots can need a full day or longer. I do not rush the reassembly step either, because putting a damp insole back into a damp shell is a reliable way to bring the smell right back. Once the boot is fully dry, keeping it fresher becomes mostly a habit, not a chore.
How to keep boot interiors fresher on every hike
The easiest way to keep a boot clean inside is to stop grime and moisture from settling there in the first place. That sounds obvious, but I see hikers ignore it all the time. A boot can look fine on the outside and still stay damp inside for days if it goes straight from the trail into a closed closet or a car trunk.
- Wear moisture-wicking socks, because cotton tends to hold sweat longer than most hikers realize.
- Air the boots out immediately after a hike, even if you are too tired to clean them that day.
- Rotate two pairs when you hike often, since a boot that gets a full drying cycle lasts longer and smells less.
- Remove the insoles after wet hikes, especially if you crossed streams, hiked in rain, or stepped through deep mud.
- Keep grit out with gaiters when needed, because fine debris inside the boot abrades the lining and footbed over time.
I also like to think about storage. A cool, dry, ventilated place beats a hot garage or a sealed bin every time. If a boot keeps smelling bad even when you clean it well, the real problem is usually not the shell. It is the footbed, the drying routine, or the fact that moisture is being trapped again and again. That is why the next reset I use is so simple.
A quick reset that keeps boots trail ready
After a wet weekend, I use one short routine instead of trying to do everything at once. I pull the insoles, brush out grit, wipe the lining, and leave both pieces open to dry in moving air. If the odor is mild, I use the baking-soda trick overnight. If I see any musty spot, I treat it early with a light vinegar-water wipe and dry the boot fully before it goes back into rotation.The point is not to overcomplicate it. Clean the removable parts, use as little liquid as you can get away with, and dry the boot all the way through. If you do those three things consistently, the inside of your hiking boots stays fresher, the materials last longer, and the next trail day starts on better footing.