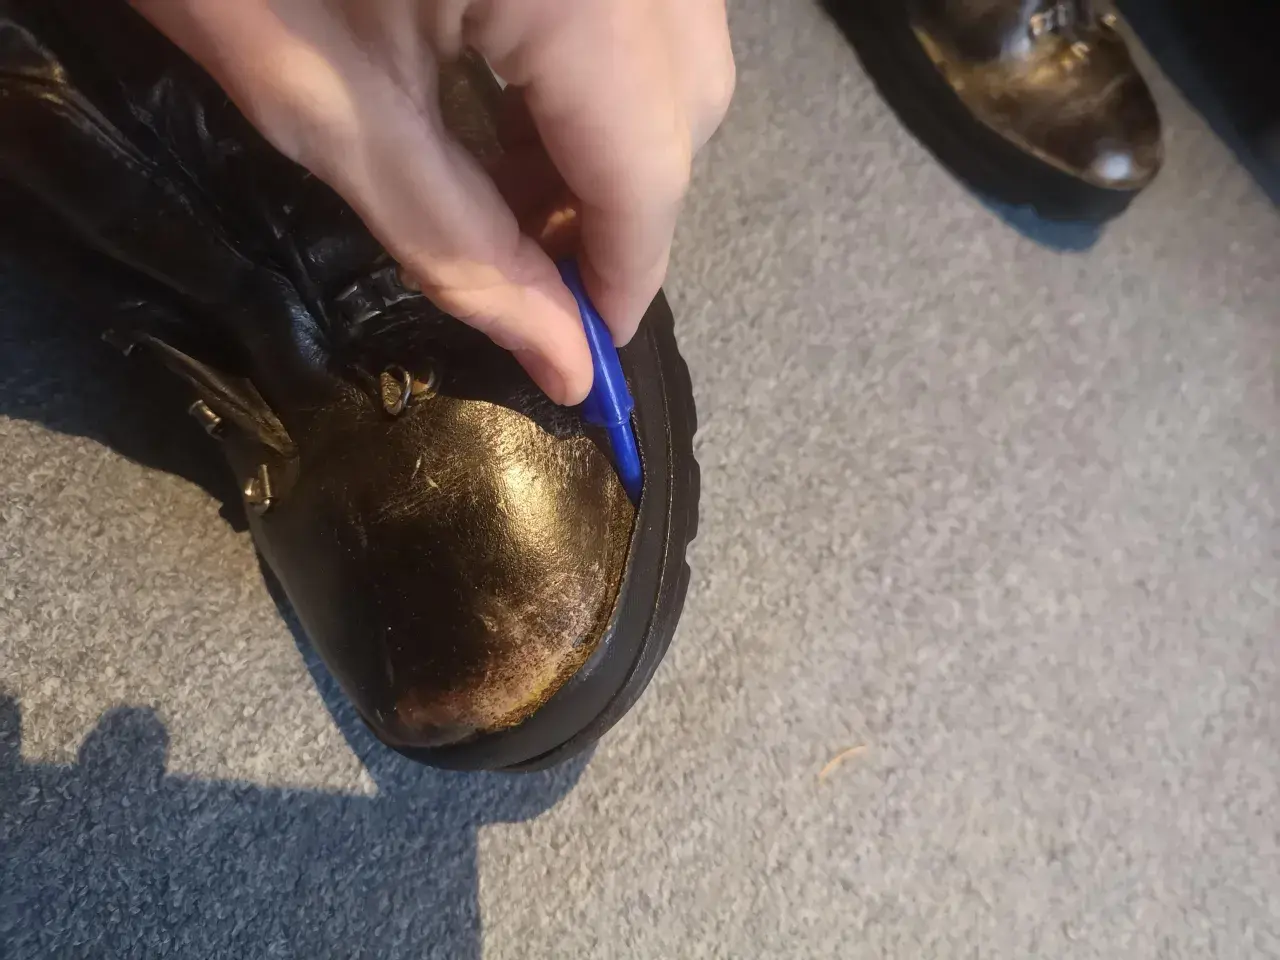
A boot that starts to peel at the outsole or rand is annoying, but it is not automatically finished. The real challenge in how to fix boots that are coming apart is figuring out whether you are dealing with a clean separation, a worn seam, or a failing midsole, because each one needs a different repair. I am going to show you how I sort those cases out, which adhesive actually makes sense, and when it is smarter to hand the boot to a cobbler.
The safest repair starts with matching the fix to the failure
- A clean outsole lift can often be re-bonded with contact cement or a flexible shoe adhesive.
- A chalky, crumbly PU midsole is usually a structural failure, not a glue problem.
- Surface prep matters more than brand choice: dry, clean, and lightly roughened surfaces bond better.
- Clamp the repair and give it a full cure, usually 24 hours or more.
- If the separation is large or the boot has lost shape, a cobbler or replacement is the better call.
What is actually coming apart on the boot
Most people say “the sole is coming off,” but that is too vague to be useful. The outsole is the tread that touches the ground, the midsole is the cushioning layer above it, the rand is the protective rubber strip around the toe or heel, and the upper is the leather or fabric shell that holds your foot. If the outsole is lifting cleanly from sound material, glue can work; if the midsole has gone chalky or crumbly, the boot has a deeper structural problem.
- Outsole separation usually looks like a clean gap along the edge, toe, or heel.
- Rand failure often shows up as peeling rubber around the toe cap or heel bumper.
- Midsole breakdown feels soft, dry, brittle, or powdery and may leave crumbs in your hand.
- Upper seam failure means stitching, fabric, or leather is giving way, not just the glue line.
That distinction matters because a boot can look repairable from the outside while the cushioning layer underneath is already failing. Once you know the failing layer, the decision between a quick patch and a real rebuild becomes much clearer.
When glue is enough and when it is not
I treat a repair as realistic only when the boot still has a solid structure underneath the gap. A small, localized lift at the toe or heel is a very different problem from a boot that is splitting halfway around the perimeter or shedding foam from the midsole. As a practical rule, if the separation is longer than about 2 to 3 inches (5 to 8 cm) or the boot flexes badly in the damaged area, I stop thinking of it as a simple home fix.
| Damage pattern | Best move | Typical U.S. cost | What to expect |
|---|---|---|---|
| Small outsole lift at toe or heel | DIY reglue with contact cement or flexible shoe adhesive | $10-$25 in materials | Often worth doing if the rest of the boot is sound |
| Rand peeling or narrow edge gap | Flexible shoe adhesive and firm clamping | $10-$20 in materials | Good for sealing and minor structural repair |
| Long outsole separation | Cobbler repair or resole | $40-$150+ | More durable than a home patch |
| Crumbly PU midsole | Replace or full rebuild | $150-$300+ | Glue will not restore the lost material |
The honest line is simple: adhesive can reattach parts that are still healthy, but it cannot rebuild material that has chemically broken down. That is why the next step is not “buy stronger glue”; it is choosing the right repair method for the failure you actually have.
Repair a clean separation step by step
For a clean separation, I want the bond surfaces to be dry, roughened, and free of old adhesive before anything touches them. You do not need a workshop to do this well, but you do need patience and a careful setup. The repair is only as good as the weakest part of the prep.
What you need
- Isopropyl alcohol and clean rags
- A stiff brush or old toothbrush
- 80 to 120 grit sandpaper
- Flexible shoe adhesive or contact cement
- Clamps, heavy books, a strap, or strong tape
- A dull knife or scraper for old glue
Read Also: Do Hiking Boots Shrink Over Time? How to Spot the Real Cause
How I would do it
- Dry the boot completely. If it has been wet, give it at least 24 hours in a ventilated room before you start.
- Brush out dirt, grit, and dried mud from the gap. Even a tiny pebble can ruin the bond.
- Remove loose old glue with a scraper, then lightly roughen both bonding surfaces with sandpaper. Do not grind away material; just create tooth for the adhesive.
- Wipe the surfaces with alcohol and let them dry fully.
- Apply adhesive in a thin, even coat. For contact cement, coat both surfaces, let them get tacky, then press them together once. For flexible shoe adhesive, follow the label and avoid overapplying.
- Press the pieces together firmly and clamp them. If the area is curved, use tape or a strap to hold even pressure.
- Leave the boot alone for the full cure time. 24 hours is the minimum I trust; 48 to 72 hours is safer for thicker adhesive or humid conditions.
- Trim any squeeze-out after curing and flex the boot gently by hand before wearing it outside.
I would not test the repair on a long hike the same day. A short indoor walk, then a neighborhood walk, then a real trail day is the safer sequence. If the bond survives that progression, it is far more likely to survive wet rock, repeated flexing, and the kind of side loading that hiking boots actually see.
Which adhesive works best for each job
I almost never reach for super glue here. It grabs fast, but it cures hard and brittle, which is the opposite of what a hiking boot needs at the bend line. The best adhesive is the one that stays flexible enough for the boot to move without tearing the bond apart again.
| Adhesive type | Best use | Strengths | Weak points |
|---|---|---|---|
| Contact cement | Broad outsole or rand separations | Strong, flexible, good for large bonded areas | Needs careful prep and a one-shot bond |
| Flexible shoe adhesive | Small lifts, edge sealing, gap filling | Elastic after curing, easy to apply | Not ideal for major structural detachments |
| Urethane repair compound | Small voids, seam sealing, emergency trail fixes | Water-resistant and flexible | Too soft for a badly separated sole on its own |
| Epoxy | Rigid parts only, if at all | Strong on hard, non-flexing surfaces | Brittle in boot flex zones |
For most hiking boots, I think in this order: contact cement for larger re-bonds, flexible shoe adhesive for smaller repairs, and cobbler work when the boot needs more than a surface fix. That is the practical way to avoid paying twice for the same mistake.
When the boot needs a cobbler or replacement
Some failures are repairable at home, but some are only delaying the inevitable. If the midsole is crumbling, the heel counter is collapsing, the upper is tearing at the flex point, or the sole keeps peeling back after a careful reglue, I stop spending time on DIY fixes. At that point, the boot is not asking for more glue; it is asking for a structural repair.
- Midsole hydrolysis: the cushioning layer has broken down and feels chalky or crumbly.
- Repeated separation: the same area peels again soon after a repair.
- Welt or stitching failure: the boot is no longer holding its shape through the join.
- Heel counter damage: the back of the boot no longer supports your ankle properly.
- Widespread cracking: the upper is too brittle or damaged for a reliable patch.
A cobbler can often resole, restitch, and rebond a boot that still has a healthy upper and midsole foundation. What a cobbler usually cannot do is resurrect foam that has already decomposed. If the boot feels dead underfoot, the smartest repair is often a new pair.
Keep the fix alive on the trail
The repair is not finished when the glue dries. It is finished when the boot survives a few real walks, a little mud, and some flex without opening again. I treat the first week after repair as a test phase, not a victory lap.
- Let the adhesive cure fully before loading the boot with your full body weight and pack weight.
- Avoid soaking the repaired area for the first 48 hours if you can help it.
- Keep the boot clean, because grit acts like sandpaper on the bond line.
- Dry boots slowly in open air; do not park them next to a stove, radiator, or blasting heater.
- Store them in a cool, dry place and remove the insoles so moisture does not sit inside the boot.
- Check the repaired edge after every major outing so you can catch a lift before it turns into a full separation.
For a trip where weather is unpredictable, I would also pack a small emergency repair kit: alcohol wipes, a short length of strong tape, and a travel-sized flexible adhesive if the rules allow it. That is enough to stabilize a minor failure long enough to get back to a proper repair.
The repair choice I would make before a wet week on the trail
My rule is straightforward. If the boot still has a sound structure and the failure is localized, I repair it carefully and test it before trusting it on real terrain. If the midsole is rotting, the separation keeps returning, or the boot has lost its shape, I stop trying to rescue it with glue. That is the difference between a repair that buys real miles and a repair that only delays the inevitable.
For hikers, the best outcome is not just saving money. It is keeping a boot reliable enough for wet paths, long descents, and uneven ground without wondering whether the sole will let go halfway through the day.