Proper hiking-boot care is not cosmetic. It keeps grit from grinding away the upper, protects the water-repellent finish, and helps a boot stay comfortable long after the first rainy season. The phrase wanderschuhe pflegen points to a simple routine: clean the boots, dry them correctly, restore the water-repellent finish, and store them before moisture turns into damage.
The care routine that keeps boots ready for the next climb
- Remove dirt early. Mud and grit do more damage once they dry into the fabric and seams.
- Dry at room temperature. Heat sources can crack leather, weaken adhesives, and warp the shape.
- Reproof when water stops beading. That is the point where the outer shell starts soaking up moisture again.
- Match the product to the material. Leather, suede, synthetic fabric, and membrane-lined boots do not want the same treatment.
- Store them openly and dry. A closed, damp boot is how odor, mildew, and premature breakdown start.
Why boot care matters more than a clean look
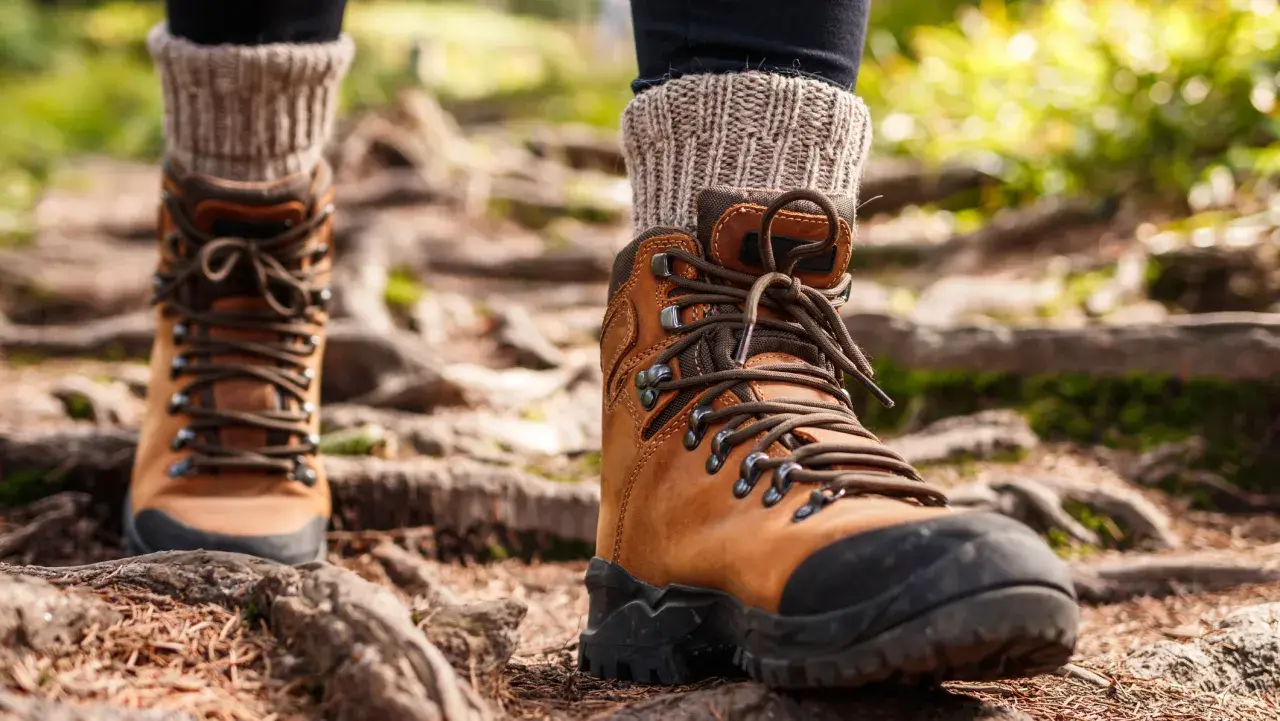
In my experience, hiking boots rarely fail in one dramatic moment. They wear down gradually because dirt stays in the tread, moisture sits in the lining, and the outer material dries out after every wet outing. Once that happens, the boot loses the little things that make a long hike comfortable: flex, breathability, grip, and the ability to shed water instead of absorbing it.
Grit is especially destructive because every step presses it deeper into leather and fabric, where it works like fine sandpaper. Mud is not harmless either; once it dries, it pulls moisture from leather and makes the surface less supple. If you have ever come back from a sloppy trail in the Appalachians or a wet walk in northern Spain and left the boots in a corner overnight, you have probably seen the first signs already: stiffness, odor, dull fabric, and a finish that no longer beads water properly. Once you see that chain reaction, the cleaning step becomes easier to prioritize.
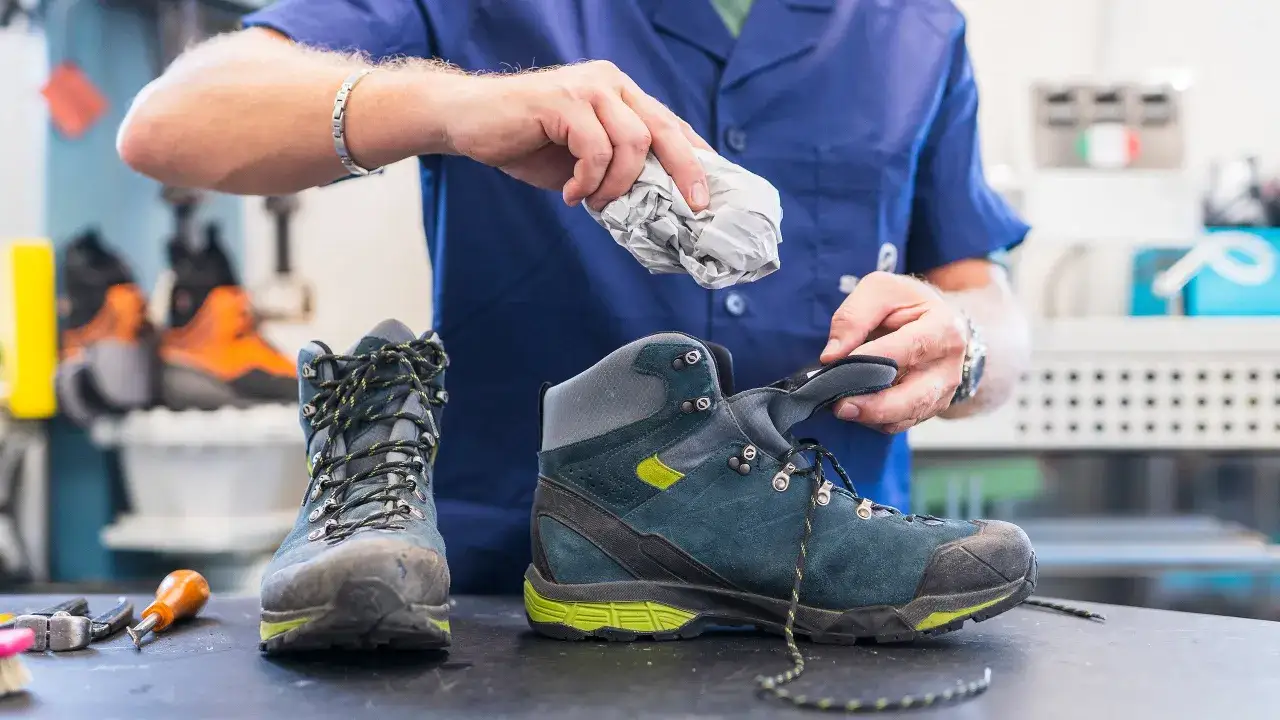
The cleaning routine that removes damage, not just dirt
When I clean hiking boots, I start with the parts that collect the most abuse: the tread, the eyelets, and the seam lines. If you skip those areas, you are mostly polishing the visible surface while the real grime stays tucked into the boot.
- Remove the laces and, if possible, take out the insoles.
- Tap the soles together to shake out gravel, sand, and packed mud.
- Brush off dry dirt with a soft brush, old toothbrush, or boot brush.
- Use lukewarm water and a small amount of liquid detergent or a boot cleaner only if the boot needs it.
- Wipe the inside with a damp cloth or sponge if grit or sweat has reached the lining.
- Rinse thoroughly so no soap residue stays in the fabric or leather.
Never machine-wash hiking boots. The agitation, heat, and soaking can damage the upper, loosen adhesives, and shorten the life of the waterproof layer. I also avoid bleach, heavy stain removers, and bar soap unless a manufacturer explicitly allows them. For muddy boots, a little patience with a brush and running water is safer than trying to force the dirt out with harsh chemistry.
If you hike different regions back to back, clean out the tread carefully as well. It restores traction and helps avoid carrying mud, seeds, and small stones from one trail system to another. After the dirt is gone, the next mistake usually happens during drying.
Drying them without wrecking the materials
Heat is the fast way to ruin a good boot. I have seen leather crack, glue lines soften, and synthetic uppers turn stiff simply because the boots were parked next to a radiator or left in direct sun. The goal is not speed; it is even, patient drying.
- Dry boots at room temperature in a well-ventilated room.
- Open the tongue and loosen the laces so air can move through the boot.
- Remove insoles and let them dry separately.
- Use crumpled newspaper if you want to pull moisture out faster, and replace it when it gets damp.
- If you use a dryer, choose a low-heat convection-style boot dryer rather than a hot air blast.
- Avoid campfires, heaters, radiators, hot cars, and direct sunlight.
For most boots, a full dry cycle takes longer than people expect, especially after stream crossings or all-day rain. I prefer to leave them open overnight and reassess the next day instead of rushing them back into use. Once the boot is dry, the outer shell is ready for the part that most people ignore until water starts soaking in again.
Know when to re-waterproof and what product belongs on each boot
DWR, or durable water repellent, is the finish on the outside of the boot that makes water bead and roll off instead of soaking into the upper. It is not the same thing as a waterproof membrane, and that distinction matters. The membrane may be inside the boot, but the outer material still needs care so it can protect the membrane properly.I usually reproof boots when water no longer beads on the surface, or after a stretch of repeated wet use. For boots that see frequent rain, mud, or stream crossings, I check the finish every 5 to 10 outings. The right treatment depends on the upper material, so one product is not the answer for everything.
| Boot type | What works best | What to avoid | Why it matters |
|---|---|---|---|
| Full-grain leather | Lukewarm cleaning, then leather conditioner or wax if the manufacturer allows it | Heavy grease, machine washing, aggressive stain removers | Keeps the leather supple and prevents cracking |
| Nubuck or suede | Soft brushing and a material-safe waterproofing spray | Heavy wax if you want to preserve the nap | Protects water resistance without flattening the surface too much |
| Synthetic or textile | Mild cleaner and a water-based DWR spray | Wax buildup that can clog the fabric | Helps the upper shed water while staying breathable |
| Membrane-lined boots | Clean the shell, then restore the DWR on the outside | Assuming the membrane needs no care at all | The membrane works best when the outer layer is clean and water-repellent |
Apply reproofing products to clean boots, usually while they are slightly damp unless the label says otherwise. That helps the treatment spread evenly. Wax and cream are useful on leather because they nourish the material, but pure oils and heavy greases can clog pores and reduce breathability. The same rule explains why a membrane-lined boot is not automatically maintenance-free: the inside layer may be waterproof, but the outside still has to do its job. The last part is less glamorous, but it saves more boots than any spray bottle.
Keep them fresh in storage and catch damage early
Storage is where a lot of good boot care gets undone. If a boot goes into a bag, trunk, or basement while it is still damp, it keeps aging in the dark. I prefer a dry, airy place with the laces loosened, the insoles removed, and the boot opened wide enough to breathe.
For shape retention, a shoe tree works well, but crumpled newspaper is a perfectly practical backup. It pulls out lingering moisture and keeps the toe box from collapsing. If odor is the problem, wash the insoles, let them dry fully, and use a proper shoe deodorizer rather than masking the smell with fragrance. That usually solves the issue more honestly.
This is also the moment to inspect for real wear, not just grime. A peeling rand, flattened midsole, cracked leather, or outsole lugs that have gone shallow are signs that care products are no longer enough. If the sole is still in good shape, a cobbler or manufacturer resoling service can extend the boot’s life far beyond what a bottle of spray can do. That is the point where care ends and repair decisions begin.
The routine I would follow before the next long trail day
If I had to keep the process simple, I would break it into three habits: clean after mud, dry slowly, and reproof when beading disappears. That routine covers most hiking conditions without overcomplicating the job. It also works whether the boots are full leather, synthetic, or membrane-lined, because the logic is the same even when the product changes.
For a practical trail season, I would inspect the boots before every longer trip, give them a deeper clean after wet weekends, and store them only when they are fully dry. Once the outsole is too worn for grip or the upper starts breaking down structurally, replacement becomes the smarter move. Until then, consistent care usually gives you more comfort, better traction, and a boot that feels ready instead of tired.