The essentials that matter most before you gain altitude
- A short route can still be demanding if it climbs fast or crosses loose, exposed ground.
- Trail descriptions should be read for elevation gain, surface, exposure, and bailout options, not just mileage.
- Layered clothing, reliable footwear, navigation, sun protection, food, water, and a headlamp are the baseline.
- Unacclimatized travelers sleeping above 8,000 feet (2,450 m) face real altitude risk.
- Mountain weather changes quickly, so an early start and a hard turnaround time matter more than optimism.
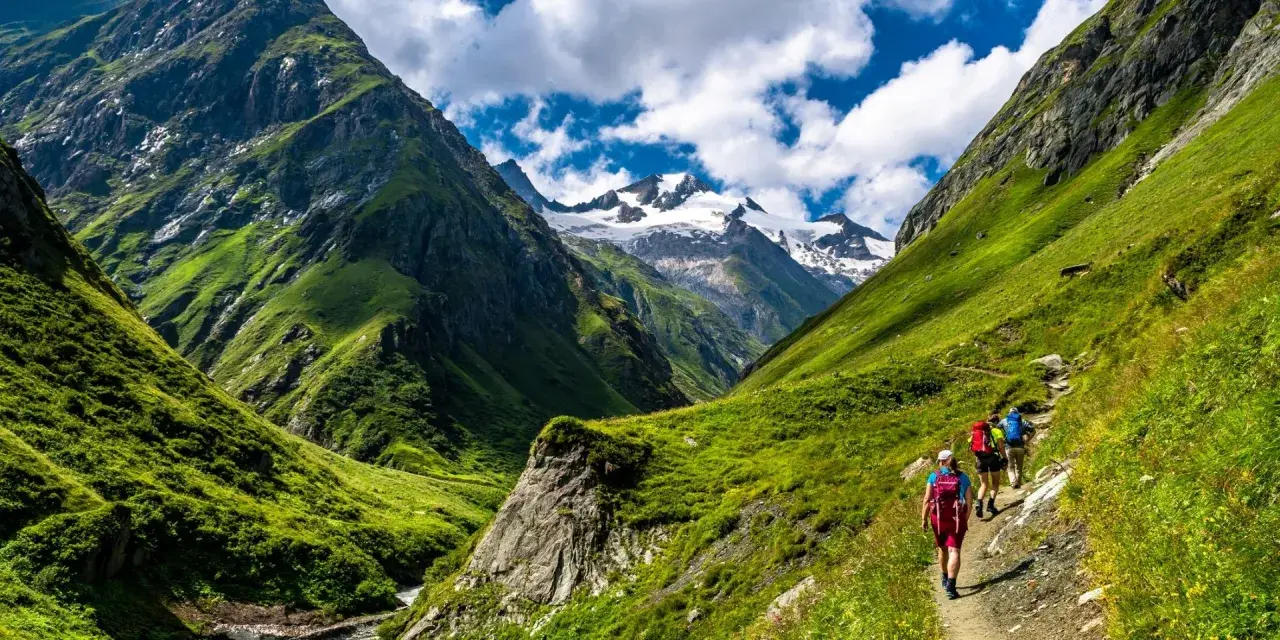
Why mountain trails feel harder than they look
I judge a mountain route by its steepest mile, not by the total mileage line on a map. A 6-mile pass hike with 3,000 feet of gain can feel more draining than a 10-mile forest walk because every step asks more from your legs, lungs, and balance. In the Alps, Dolomites, or Pyrenees, that difference shows up fast: a route that looks modest on paper can still demand real mountain judgment.
Exposure is the piece many hikers underestimate. Wind, loose scree, narrow ledges, snow patches in shade, and uneven descent terrain all add stress long before the summit or high point arrives. If a trail description starts mentioning ladders, cables, fixed ropes, or sections where hands are clearly needed, I stop treating it like a normal hike. That does not automatically make the route bad, but it does mean the terrain has crossed into a more technical category.
That distinction matters, because once you understand what the mountain is asking from you, route selection becomes much easier.
How I choose a route that fits the day
When I screen a high mountain route, I ask four questions: how much ascent is there, how exposed is the trail, where can I turn around, and what happens if the weather shifts early. Distance alone tells me almost nothing. I want the elevation profile, the steepest sections, the trail surface, and the realistic exit options before I commit to the day.
| Route type | Typical profile | Best for | Main risk |
|---|---|---|---|
| Subalpine day hike | 4 to 8 miles, 500 to 1,500 feet of gain | First acclimatization day, steady pace, simple navigation | Underestimating sun, wind, and afternoon weather |
| Pass crossing or ridge walk | 6 to 12 miles, 1,500 to 4,000 feet of gain | Fit hikers who want a stronger mountain day | Exposure, loose footing, long descents |
| Hut-to-hut trek | 8 to 15 miles per day with repeated climbs and descents | Travelers who want longer scenery without carrying a heavy camp load | Weather windows, reservations, sleeping altitude |
| Technical alpine line | Shorter distance, but with cables, scrambling, or snow travel | Experienced mountain users with the right skills and conditions | Route-finding errors, snow, and gear mismatch |
I also check whether the route has an obvious bailout point. For a first mountain day, I prefer a trail that lets me shorten the outing without ruining the whole trip. That matters even more for U.S. travelers heading into European mountain regions, where route markings are often good but the terrain can still be more serious than the mileage suggests. After the route comes the kit, because the mountain will expose any weak link in it.
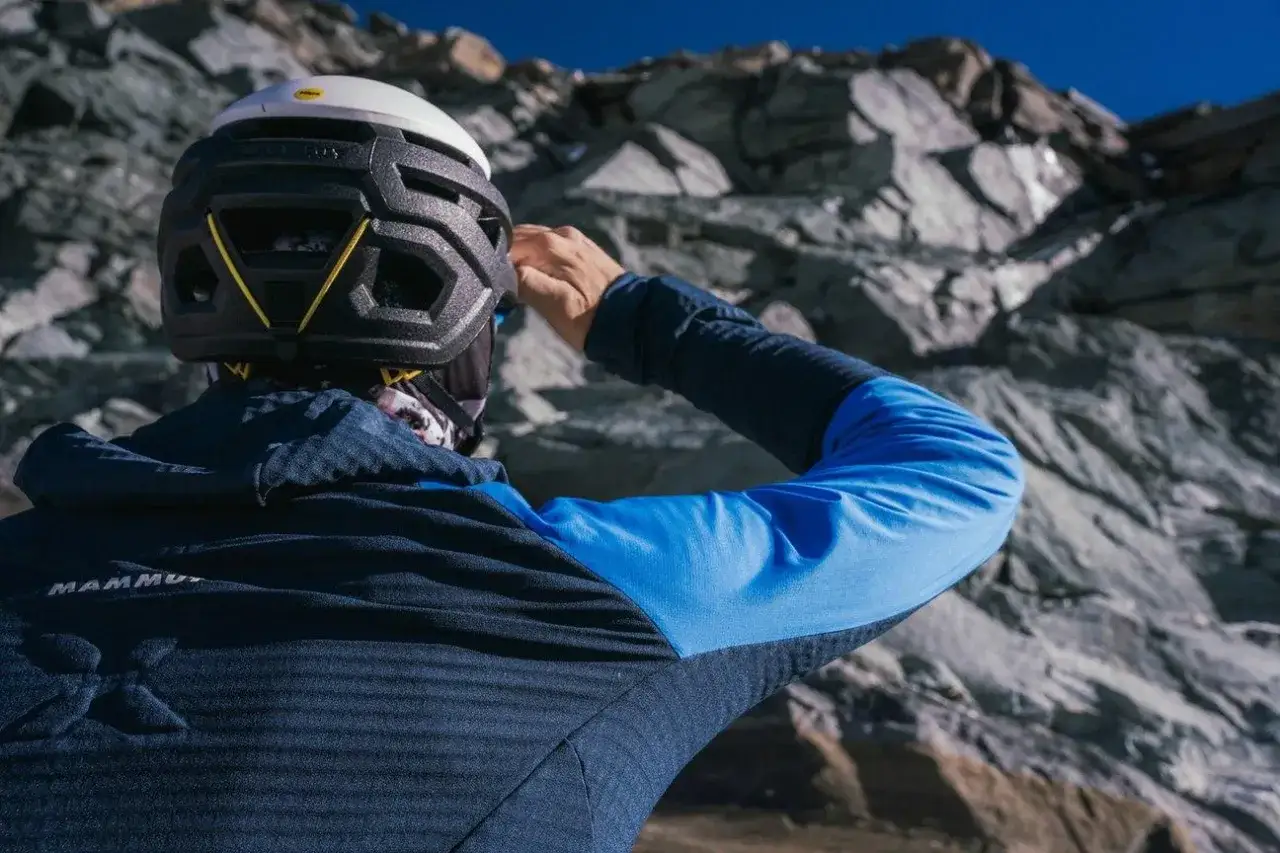
Gear that earns its place in a mountain pack
I keep mountain gear simple, but I do not cut the wrong corners. The National Park Service’s Ten Essentials are still the right baseline, and on exposed terrain I think of them as non-negotiable rather than optional. I care most about anything that helps me stay warm, see clearly, navigate accurately, and keep moving if the plan changes.
- Footwear - I want grip, stability, and enough support for long descents. A good outsole matters more than brand mythology, and waterproof boots only make sense if the route is wet, cold, or snowy.
- Layering system - A light base layer, an insulating midlayer, and a shell give me more control than one heavy jacket. In the mountains, comfort changes by the hour.
- Traction - Microspikes are useful on firm snow and icy trail sections. If a route really needs crampons, I treat that as a sign to reassess conditions, skill, or the route itself.
- Trekking poles - They are not glamorous, but they save knees on descents and help with balance on scree or tired legs. I notice the benefit most on long downhill exits.
- Navigation - I carry a map, an offline map on my phone, and a power bank. Screens fail, batteries drain, and a physical backup is still worth carrying.
- Sun protection - At altitude, UV is harsher than many hikers expect. Sunglasses, sunscreen, and a hat are not small details; they change how long I can stay comfortable outside.
- Food and water - I like more food than I think I will need and enough water to stay ahead of thirst. On a full day, I rarely leave without at least 2 liters unless I know reliable refill points are part of the route.
- Emergency basics - Headlamp, first aid kit, extra clothing, and a way to signal for help belong in every mountain pack. I pack for the possibility that a one-day outing becomes a longer one.
The point is not to carry everything. It is to carry the few things that keep a small problem from becoming a serious one. Gear helps, but none of it replaces acclimatization.
Acclimatization is part of the route, not a bonus
The CDC is very clear about this: if you are unacclimatized and sleeping at 8,000 feet (2,450 m) or higher, altitude illness becomes a real risk. Fitness does not fully protect you, and strength alone does not make the body adapt faster. I treat the first high-elevation days as part of the trip’s pacing, not as wasted time.
My rule is simple. Once I am above 9,000 feet, I avoid big jumps in sleeping elevation, I keep the first 48 hours light, and I build in recovery time whenever the itinerary allows. A practical rhythm is to avoid gaining more than about 1,600 feet of sleeping elevation per day and to add an extra day for every 3,300 feet of gain when the schedule is flexible. If I can spend a couple of nights at moderate altitude before the hardest day, I do it.
- Early signs to respect - headache, nausea, unusual fatigue, poor appetite, and sleep trouble.
- What I do if symptoms start - I stop gaining elevation and make the next decision based on whether rest helps.
- When I stop arguing with the mountain - if symptoms worsen at rest, I descend.
- Who needs extra caution - anyone with a history of altitude illness or heart and lung conditions should speak with a clinician before the trip.
Medication can help in some cases, but I never treat it as a shortcut around poor planning. Once altitude is managed, weather becomes the next moving part.
Weather and snow can change the route faster than your legs do
I start early because afternoon is where a lot of mountain plans unravel. A route that feels dry, stable, and pleasant at 8 a.m. can turn wet, icy, windy, or storm-prone by early afternoon. On ridges, the change is even sharper: clouds build fast, visibility can drop in minutes, and the descent often takes longer than the climb because everyone is tired by then.
My personal hard rule is this: if I hear thunder, I get lower immediately. There is no safe shelter outside in a thunderstorm, and pretending otherwise is just bad judgment. I also watch for the early signs of trouble before the storm arrives: building cumulus clouds, darkening skies, increasing wind, or a ridgeline that suddenly looks like the wrong place to be.
Snow changes the game in a different way. Firm morning snow or thin ice might make microspikes the right call, while deeper snow, steeper traverses, or shaded slopes can make the route inappropriate for a casual hike altogether. I pay close attention to which parts of the trail hold snow longest, because the morning and afternoon versions of the same route can feel like different seasons.
That leaves one final thing: how I actually start the day so I do not have to improvise under pressure.
What I lock in before the first step
- Check the forecast and the trail report - I want to know not just temperature, but wind, precipitation, and any mention of snow, closures, or washouts.
- Set a turnaround time - If I am not on schedule, I turn around before the day gets expensive in energy or risk.
- Share the plan - I tell someone where I am going and when I expect to be back, which is still one of the simplest safety habits there is.
- Pack for the worst likely hour - I dress for wind, sudden shade, or a wet descent, not for the first sunny mile.
- Keep margin in the plan - I leave room for slower pace, a longer lunch, or a route that simply feels bigger once I am standing on it.
That is the mindset I trust in the mountains: keep the plan flexible, protect the descent, and leave enough margin to turn a beautiful day into a safe one. If a route looks marginal, I would rather shorten it, sleep lower, or come back in better conditions than spend the day fighting the terrain.