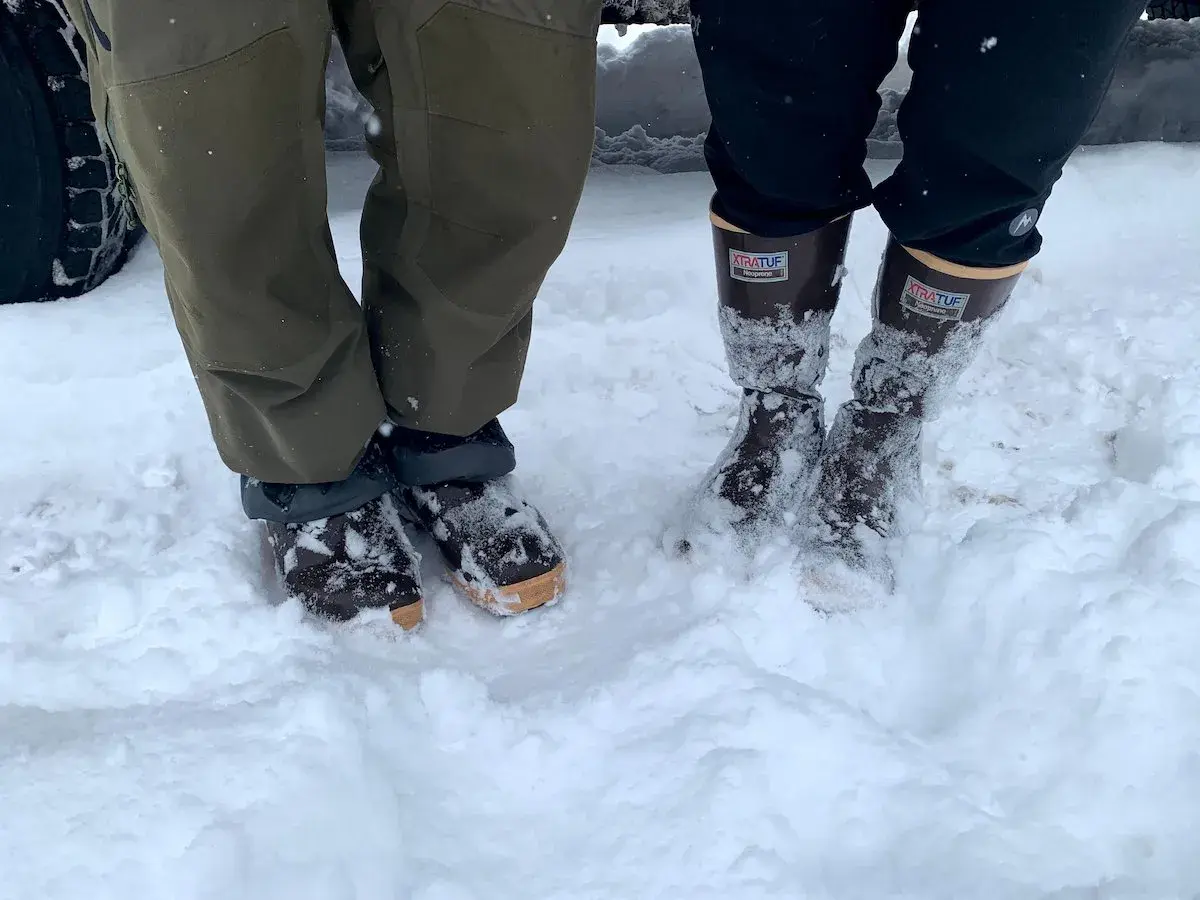
Winter boots need to do two jobs at once: keep heat in and let your foot move naturally enough to walk, climb, and stop safely on cold ground. The answer to how should winter boots fit is not “as tight as possible”; it is secure at the heel and midfoot, with enough room in the toe box for socks, swelling, and real-world movement. In cold-weather hiking, that balance matters more than most shoppers think, because a boot that is slightly off can feel colder, clumsier, and more tiring by the end of the day.
The right fit feels secure, warm, and controlled from the first step
- Heel and midfoot should feel locked in, with very little lift when you walk.
- Toes need room to wiggle without slamming into the front on descents.
- Try boots with the socks and insoles you will actually use, not a thin pair you grabbed at random.
- Expect a little swelling during the day, especially after walking or carrying a pack.
- Ignore the myth that break-in fixes everything; a bad shape usually stays a bad shape.
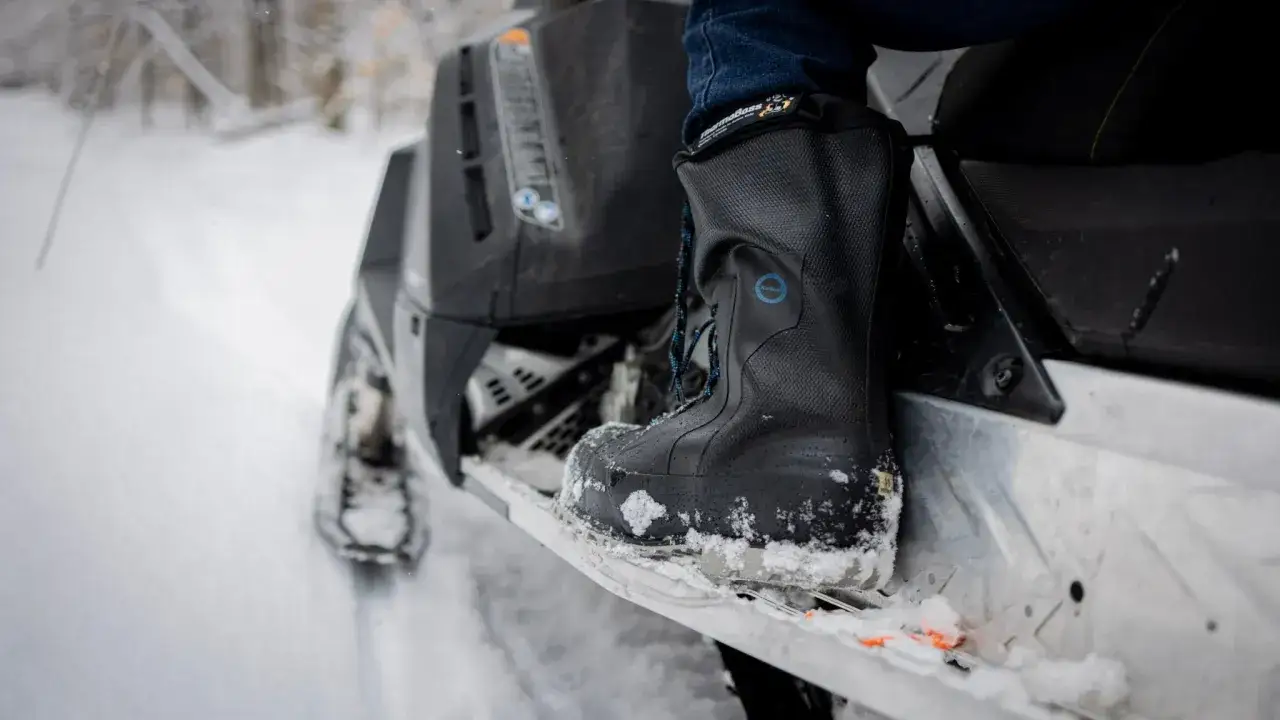
What a good winter-boot fit feels like on the foot
When I fit winter boots, I start with the parts of the foot that matter most: heel, midfoot, toe box, and instep. The boot should hold the heel down without rubbing, keep the midfoot stable without pinching, and leave the front of the boot roomy enough that the toes can relax. That is the sweet spot for cold-weather hiking, because it preserves warmth without making the boot sloppy.
| Fit check | What you want | What usually means trouble |
|---|---|---|
| Heel | Minimal lift when you step and bend your knee | Blisters, hot spots, and a loose feeling on downhill sections |
| Midfoot | Snug, stable hold without pressure on the arch | Numbness, arch pain, or a feeling that the boot is squeezing from above |
| Toe box | Enough room to wiggle toes and spread them a little | Cold toes, black toenails, or toe bang on steep descents |
| Instep | Secure lacing without crushing the top of the foot | Pressure across the top of the foot or laces that have to be cranked too hard |
For most people, that means the boot feels snug, not tight. If it feels precise but calm, that is usually a good sign. If it feels like you are already negotiating with the boot in the store, it is probably the wrong shape for your foot. That leads naturally to the test I trust most before I hand over money.
How I test the fit before I buy
The best fit check is simple, but you have to do it with intention. I never judge winter boots only while sitting down on a bench, because that hides heel movement and toe pressure. I want to see how the boot behaves when the foot loads, bends, and swells a little.
- Put on the socks you actually plan to wear, usually a midweight or heavyweight wool hiking sock for cold conditions.
- Fully loosen the laces, slide your foot in, and seat the heel all the way back.
- Stand up and check the toe box. You should have room to wiggle your toes, but not so much room that the foot slides forward.
- Walk a few steps, then bend your knees as if you were climbing a hill or stepping downhill. Your heel should stay mostly planted.
- Try a short staircase, curb, or slope if you can. Downhill pressure is where a poor fit shows up fast.
- Keep the boots on for at least 10 to 20 minutes. A boot that starts as “fine” and turns into pressure points is not a great fit.
If I am choosing boots for a winter hike, I also check them late in the day, not first thing in the morning. Feet are often a little larger by afternoon, and that matters in cold weather because swelling plus thick socks can turn a borderline fit into a bad one. Once you understand the test, the next question is why winter hiking boots do not fit exactly like summer footwear.
Why winter hiking boots fit differently from summer hikers
Cold-weather boots are a compromise between insulation, protection, traction, and walking efficiency. A winter hiking boot that feels roomy in the store may feel sloppy on the trail, while a summer hiking boot that fits perfectly in warm weather can become too cramped once you add thicker socks and colder conditions. That is why I always think in terms of use case, not just size.
| Use case | Fit priority | Why it matters |
|---|---|---|
| Cold sidewalk walking | Warmth and easy entry | You may want a touch more volume for insulated socks and slower movement. |
| Winter day hiking | Heel lock, toe room, stable midfoot | You need enough space for swelling and descents, but not extra movement that causes friction. |
| Snowshoeing or packed-snow trails | Secure hold and controlled flex | The boot has to stay stable when the terrain gets uneven and the foot works harder. |
| Long, cold standing periods | More insulation and less compression | Too much pressure can reduce circulation, which makes feet feel colder faster. |
This is also where many people make a quiet mistake: they assume a warmer boot must be much larger. Usually, it does not. The better answer is the right shape, the right width, and enough front-room for the foot to stay comfortable when it gets cold. That distinction matters because a surprising number of problems come from fit errors, not from the boots themselves.
Common mistakes that create cold feet and blisters
Most winter-boot problems I see come from trying to solve the wrong issue with sizing alone. A boot can be technically the “right size” and still fail if the shape, volume, or lacing pattern is wrong. The reverse is also true: a boot that is a bit generous can feel great or terrible depending on how you use it.
- Buying for the wrong socks. If you only try boots with thin socks, the fit can feel accurate in the store and fail outdoors.
- Confusing length with volume. You can have enough toe length and still crush the top of the foot or midfoot.
- Ignoring width. A boot that is long enough but narrow in the forefoot will still create pressure and cold spots.
- Over-tightening the laces. This can hide heel lift for a moment, but it often causes numbness and fatigue later.
- Expecting break-in to solve poor geometry. A little softening is normal; a completely wrong last usually does not transform.
- Forgetting that feet swell. A pair that feels fine during a short try-on can become cramped after a long winter walk.
There is one more trap worth naming: people often size up too much because they fear cold toes, then end up with extra movement that rubs the skin and actually makes the foot colder. Warmth comes from room without slop, not from a boot that simply feels big. If the pair is close but not quite right, I would adjust the setup before giving up on the category entirely.
If the pair is close but not perfect, change the system before you change the plan
A near-miss is not always a dead end. Small changes can improve winter-boot comfort a lot, especially for hikers who are between sizes or who need a little extra protection on cold trails. I usually think in this order: lacing, sock thickness, insole choice, then size or width.
- Heel lift only: try a better heel-lock lacing pattern before assuming the boot is too big.
- Toe pressure only with thick socks: test a thinner sock or a different boot model with a roomier toe box.
- Top-of-foot pressure: look for a higher instep or a different lacing path, especially if you have a high-volume foot.
- Too much overall space: consider a narrower width, a different last, or a supportive insole before dropping to a much shorter size.
- Persistent cold toes: check whether the fit is compressing circulation, because tight boots can feel warmer for ten minutes and colder after an hour.
My rule is simple: if the boot feels good for five minutes but not for thirty, I treat that as a warning, not a success. A winter hiking boot should feel ready for a full outing, not just a quick mirror test in the shop. If you remember only one thing, remember this: the best fit is the one that lets your feet stay warm, stable, and relaxed when the trail turns cold.