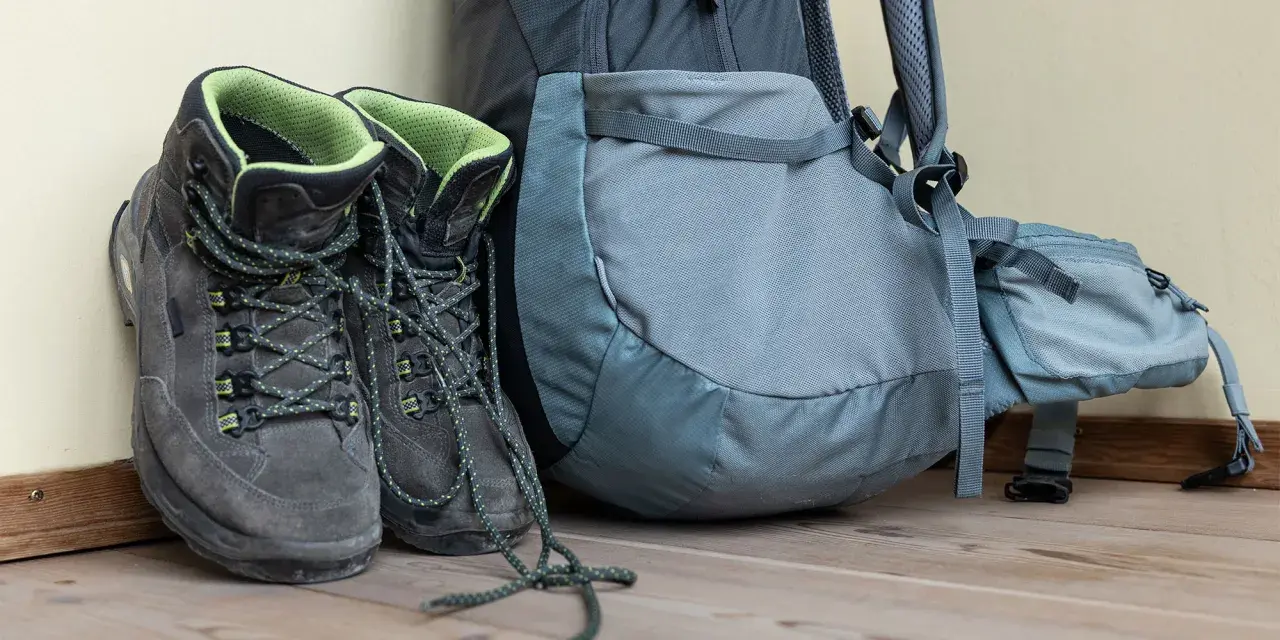
The best way to clean hiking boots is usually simpler than people expect: remove grit first, wash gently with the right cleaner, and let the boots dry slowly so the materials keep doing their job. I treat boot cleaning as maintenance, not a deep reset, because dirt, salt, and dried mud can grind away stitching, clog breathable fabrics, and shorten the life of waterproof finishes.
That matters whether you are coming back from a wet ridge walk in the Alps, a dusty trail in Utah, or a sloppy shoulder-season day close to home. In the sections below, I cover the routine that works for most pairs, how to adjust it for leather or suede, and which shortcuts usually cost more than they save.
The safest cleaning routine is gentle, material-aware, and slow-drying
- Brush off dry mud before adding water, so you are lifting grit instead of smearing it deeper into the upper.
- Use lukewarm water with a mild, fragrance-free cleaner or a boot-specific wash.
- Remove laces and insoles so the boots dry from the inside out.
- Treat leather, suede, nubuck, and synthetic uppers differently.
- Let boots dry at room temperature, usually overnight and sometimes 24 to 48 hours for thicker leather.
- Recondition or reproof only after the boots are clean and fully dry.
Why a gentle cleaning routine keeps boots performing longer
I see two mistakes most often: waiting until boots are caked in mud, and attacking them with a stiff brush or strong detergent. Mud dries into hard grit that acts like sandpaper every time you flex the boot, while residue can block breathable fabrics and make the exterior look tired long before the sole is actually worn out.
A quick 5-minute brush-off after a wet hike prevents most of that buildup, which is why I care more about consistency than drama. Once you understand that dirt is the enemy, the whole job becomes a lot easier to trust, and the next step is just a practical wash rather than a rescue mission.
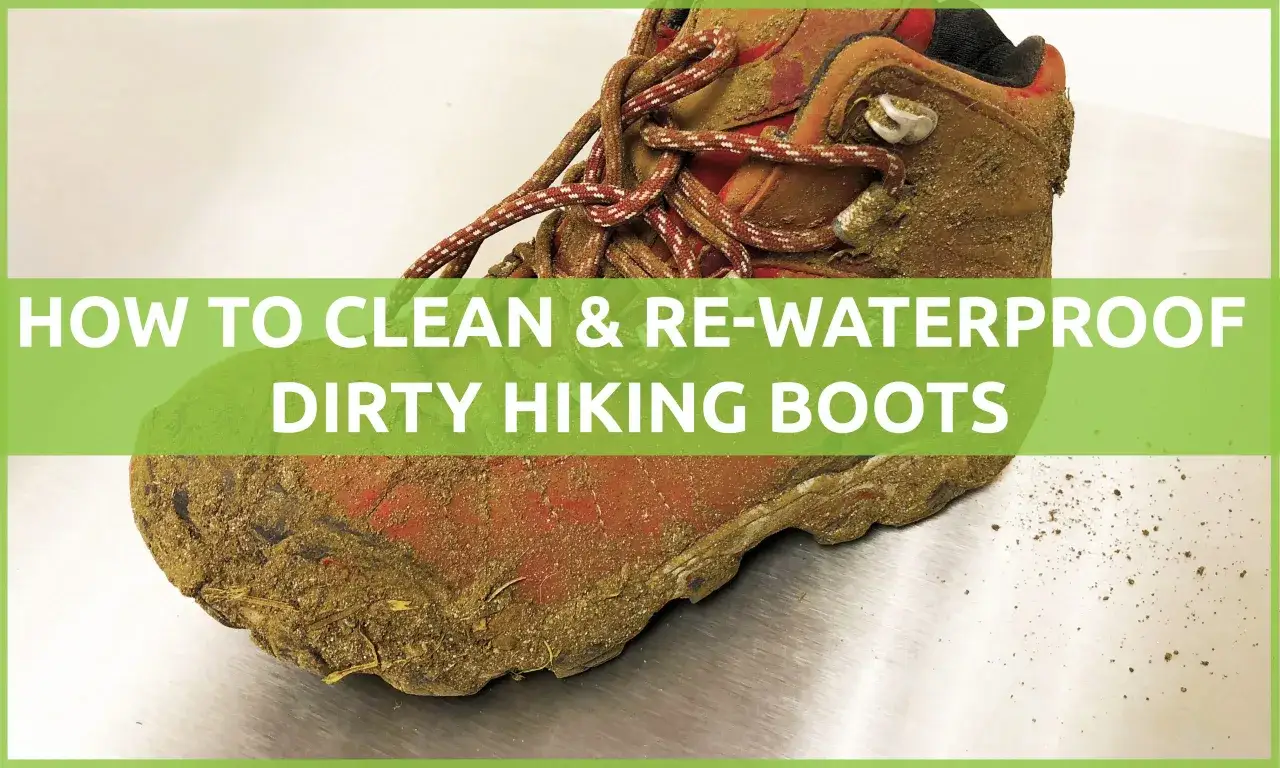
A step-by-step wash that works for most hiking boots
This is the routine I reach for when a pair needs more than a surface wipe. It is simple enough for day-hike boots, but careful enough to avoid the mistakes that shorten the life of better footwear.
- Take out the laces and insoles. This exposes the tongue and lets the inside dry faster. If the laces are filthy, wash them separately in a small bowl with the same mild soap.
- Let heavy mud dry first. Wet clay smears deeper into seams; dry chunks brush off more cleanly and do less damage.
- Use a soft brush and lukewarm water. A small amount of mild soap or a technical gear cleaner is enough for most uppers. I prefer a sponge for the collar and tongue, then a brush for the rand and sole edge.
- Work seams, eyelets, and the welt carefully. That is where grit likes to sit, and it is also where water first sneaks in if you ignore it.
- Rinse until no suds remain. Leftover soap can attract dirt and, on some finishes, dull the surface.
- Dry with airflow, not heat. Stuff the boots loosely with plain paper or a towel, replace it once if it becomes soaked, and leave the pair in a ventilated room.
If I only have ten minutes after a hike, I do the first, second, and sixth steps. That quick version keeps the boots trail-ready until I have time for a full wash, and it prevents dirt from hardening into a longer problem later.
The process is the same in spirit across most boots, but the details change once material enters the picture.
Leather, suede, and synthetic uppers need different treatment
This is where a lot of otherwise good cleaning advice breaks down. A smooth leather boot, a nubuck hiker, and a synthetic waterproof shoe all tolerate different levels of water, friction, and product residue, so the cleaner you choose should match the material instead of fighting it.
| Material | Best approach | Avoid | Why it matters |
|---|---|---|---|
| Full-grain leather | Soft brush, damp cloth, leather-safe cleaner, then light conditioning after drying | Harsh degreasers, long soaking, and direct heat | Leather loses oils if it is stripped too aggressively, which leads to cracking and stiffness |
| Suede or nubuck | Suede brush, eraser, minimal water, and a dedicated cleaner | Heavy scrubbing, generic waxes, and conditioner unless the product specifically allows it | The nap marks and surface texture are easy to flatten, which changes both appearance and performance |
| Synthetic or mesh with a waterproof membrane | Soft brush, mild soap, thorough rinse, and air drying | Bleach, fabric softener, hot water, and the washing machine | Residue can hurt breathability, and heat can stress glued parts or foam |
Nubuck is lightly sanded leather, which is why it looks soft and matte rather than shiny; suede is even more open and needs an especially light touch. A waterproof-breathable membrane is the hidden layer that keeps water out while letting vapor escape, so keeping the outer fabric clean helps the boot keep breathing the way it should.
Once the material-specific damage is avoided, the next risk is usually self-inflicted heat or bad cleaning shortcuts.
The mistakes that shorten boot life fastest
I would rather clean a pair twice with gentle soap than once with a heavy solvent. The most expensive shortcut is the washing machine, because it can twist the shape of the boot, stress glue, and beat up foam and stitching in ways you do not notice until later.
- Using a washing machine. It is fast, but it is rough on structured footwear and rarely worth the risk.
- Applying high heat. Radiators, fireplaces, car dashboards, and direct sun for hours can dry out leather and warp synthetic parts.
- Using harsh household cleaners. Bleach and degreasers strip finishes and can leave residues that are not friendly to skin or materials.
- Leaving wet insoles inside the boot. That traps odor, slows drying, and keeps the interior damp longer than it needs to be.
- Scrubbing suede like rubber. It destroys the nap and makes the boot look worn out long before the rest of it is actually finished.
- Reproofing over dirt. Water-repellent treatments work better on a clean surface, because grime blocks contact with the upper.
If you remember only one thing from this section, make it this: clean gently, and do not punish the boot for being dirty. After that, drying and reproofing are what bring the pair back to life.
Drying, conditioning, and restoring water resistance
Drying is the step people rush, but it is the one that decides whether cleaning helps or backfires. Boots should sit at room temperature in moving air; overnight is common, and thick leather pairs can need 24 to 48 hours before they are truly dry inside.
For full-grain leather, a light conditioner can keep the fibers from drying out, but it should be used sparingly. Suede and nubuck usually need their own specialized products, and many synthetic boots do better with a cleaner plus a durable water repellent refresh rather than any cream or wax.
DWR, or durable water repellent, is the outer finish that makes water bead instead of soaking in. It does not make a worn boot magically waterproof again, but it can restore the surface behavior when the finish has faded.
When water stops beading after cleaning, I follow the product label rather than guessing. Some formulas prefer slightly damp leather, others want bone-dry uppers, and the label is the difference between a treatment that works and one that mostly wastes time.
Once the boots are dry and protected again, the only remaining question is how often they actually need this treatment.
A simple maintenance rhythm that fits real hiking
For me, the right schedule is based on conditions, not the calendar. A pair that has seen a muddy spring track, a salty coastal path, or a winter road edge needs attention sooner than boots that only get light dust on dry summer trails.
- After every muddy or salty hike: brush off debris and let the boots air dry.
- Every 4 to 6 muddy outings: do a full wash, especially if grit is building around seams or the rand.
- After long wet trips: inspect laces, insoles, stitching, and the tongue for trapped dirt.
- Before storage: make sure the boots are completely dry, loosen the laces, and keep them in a cool, breathable place.
My rule is simple: clean just enough, and no harder than the material requires. If you do that, hiking boots stay more comfortable, shed water better, and last far longer than pairs that are scrubbed with enthusiasm but no plan.