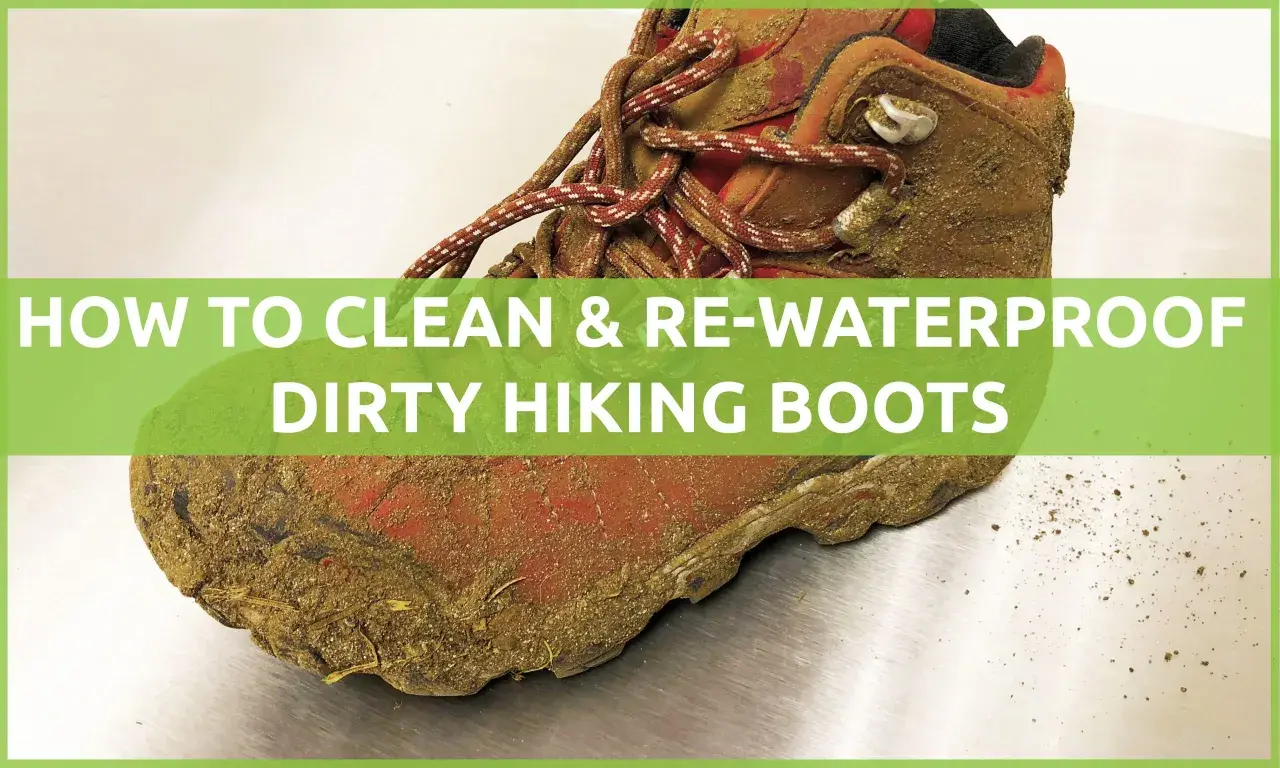
Learning how to clean waterproof shoes is really about protecting three things at once: the upper, the waterproof membrane, and the water-repellent finish on the outside. If you clean them the wrong way, the shoes can look fine for a while and still start holding moisture, losing breathability, or drying into a stiff, tired shape. I focus on a simple hand-cleaning routine that works for most hiking footwear, plus the small material-specific adjustments that keep the shoes performing well on the next wet trail.
Fast takeaways for keeping waterproof hiking shoes in shape
- Brush off mud first, then clean with lukewarm water and a small amount of mild liquid detergent or a technical footwear cleaner.
- Remove laces and insoles so you can clean the tongue, lining, and hidden debris properly.
- Avoid the washing machine, bleach, fabric softener, and direct heat, all of which can shorten the life of waterproof materials.
- Let shoes dry naturally in a ventilated room; stuffing them with paper helps speed the process without overheating them.
- When water stops beading on the outer fabric, clean the shoes first and then refresh the DWR finish if the manufacturer allows it.
- Leather, suede, nubuck, and synthetic uppers all need slightly different handling, even when the shoes are waterproof.
Why waterproof shoes need a gentler cleaning routine
Waterproof hiking footwear is built to do more than keep rain out. The upper sheds mud and grit, the membrane blocks liquid water, and the outer finish helps moisture bead up and roll away instead of soaking in. When dirt and body oils build up, that outer layer loses some of its water-shedding ability, and the shoe can feel clammy even though it is still technically waterproof.
I treat this kind of footwear differently from ordinary sneakers because the goal is not just cosmetic cleaning. Heavy scrubbing, harsh detergents, and hot drying can interfere with the materials that make the shoe breathable in the first place. That is why a careful hand-wash is usually the safest approach for hiking shoes and boots. Once you understand that, the actual cleaning process becomes straightforward.The next step is the part most people want: a routine that gets the mud out without damaging the shoe.
A safe cleaning routine I trust after a muddy hike
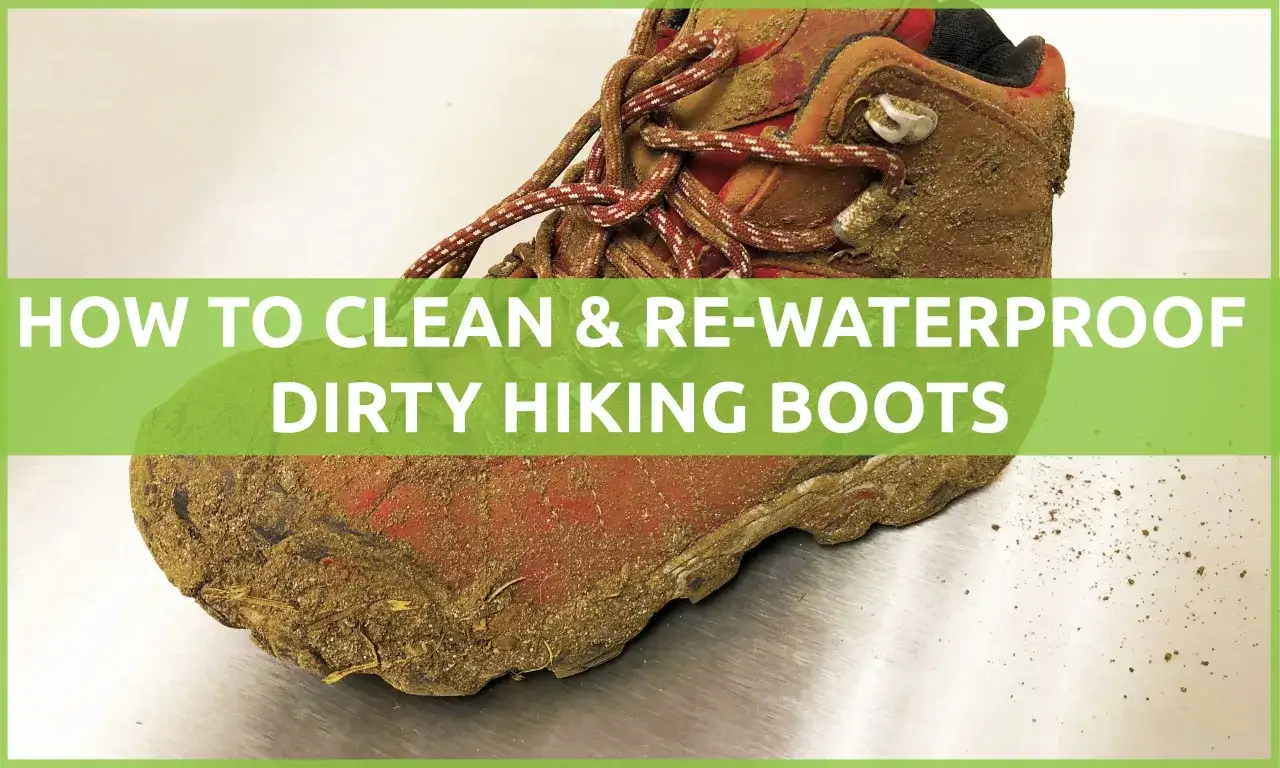
For most waterproof hiking shoes, I keep the process simple and controlled. The goal is to remove grit, wash away grime, and dry the footwear without stressing the glue, membrane, or outer finish.
1. Knock off loose dirt first
Before water touches anything, I tap the soles together and brush off dry mud, sand, and small stones. A soft brush works for everyday dirt; a stiffer nylon brush is helpful only on packed mud around the outsole lugs and eyelets. This step matters because rubbing grit into the fabric is one of the fastest ways to scuff an upper.
2. Remove the laces and insoles
Take the laces out so you can clean the tongue and eyelet area properly. If the insoles come out, remove them too. This gives you access to the interior, speeds drying, and helps you spot any trapped debris that would otherwise keep the shoe damp.
3. Rinse with lukewarm water
I use lukewarm water, not hot water. A quick rinse loosens trail dust, dried sweat, and salt without shocking the materials. If the shoes are heavily caked in mud, rinse them outside or over a bucket first so you do not clog the sink with grit.
4. Clean with a small amount of mild detergent or a technical cleaner
For the actual wash, I prefer a footwear cleaner made for outdoor gear, but a small amount of mild liquid detergent can also work if the manufacturer allows it. Use a sponge, cloth, or soft brush, and work in small circles. Focus on the vamp, toe box, seams, tongue, and around the collar where sweat and dirt collect. I avoid bar soap and anything heavily perfumed because residues can linger in the fabric and reduce performance.
5. Rinse thoroughly
Residue is the enemy here. Whatever cleaner you use, rinse until the water runs clear and no slick film remains on the surface. If soap stays on the shoe, it can attract dirt again and interfere with water beading.
Read Also: Snowshoe Boots - Do You Need Special Ones?
6. Dry them slowly
Let the shoes air-dry in a ventilated room at room temperature. I sometimes stuff them with dry paper towels or newspaper to pull moisture out of the lining, replacing the paper once it gets damp. If the weather is cool and damp, a convection-style boot dryer can help, but I still avoid direct heat. Radiators, campfires, space heaters, and strong sun can warp materials and weaken adhesives.
That routine is enough for many hikes, but the exact cleaner and touch you use should shift a bit depending on the shoe upper.
How I adjust the method for leather, suede, and synthetic uppers
Not all waterproof shoes are built the same. A waterproof membrane may sit behind leather, synthetic mesh, nubuck, or suede, and the outer material determines how aggressive you can be with cleaning. This is where a little judgment saves a lot of wear.
| Upper material | Best cleaning approach | What I avoid | Drying note |
|---|---|---|---|
| Full-grain leather | Soft brush, lukewarm water, and a small amount of leather-safe cleaner | Harsh detergents and soaking the shoe for long periods | Dry slowly, then condition only if the manufacturer recommends it |
| Suede or nubuck | Dry brush first, then a lightly damp cloth or suede-safe cleaner | Heavy scrubbing that flattens the nap | Let the surface dry fully before brushing it back up |
| Synthetic mesh or textile | Soft brush and mild liquid detergent or technical cleaner | Bleach, fabric softener, and machine washing | Dries faster, but the lining still needs full airflow |
| Mixed-material hiking shoe | Clean each zone gently and separately, using the least aggressive method that works | One-size-fits-all scrubbing | Expect the leather or padded zones to dry more slowly than mesh |
Nubuck is worth a special note because it looks delicate for a reason: it is leather with a lightly sanded finish that can darken or flatten if you overwork it. I am always lighter with suede and nubuck than I am with synthetic trail shoes. If the shoe has a Gore-Tex-type membrane behind the upper, I am even more careful about residues and heat because the membrane only works well when the surrounding layers stay clean and open.
Once the upper is clean, the next question is what not to do, because the wrong shortcut can undo the whole process.
What can ruin the waterproofing faster than dirt
A surprising amount of waterproof footwear damage comes from good intentions. The shoe may come out of the wash looking clean, but the membrane or outer finish can still be compromised by the way it was cleaned or dried.
- Do not use a washing machine. Agitation, heat, and repeated soaking can stress the structure and loosen components.
- Avoid bleach, fabric softener, and powder detergents. They can leave residues that interfere with breathability and water shedding.
- Do not dry with direct heat. High heat can damage adhesives, warp the upper, and shorten the life of waterproof layers.
- Do not ignore the inside. Dirt, sweat, and salt inside the shoe can keep the lining damp long after the outside looks clean.
- Do not store them wet. Leaving waterproof shoes in a closed trunk, gear bin, or damp garage encourages odor and can break down materials faster.
My rule is simple: if a method is aggressive enough to save five minutes, it is usually too aggressive for hiking footwear. The cleaner the shoe, the better it can do its real job, which is to keep water out while still letting sweat vapor escape. That leads naturally to the part many people miss: cleaning and reproofing are related, but they are not the same thing.
When the fabric stops beading, cleaning is only half the job
Waterproof shoes often have a durable water repellent, or DWR, on the outer surface. DWR is the finish that makes water bead up and roll off the fabric instead of soaking into the outer layer. It does not make the shoe waterproof by itself, but it helps the upper stay dry on the outside so the membrane can breathe properly.Here is the practical test I use: if the shoe is clean and dry, but water starts darkening the outer fabric instead of beading on top, the DWR has probably faded. At that point, I clean the shoe first and only then consider reapplying a water-based DWR treatment or spray that is approved for the material. That order matters. Reproofing over dirt just seals grime into the fabric.
Leather shoes deserve one extra caution. Some leather conditioners and waxes can be useful, but they are not universal solutions. On certain waterproof shoes, especially those with breathable membranes, heavy waxes or greases can reduce breathability and change how the upper flexes. I only use them when the maker explicitly allows it, and I keep the application light. For many hiking shoes, a cleaner plus a proper DWR refresh is the better route.
Once the outer finish is restored, the last job is making sure the shoe dries and stores the right way so the cleaning actually lasts.Drying and storage habits that keep the next hike easier
Drying is not the boring final step. It is part of the cleaning process, and it affects odor, comfort, and waterproof performance. A shoe that dries slowly in a closed space is more likely to develop smells, stiffness, and a tired lining.
I keep to a few habits that make the biggest difference:
- Remove the insoles and laces so air can circulate inside the shoe.
- Stuff the toe box and collar with dry paper or a clean towel if the shoe is soaked.
- Place the shoes in a ventilated room away from sun, heaters, and fireplaces.
- Rotate pairs if you hike often, so each pair has time to dry fully.
- Check the inside before putting the shoes away for the season; a shoe that feels dry outside can still be damp near the lining.
In normal indoor conditions, lighter synthetic hiking shoes may dry overnight, while thicker leather boots can need a full day or longer. I would rather let them take their time than rush them with heat and pay for it later in cracked leather or weakened glue.
The small habits that make waterproof footwear last longer on real trails
The best maintenance is usually the least dramatic. After a muddy day, I rinse the shoes before the dirt hardens. After a wet trip, I let them dry completely before they go back into storage. After several hard outings, I check whether the outer fabric still beads water and decide whether a DWR refresh is needed. Those small habits keep the shoes closer to their original fit and feel than one deep rescue cleaning ever will.
If I had to reduce the whole process to one practical principle, it would be this: clean waterproof hiking shoes gently, dry them patiently, and treat the outer finish as part of the system. That approach preserves the balance between protection and breathability, which is exactly what you want when the weather turns and the trail stops being polite.
For most hikers, that is enough to keep waterproof footwear reliable far longer than a quick rinse or an occasional scrub. The shoes stay cleaner, the membrane works better, and the next wet mile feels much less like a gamble.