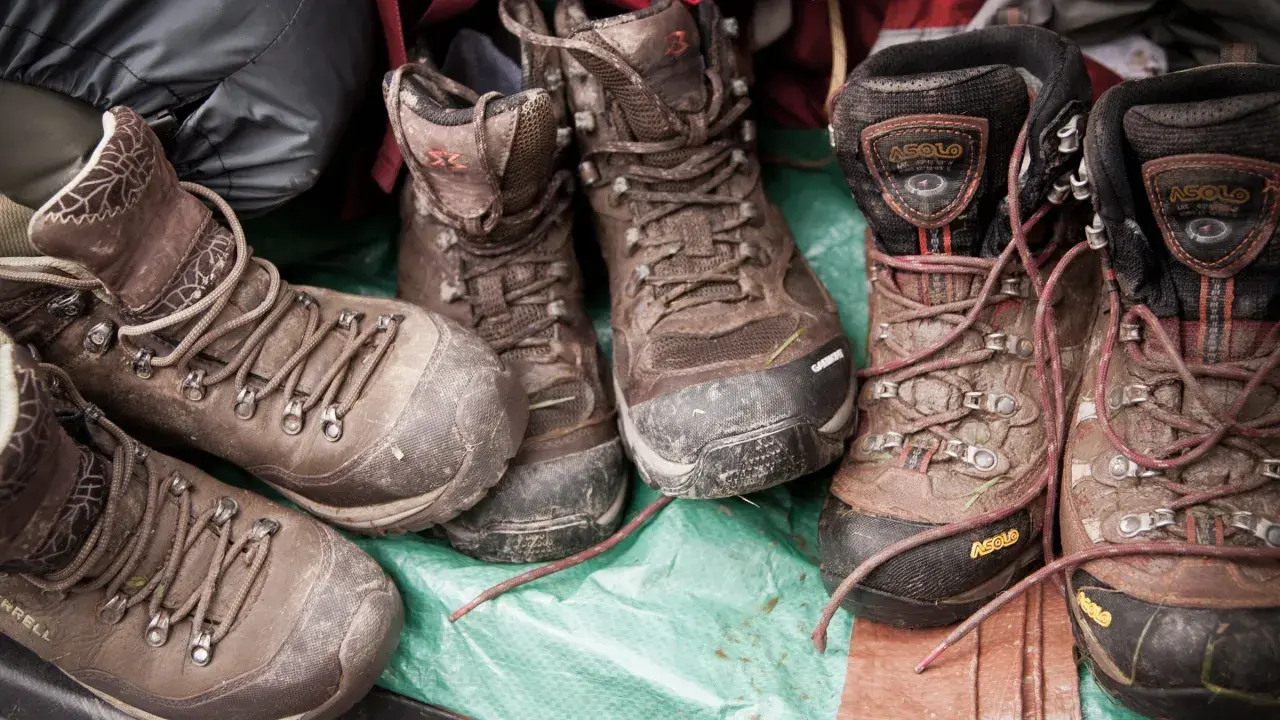
The routine that keeps waterproof leather boots working on the trail
- Clean after muddy use so grit does not grind into the leather and stitching.
- Dry at room temperature and avoid heaters, radiators, and direct sun.
- Condition the leather sparingly and match the product to the leather type.
- Refresh water repellency when water stops beading on the surface.
- Store them dry and open so the lining and insoles do not stay damp.
What waterproof leather boots actually need to stay waterproof
Waterproof does not mean maintenance-free. In most hiking boots, the waterproofing is not just in the leather itself; it also depends on a liner or membrane under the upper, plus the factory finish on the outside. When the leather gets clogged with dirt, salt, and old product residue, the boot can start to wet out, which means the surface absorbs water instead of shedding it cleanly.
I think that distinction matters because people often blame the membrane first when the real problem is neglected leather. If the outer layer stays clean and supple, it protects the structure of the boot and helps the liner breathe the way it should. That is especially important on long, wet hikes where sweat inside the boot can be just as annoying as rain outside it.
So I do not treat care as one big seasonal chore. I break it into small jobs that protect the leather, preserve breathability, and keep the boot comfortable enough for the next climb, descent, or rain-soaked path.
Once you understand that the boot is a system, the first practical step is simple: get the dirt off before it has time to set.
Clean them after muddy miles, not after the mud hardens
My rule is to clean boots as soon as they have a visible film of mud, dust, or salt. A quick cleanup takes minutes; dried-on grime takes more effort and is harder on the leather. For hiking boots, I usually remove the laces and insoles first, then work from the sole upward so I am not pushing dirt deeper into the upper.
- Brush off loose dirt with a soft brush, focusing on the outsole lugs, welt, and toe crease.
- Wipe the leather with a slightly damp cloth.
- If needed, use a small amount of mild soap or a leather-safe cleaner on the worst spots.
- Clean seams, tongue folds, and the area where the upper bends, because mud hides there.
- Let the boots sit open before you move on to drying.
If I have been on a salty winter walk or a long wet approach, I clean the boots the same day. Salt is rougher on leather than ordinary dirt, and it can leave the upper looking tired long before the boot is actually worn out.
The goal here is not to scrub the finish away. I want the leather clean enough that the next step, drying, works efficiently instead of trapping grime in the fibers.
After the surface is clean, the real make-or-break step is how you dry the boots.
Dry them slowly so the leather does not stiffen or crack
Heat is where a lot of good boots get damaged. I never park hiking boots beside a radiator, wood stove, heater vent, or sunny window and assume that fast is better. Leather dries best at room temperature in a ventilated space, and a normally damp pair is often ready for the next outing in about 12 to 24 hours. A soaked pair can need longer.
| Do | Why it helps | Don’t |
|---|---|---|
| Open the boots wide and remove the insoles | Air reaches the tongue, lining, and footbed | Leave them laced tight and sealed shut |
| Stuff lightly with plain newspaper or paper towels | Speeds interior drying without stressing the shape | Pack the toe box so hard that it distorts the leather |
| Change the stuffing every few hours if the boots are soaked | Stops moisture from just moving around inside the boot | Assume one round of stuffing is enough |
| Dry them in a cool, airy room | Protects adhesives and leather oils | Use direct heat or leave them in the sun |
If the boots are really saturated, I will rotate the paper once or twice and leave them alone overnight. Patience is not cosmetic here; it is what prevents brittle leather, warped shape, and a lining that never fully recovers.
Once the boot is dry to the touch, the next question is whether the leather itself still has enough oils and flexibility.
Condition the leather only when it needs it
Conditioning is easy to overdo. The point is to keep the leather from drying out and cracking, not to coat it until it feels greasy. I look for small flex lines, stiffness at the ankle, and a dull, thirsty look after the boot has fully dried. That is usually the moment to condition, not before.
| Leather type | Best approach | What I avoid | Why it matters |
|---|---|---|---|
| Smooth full-grain leather | Light conditioner or cream made for hiking footwear | Heavy oils and thick wax layers unless the manufacturer recommends them | Keeps the leather flexible without choking breathability |
| Nubuck or rough-out leather | Leather-safe treatment made for that finish | Rich creams that darken or flatten the nap | Preserves texture and avoids a blotchy look |
| Mixed leather and synthetic uppers | Condition only the leather panels | Soaking the synthetic parts with the same product | Protects the leather without loading the whole boot with residue |
Too much conditioner can be as unhelpful as too little. It may darken the boot, soften structure around the collar, and interfere with how the exterior sheds water. That is why I prefer thin applications and a second light pass only if the leather still looks dry after the first one has settled.
Conditioning keeps the leather healthy, but it does not replace the water-repellent finish that keeps rain from soaking into the upper in the first place.
Refresh the water-repellent finish before the shell starts wetting out
Most hikers hear the phrase DWR and never really unpack it. DWR means durable water repellent, the finish that helps water bead and roll off the outside instead of darkening the leather immediately. It is not permanent. After hard use, repeated cleaning, or a lot of mud, that finish weakens and needs to be renewed.
I reproof boots when I notice one or more of these signs: water no longer beads, the leather darkens too quickly in rain, the surface feels “thirsty,” or the boot seems heavier after only a short wet section. I do not wait for full leakage if I can help it, because once the upper starts wetting out, comfort drops fast.
The process is straightforward:
- Clean the boot first and let it dry enough for the product to adhere properly.
- Use a waterproofing product that is approved for leather and compatible with a waterproof membrane if the boot has one.
- Apply a thin, even layer instead of flooding the leather.
- Let the boots cure fully in a ventilated room, usually for about 24 hours unless the product label says otherwise.
What I try to avoid is piling on product in the hope that more must be better. A thin, even application usually gives me a better result than a thick coat that sits on the surface and blocks breathability. Once that outer layer is restored, the last piece of the puzzle is day-to-day use and storage.
Store, lace, and use them in ways that slow wear
Good boot care is not only about cleaning products. Small habits after the hike matter a lot. I loosen the laces as soon as I take the boots off, pull the insoles if they are removable, and keep the boots away from damp corners, plastic bags, and hot car trunks. Moisture trapped in storage is a quiet way to age leather and linings before the next season even starts.
For trail use, I also think about prevention. Gaiters help when the route is muddy, snowy, or full of grit because they stop debris from grinding into the collar and tongue. If I hike often, I rotate boots when I can. Giving one pair a full day to dry and recover is easier on the materials than wearing the same pair every single outing.
I also check the boot in the places that tend to fail first: the flex point, the toe rand, the stitching, and the edge of the sole. If I see deep cracking, separation at the welt, or a seam that keeps opening even after proper care, I stop treating it as a conditioning problem. At that point, the honest fix is repair.
That is the part most people miss: maintenance is not just about making boots look better, it is about noticing when care is no longer enough.
The care rhythm I’d actually use through a hiking season
My own routine is simple enough to keep up with. After a muddy hike, I brush the boots and let them dry slowly. After a few wet outings, I clean them more thoroughly. When the leather starts to look dry or stiff, I condition it lightly. When water stops beading, I reapply the repellent finish. That rhythm keeps the boots functional without turning care into a weekend project.
If I had to reduce everything to one principle, it would be this: clean first, dry slowly, treat the leather sparingly, and reproof before performance drops. Do that consistently and a good pair of waterproof leather hiking boots will stay comfortable, look better, and hold up far longer than boots that are only taken care of when they already feel tired.