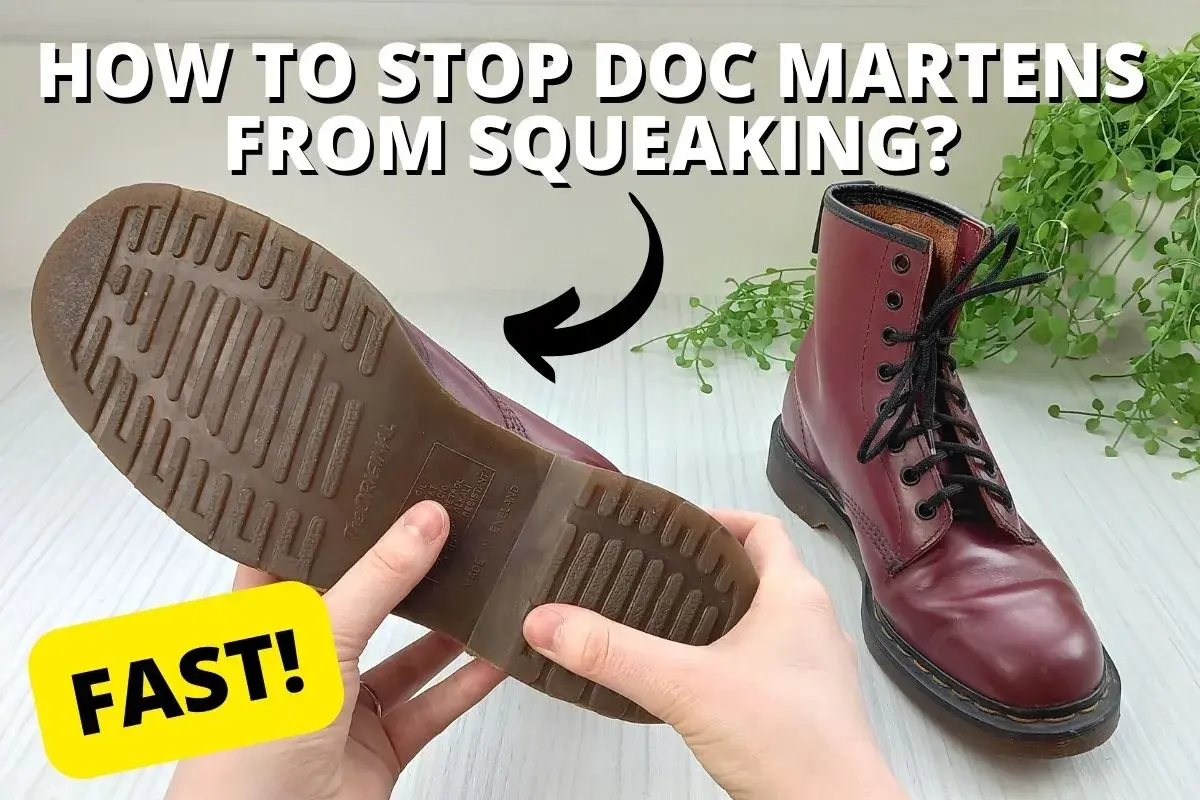
The fastest fixes usually start inside the boot
- Dry the boot fully if sweat or rain is trapped inside.
- Use a small amount of baby powder or talcum powder under a removable insole when friction is the problem.
- Lightly roughen the outsole only if the squeak happens on smooth indoor surfaces.
- Check fit and tongue contact if the sound comes from the upper, heel, or collar.
- Avoid oil, hairspray, and high heat because they can damage hiking footwear.
- Inspect for a hollow or internal squeak if the noise seems to come from inside the sole.
Find the source before you touch the sole
I always start by locating the noise. A squeak from the outsole, a rubbing insole, and a hollow sound inside the sole unit are three different problems, and each one needs a different fix. On hiking boots, that distinction matters because a boot can sound noisy in a lodge or on smooth pavement even when the tread itself is fine.
- Outsole squeak often shows up on tile, laminate, polished stone, or other smooth surfaces.
- Inside-the-boot squeak usually means the insole is rubbing, the boot is damp, or the heel is moving.
- Upper squeak often comes from the tongue, collar, or dry leather edging.
- Internal sole noise can sound hollow or pop-like and may point to trapped air or a construction issue.
If the sound only appears on smooth floors, I suspect the rubber outsole first. If it happens on every surface, I look inside the boot before I do anything else. Once you know where the noise is coming from, the right fix becomes much simpler.
Dry the boot completely and remove trapped moisture
Moisture is one of the most common reasons hiking footwear squeaks. Sweat, rain, river crossings, and even damp insoles can create friction that sounds much worse than it looks. If the boot got wet, dry it properly before you try anything else.
One method I trust is the boring one: remove the insoles, stuff the boots with newspaper, and leave them in a well-ventilated area for about 12 hours. Nike suggests that approach because it pulls moisture out of the toe and midfoot instead of just drying the outer shell. If you want the quietest result, resist the urge to rush it with a radiator, oven, or hair dryer.
After the boot is dry, a small pinch of baby powder or talcum powder under the insole can absorb whatever moisture is left and reduce friction. I would use only a little. Too much powder is messy, and it does not solve a fit issue.
If the boot stays quiet after drying, you have your answer. If it still squeaks, the next step is friction control, not more drying.
Use the least aggressive fix for the outsole
When the squeak comes from the rubber outsole itself, I prefer the simplest remedy first. On some smooth surfaces, especially hard indoor floors, rubber can grab and release just enough to make noise. Think! notes that a careful pass with fine sandpaper can reduce that kind of squeak. For hiking boots, I treat that as a targeted fix, not a routine one.
| Fix | Best when | How I use it | What to watch for |
|---|---|---|---|
| Fine sandpaper | The outsole squeaks only on smooth floors | Lightly roughen the squeaky area with one or two gentle passes | Do not grind down the tread or cover the whole sole |
| Break-in walking | The boot is new and the rubber feels stiff | Wear the boots on short walks before a long hike | It helps with normal break-in noise, not a defect inside the sole |
| Powder under the insole | The sound seems to come from inside the boot | Lift the insole, add a small amount of powder, then reseat it | Use sparingly so the boot does not feel dusty or loose |
| Better drying | The boot squeaks after rain or heavy sweating | Dry fully before wearing again | Heat can damage adhesives and leather |
The key is restraint. I only roughen the outsole when the squeak is clearly surface-related, and I stop as soon as the sound drops off. If the outsole still complains after a light treatment, the problem is probably fit or the upper, not the tread.
Fix the fit and the upper before blaming the tread
Hiking boots often squeak because one part of the upper is moving against another. HANWAG points out that the tongue rubbing against the collar is a common source of noise, and that lines up with what I see most often in real boots. The fix is usually small, but it needs to be applied in the right place.
- Tongue against the collar: a small amount of hand cream or Vaseline on the leather edge can quiet the contact point.
- Heel slip: thicker socks or a better footbed can stop the foot from moving inside the boot.
- Dry leather upper: a little leather conditioner can reduce creaking if the upper has stiffened.
- Laces rubbing the tongue: re-lacing or loosening pressure over the instep can help more than any product.
Fit matters more than people expect. A boot that is slightly too roomy can squeak even if the sole is perfect, because the foot keeps shifting and creating friction. On long hikes, that tiny movement gets amplified by every step on stone paths, boardwalks, and wooden lodge floors.
When those checks fail, I stop treating it as a normal squeak and start looking for a defect.
Skip the hacks that can damage hiking boots
Not every “quick fix” is worth trying. Some common shoe tricks make the boot quieter for a day and worse in the long run, which is a bad trade if you rely on the pair for trail work or travel.
- Avoid cooking oil on leather or near the sole. It can stain, soften the wrong areas, and attract dirt.
- Skip hairspray. It can leave sticky residue and interfere with slip resistance.
- Do not blast the boot with direct heat. Radiators, ovens, and hot vents can dry materials too fast and weaken adhesives.
- Be careful with heavy sprays on the outsole. Anything that leaves a slick film can reduce grip on wet rock or muddy ground.
- Do not over-sand the tread. Hiking soles need their lug depth, especially on steep or wet terrain.
This is the part I would not skip. A hiking boot that loses traction to solve a squeak is the wrong outcome, especially if you are heading into variable conditions. Quiet is good; predictable grip is better.
Know when the squeak is a warning sign, not a nuisance
Sometimes the sound is not caused by friction at all. If the squeak feels hollow, comes from deep inside the sole, or appears in one boot no matter what you do, the issue may be trapped air, a manufacturing fault, or a bond that is starting to fail. In that situation, the smartest move is to stop experimenting.
Here is the rule I use: if the noise is internal and persistent, check the return window first, then talk to the retailer or the brand. A cobbler can sometimes diagnose the problem too, but a true sole-unit issue is often better handled as a warranty or replacement question. That is especially true if the boot is still new and the squeak started almost immediately.
For hiking footwear, the quietest boots are usually the ones that stay dry, fit cleanly, and are treated gently from the start. If you keep moisture under control, limit friction, and avoid destructive shortcuts, most rubber-sole squeaks never get the chance to become a real problem.