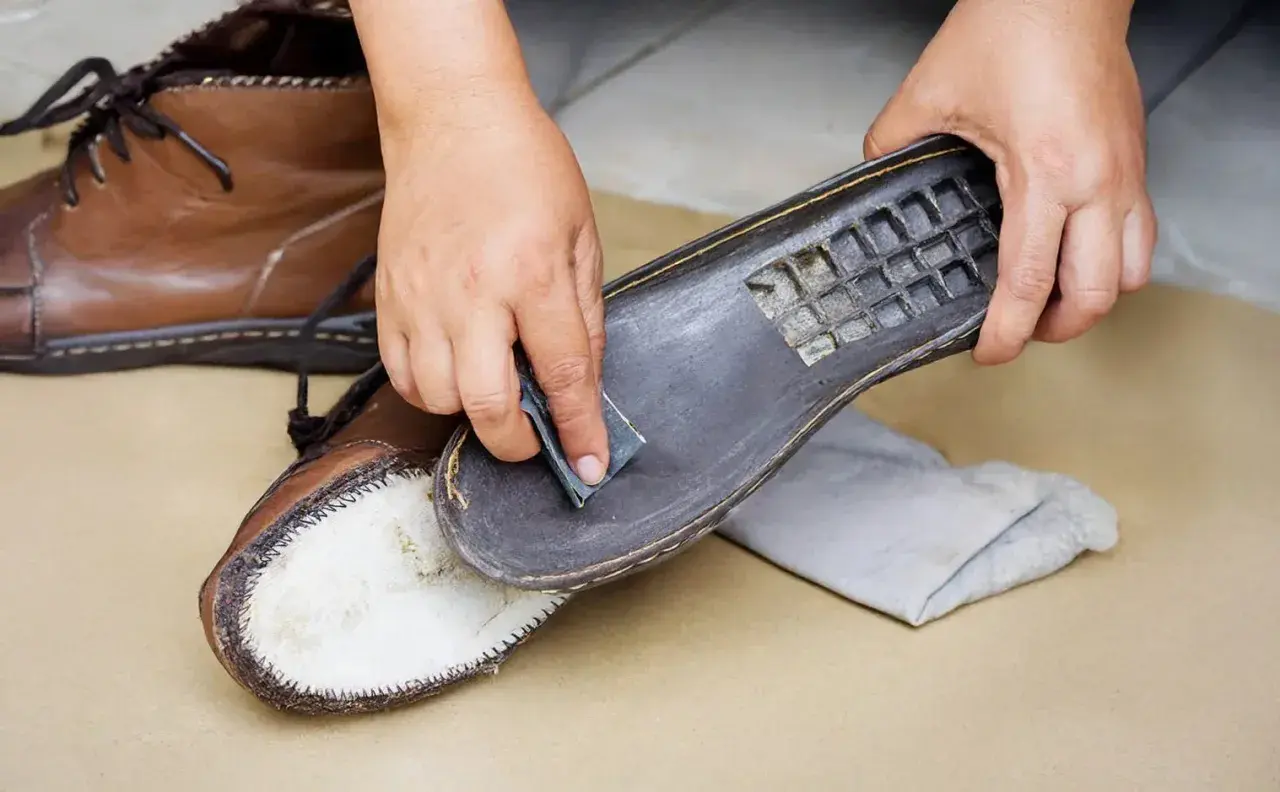
Vibram outsoles are built for grip, but that grip disappears faster when mud, grit, and road salt are left to harden in the tread. Knowing how to clean Vibram shoes without over-soaking the upper matters more than most people think, especially on hiking footwear that mixes rubber, leather, mesh, and waterproof membranes. I clean them in layers: first the outsole, then the upper, then the inside, and I let the material decide the cleaner, not the other way around.
The fastest safe routine for muddy Vibram footwear
- Brush off dry dirt first so you do not grind grit deeper into the shoe.
- Clean the Vibram outsole with water and a soft brush, then treat the upper based on its material.
- Remove laces and insoles when the shoe needs more than a quick wipe.
- A basic clean usually takes about 10 minutes, while full drying can take up to two days.
- Dry at room temperature in a ventilated spot, away from radiators, campfires, and direct sun.
- Use the washing machine only for models the manufacturer explicitly says are machine washable.
Start with the outsole and work upward
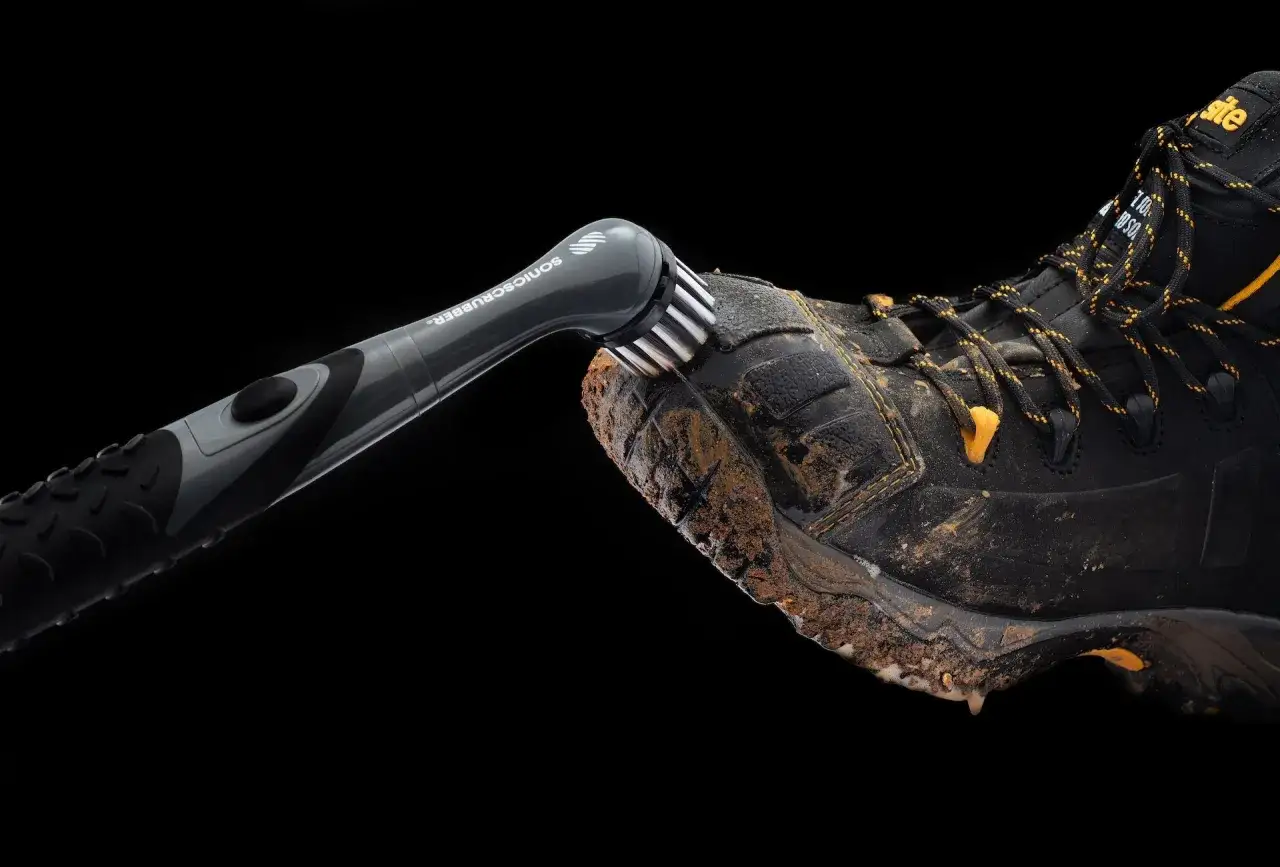
I always begin with the sole because that is where the real trail damage sits. Mud packed into the lugs can reduce traction, hold moisture against the boot, and carry soil from one trail system to another. A quick knock of the soles together, followed by a soft brush or old toothbrush, removes most of it before it dries into a crust.
For a standard hiking shoe, lukewarm or cool water is enough for the outsole. I brush along the tread, around the heel, and into the channels where small stones hide. If the dirt is stubborn, I soak only the sole for a moment and keep the water away from seams and glued edges. I do not blast the shoe with high pressure, because the goal is to lift dirt, not force it into stitching and membrane layers.
If the boot is only dusty, this step may be the whole job. On a wet mountain day, though, the outsole clean is just the beginning, and the upper decides what comes next.
Match the cleaner to the material on the upper
The cleaner should match the upper, not the outsole. That is the biggest mistake I see, because a leather boot and a mesh trail runner can both sit on Vibram rubber yet need very different treatment. When in doubt, I default to the least aggressive method that still removes the soil.
| Upper material | What I use | What I avoid |
|---|---|---|
| Leather | Soft brush, water, and a leather-safe boot cleaner | Harsh detergent, bar soap, soaking, and dryer heat |
| Nubuck or suede | Dry brush first, then a cleaner made for that finish | Heavy scrubbing, deep soaking, and greasy conditioners unless the brand approves them |
| Mesh or synthetic | Water with a mild shoe cleaner or a small amount of gentle detergent if the label allows it | Bleach, fabric softener, and hot water |
| Waterproof membrane boots | Membrane-safe cleaner and a thorough rinse | Washing machine cycles, detergent with strong additives, and direct heat |
| Some minimalist Vibram models | Follow the model-specific cold-wash instructions from the brand | Assuming every Vibram shoe can be washed the same way |
That distinction matters because the outsole can take rougher mechanical cleaning than the upper. Once you treat the shoe as a system instead of a single material, the rest of the process gets much simpler.
Deal with odor, salt, and sweat before they set in
Inside the shoe, sweat and trapped moisture matter more than mud. I pull the laces and insoles, rinse them separately, and let them dry on their own so the hidden surfaces can breathe. If the shoe smells, I use a shoe deodorizer or disinfectant spray made for footwear, but I never rely on fragrance alone; if moisture stays in the lining, the smell comes back.
- Remove the insoles and let them dry separately from the boots.
- Rinse or wash the laces if they are salty or gritty.
- Let the tongue and collar open up so air can reach the inside.
- Use an odor spray only after the shoe is clean, not as a substitute for cleaning.
- If smell returns fast, check the socks and drying habit before blaming the shoe.
After coastal hikes, river crossings, or any day with salt spray, I rinse the pair in fresh water as soon as I can. Salt crystals are rough on textiles and can make a shoe feel stiff long before the rubber wears out. The inside of the boot is often where the real damage starts, so I treat that part seriously before it turns into a bigger problem.
Dry them the right way
Drying is where many good boots get ruined. I leave the shoes open in a shaded, ventilated place at room temperature and, if needed, stuff them with paper towels or plain absorbent paper so moisture moves out faster. Change the paper when it feels damp. A full dry can take up to two days, and that is normal for a dense hiking boot after a proper wash.
I do not use a radiator, heater, campfire, direct sun, or a hot boot dryer. Heat hardens adhesives, shrinks some leathers, and can warp the shape before you notice the damage. If I want to speed things up, I use a fan or a gentle flow of air, not a blast of heat. For waterproof membrane boots, I prefer plain paper towels over newspaper because they are cleaner and less likely to create another mess while the boot dries.
When the shoe is fully dry, I check whether the upper still beads water the way it should. If it does not, reproofing can come next. If it still holds its finish, there is no need to add product just because the boot was cleaned.
Common mistakes that ruin a good pair
Most bad outcomes come from trying to save time. I see the same mistakes over and over, and they are all easy to avoid once you know what matters.
- Putting standard hiking boots in the washing machine.
- Using bleach, fabric softener, or harsh household detergents on leather or waterproof uppers.
- Scrubbing the upper with a stiff wire brush or abrasive pad.
- Drying the shoe near heat or in direct sun.
- Forgetting the insoles, laces, and the inside of the tongue.
- Reproofing a dirty boot, which traps grime under the treatment instead of fixing it.
There is one exception worth keeping in mind: some minimalist Vibram models can tolerate a gentle cold wash if the manufacturer says so, but that is not a free pass for every hiking boot with a Vibram sole. Once those habits are out of the way, maintenance becomes much less frustrating.
What I do before putting them away for the season
At the end of a hiking stretch, I give the shoes one last brush, wash away any salt or mud, remove the insoles, and store them open in a dry place away from sunlight. If the outsole lugs are still sharp but the tread is just dirty, cleaning usually brings the shoe back to life. If the rubber is rounded, the midsole is collapsing, or the upper is cracking, that is no longer a cleaning problem; it is a repair or replacement decision.
That is the practical answer to how to clean Vibram shoes without turning a waterproof boot into a fragile one: clean the dirt, respect the material, and dry it slowly. Do that, and the shoes will hold grip longer, smell better, and feel more trustworthy on the next wet trail.