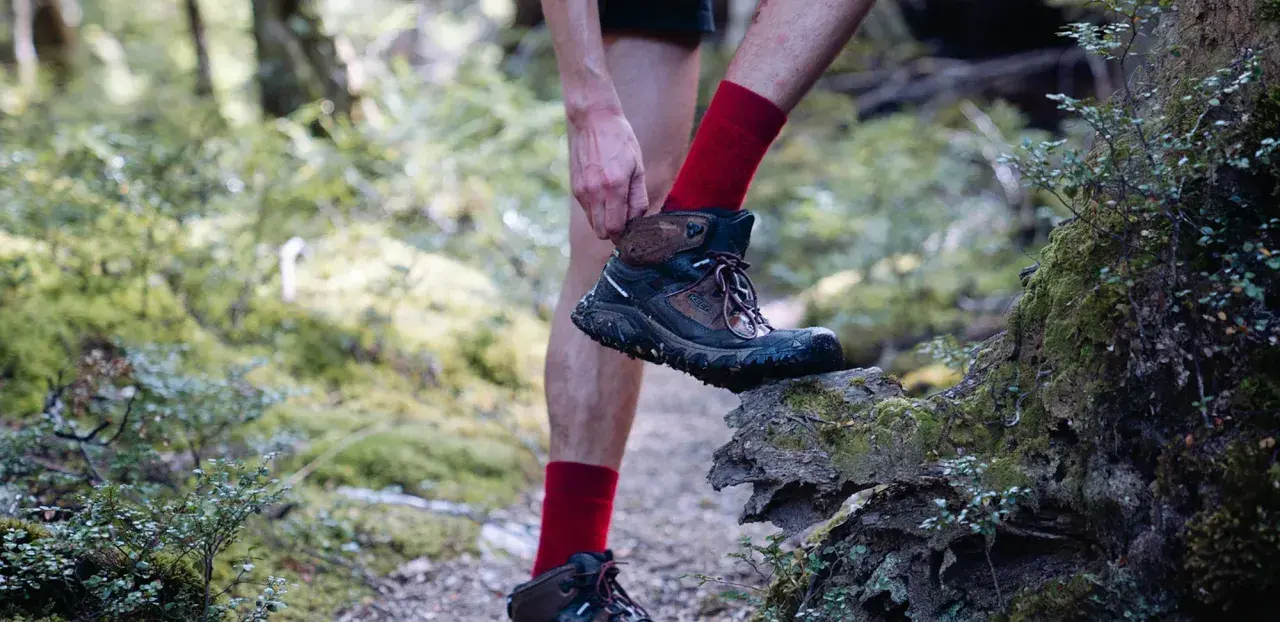
When a hiking shoe starts to split, soften, or lose its grip, the problem is usually less dramatic than it looks at first and more urgent than most people want to admit. This article walks through the real failure points I look for in worn Keen hiking shoes, how to separate normal wear from a manufacturing defect, when a warranty claim or repair makes sense in the United States, and what habits help keep the next pair alive longer. If you hike rocky, wet, or long-distance trails, those checks can save both money and a ruined outing.
The main things to know before you decide what to do next
- Delamination, worn lugs, and compressed midsoles are the most common reasons a hiking shoe feels done.
- KEEN says North American footwear is covered for one year against manufacturing defects, but normal wear, poor storage, direct heat, and misuse are not covered.
- A shoe with an intact upper and a single separated sole may still be worth repairing; a shoe with crushed foam and multiple weak points usually is not.
- Simple boot repair in the U.S. often lands around $80 to $150, while more involved work can reach $165 or more.
- Cleaning with mild soap, drying at room temperature, and storing shoes away from sun and heat makes a real difference.
What usually fails first in a worn Keen hiking shoe
In most cases, the first sign is not a dramatic collapse. It is a small change: the outsole starts to round off at the heel, the midsole stops feeling springy, or the bond between the upper and sole begins to lift at a stress point. I pay the most attention to delamination, which is the separation of the upper from the sole, because once that starts it tends to spread if the shoe keeps getting flexed and wet.
The other common failure points are more gradual. The heel edge can wear unevenly if your stride leans to one side. The toe rand can peel where the shoe bends over and over again. Stitching can open near the forefoot on a pair that has seen a lot of rocky terrain. And if the shoe feels flat underfoot even though the tread still looks present, the midsole foam may already be compressed past the point where it gives useful support.
That breakdown pattern matters, because it tells you whether you are looking at normal age, a repairable problem, or a pair that is simply near the end of its trail life. The next step is understanding why it happens sooner on some shoes than on others.
Why hiking shoes break down earlier than expected
I usually see hiking shoes fail faster for five reasons: heat, moisture, grit, fit, and storage. Heat is the silent killer. Leaving boots in a hot car, drying them next to a radiator, or parking them in direct sun can harden adhesives and dry out materials faster than the trail ever would. Moisture is the other big one. A shoe that gets soaked, dried badly, and soaked again will age much faster than a shoe that gets the same mileage in dry weather.
Fit matters more than most people think. If the shoe is slightly too short, too narrow, or too loose in the heel, every step adds extra stress at the same flex point. Over time that turns into edge wear, blown stitching, and sole lift. Heavy packs and sharp terrain make the problem worse, especially on rocky descents where the toe and forefoot absorb repeated impact.
KEEN’s own warranty language is useful here because it draws a hard line between defect and wear. The brand says normal wear and tear, poor storage, exposure to direct heat, chemicals, and extreme weather, and general product lifespan are not manufacturing defects. That is not just legal fine print; it is a pretty good checklist of the things that quietly destroy trail shoes. Once you know those failure drivers, it becomes easier to read the damage correctly.
How to tell wear from a real defect
Before I contact a warranty desk or a cobbler, I look at the damage in context. Is it symmetric wear from use, or is one shoe failing much earlier than the other? Did the problem show up after years of mileage, or did it appear unusually early under ordinary hiking conditions? Those questions tell you a lot more than the visible tear alone.
| What you see | What it usually means | How I read it |
|---|---|---|
| Outsole peeling away at the toe or heel | Adhesive failure or delamination | Worth inspecting closely; if the upper is otherwise sound, repair may be possible. |
| Lugs are rounded and the heel is wearing on one side | Normal mileage and gait pattern | Usually wear, not a defect, especially after long use. |
| Midsole feels dead, flat, or uneven underfoot | Foam compression | Support is fading; replacement is often smarter than repair. |
| Seams open early, stitching lifts, or material bubbles under ordinary use | Possible manufacturing defect | Take photos and compare both shoes before deciding it is just age. |
| Waterproofing fades but the structure is intact | Care and coating wear | Usually a maintenance issue, not a warranty issue. |
I also look for one simple clue: whether the damage is localized or systemic. A single lifted edge can be repaired. Multiple weak spots, crushed foam, and a loose upper all at once usually mean the shoe has reached a point where repair money is better spent on a new pair. That leads directly to the decision most hikers want answered first: warranty, repair, or replacement.
When a warranty claim, repair, or replacement makes sense
If your Keen shoes are falling apart within the first year and the failure looks abnormal, I would start with a warranty claim. In North America, KEEN says its footwear is covered for one year from the original purchase date against manufacturing defects in materials and workmanship, and you will need proof of purchase from an authorized retailer. The claim path is meant for defects, not routine wear, so the photos matter. I would document the damage before cleaning or attempting any repair that could blur the original failure.
If the upper is still healthy and the problem is mostly in the sole or stitching, repair is often the better move. In the U.S., simple resoling commonly falls around $80 to $150, while more involved boot work can climb to $165 depending on the construction and labor involved. Some repair programs also take 3 to 6 weeks, so this only makes sense if you have another pair in rotation or a trip is not immediate. If the shoe is a light, bonded hiker with a crushed midsole or repeated separation, I usually lean away from repair and toward replacement.My rule is straightforward. I try to save a shoe when the structure is still good, the fit is still good, and the failure is isolated. I replace it when support is gone, damage is spreading, or the repair bill is getting too close to the price of a better pair. Once that decision is made, the smartest use of time is preventing the next pair from aging the same way.
How to slow the damage on your next pair
The easiest durability gains come from boring habits. After muddy or sandy hikes, brush off grit before it works into the seams and lugs. If the shoes are wet, let them dry at room temperature and keep them away from direct heat sources. KEEN’s care guidance is clear on that point: mild soap, cold water, and air drying away from heat are the safer defaults for hiking footwear.
I also store hiking shoes in a cool, dry place away from direct sunlight. That matters more than people expect, especially in garages, basements, and car trunks where temperature and humidity swing hard. If the shoes are very wet, remove the insoles, loosen the laces, and let air circulate inside the shoe. For leather models, a conditioner can help prevent drying and cracking; for waterproof models, a PFAS-free water-repellent treatment can help restore surface beading when the factory finish starts to fade.
Rotation helps too. A pair that gets a full day to rest between uses will usually last longer than a shoe that is worn, soaked, dried badly, and worn again the next morning. That may sound small, but trail shoes age through repetition, and moisture management breaks the cycle. With those habits in place, the last question is how I would handle a pair that is already borderline and about to go back on trail.
The last check I make before trusting a pair on trail
Before a serious hike, I do three things. I press along the outsole edge to see whether the bond is still firm. I flex the shoe and watch for gaps that open wider under load. Then I walk on a hard floor for a few minutes and listen for sticky spots, creaks, or a feeling that one shoe has gone flatter than the other. That quick check catches more problems than most people realize.
- Retire the pair if the sole is lifting at multiple points or the midsole feels collapsed.
- Repair the pair if the upper is intact, the failure is local, and the shoe still fits well.
- Claim the warranty if the damage is early, unusual, and backed by proof of purchase.