Mountaineering boots are less forgiving than everyday hiking shoes, so fit matters from the first step. The practical question behind how to fit mountaineering boots is simple: how do you keep the heel locked, preserve toe room for steep descents, and still stay precise enough for crampons and front-pointing? In this guide, I walk through the measurements, store tests, and small adjustments that make the difference between a boot that works and one that ruins a long alpine day.
What matters most in a mountaineering boot fit
- Start with foot length, width, and volume, not your usual sneaker size.
- A proper fit is snug at the heel and midfoot, with enough room to wiggle your toes.
- Try boots late in the day, with the socks and orthotics you will actually use.
- For many people, mountaineering boots land about half a size to a full size up from everyday shoes, but that is only a starting point.
- Length problems are hard to fix; volume problems can sometimes be tuned with footbeds, lacing, or liners.
- Test the boot for downhill toe bang, heel lift, and crampon compatibility before you commit.
Start with the fit feel, not the size label
I ignore the number on the box until the boot proves itself. A good mountaineering boot feels secure without being brutal: the heel stays planted, the midfoot feels supported, and the toes have just enough room to avoid smashing into the front on descents. If the boot feels loose enough to slide or tight enough to numb the foot in a few minutes, it is wrong, even if the size looks right on paper.
| What I want | Heel hold, stable midfoot support, and a little toe movement. |
|---|---|
| What is acceptable | Snug contact around the forefoot, as long as the toes are not crammed and the heel does not pump. |
| What I reject | Heel lift on every step, numbness over the instep, or toe bang when I move downhill. |
| What I check first | Standing upright, I want roughly one finger behind the heel and only minimal movement when I walk. |
That basic feel matters because mountaineering is repetitive: thousands of small steps, uneven snow, and long descents make minor fit flaws feel much bigger. Once I know the feel I want, I move to the foot itself, because the boot only fits well when the measurement is honest.
Measure your foot before you look at sizes
I start with the foot, not the brand chart. Measure both feet late in the day, when they are naturally a bit larger, and use the bigger foot as your reference. If you wear custom orthotics or planned footbeds, bring them into the fitting process from the beginning, because they change both volume and heel hold.
For mountaineering boots, I care about length, width, arch length, and volume. Length tells me whether the toes will survive the descent. Width tells me whether the forefoot will pinch. Arch length and volume tell me whether the boot will sit low enough over the instep without crushing it.
- Measure both feet in the socks you will actually climb in.
- Check the longest foot, not the one you hope is average.
- Use a calibrated fit device, a Brannock-style measurement, or a printed sizing tool if that is what the brand provides.
- Compare the result with the manufacturer’s chart in centimeters or EU sizing, not with the number you usually buy in trainers.
As a starting point, many climbers end up half a size to a full size larger than their everyday shoes, but I treat that as a hypothesis, not a rule. Some brands and lasts run short, some run long, and some simply fit a different foot shape better. Once the foot is measured properly, the store test becomes much more useful.
Test the boots the way you will actually climb
Store carpet hides problems. I want to see what happens when the boot is weighted, flexed, and pushed downhill. Lace the boots firmly, stand up straight, and then walk around the shop long enough for the fit to become obvious. A mountaineering boot should feel calm, not vague. If I can feel the foot sliding forward or the heel rising and dropping, I know the test is already failing.
- Downhill test - Step onto an incline or stair edge and let your foot move forward as if you were descending. Your toes should come close to the front without slamming into it.
- Heel test - Walk normally and then rise onto your toes. I accept almost no heel lift; quarter-inch movement or less is the outer edge of what I would tolerate.
- Width test - The sides of the foot should feel supported, not squeezed hard enough to cause hot spots or numbness.
- Instep test - If the top of the foot goes numb or the laces feel like they are cutting off circulation, the volume or lacing is wrong.
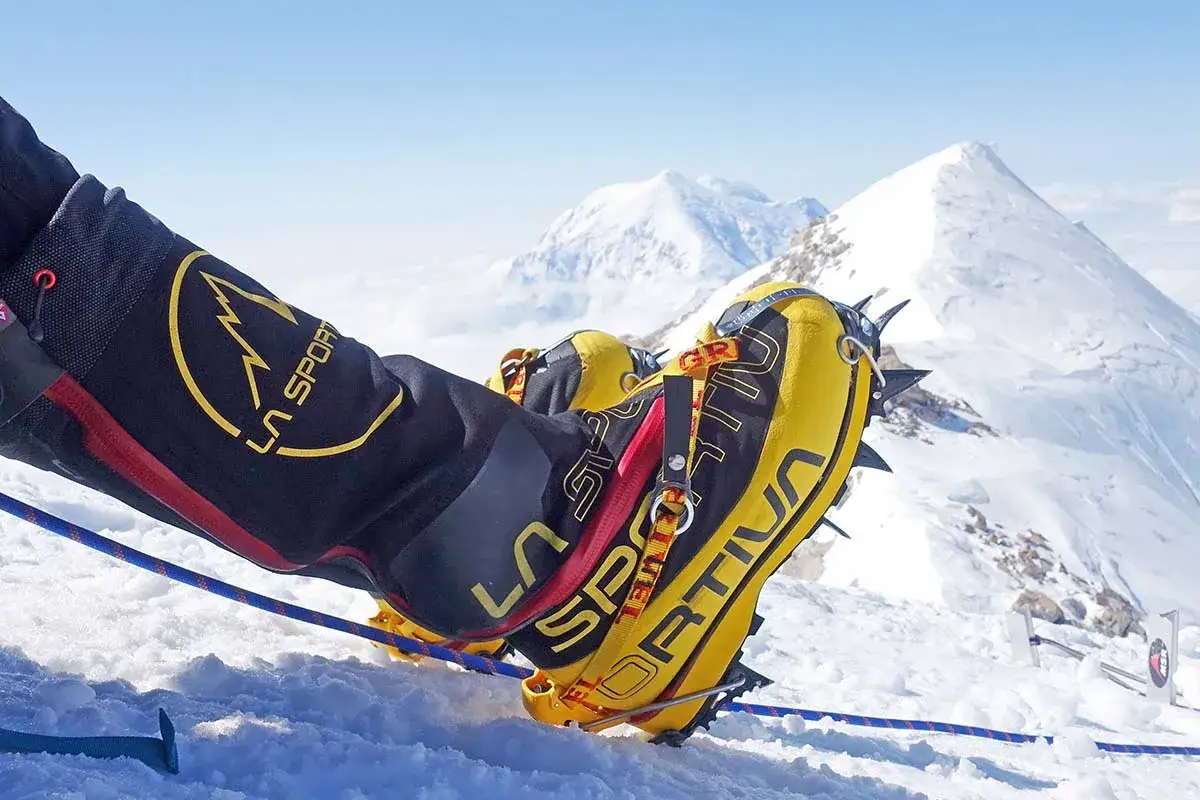
- Front-pointing test - On technical routes, I mimic the toe-in stance used on steep snow or ice. That is where a boot can reveal whether its shape and sole stiffness really suit the climb.
If the boot passes those movements, I trust it far more than I trust a quick standing check. The next layer is the boot’s internal structure, because shell fit and volume determine whether the same size feels precise or sloppy.
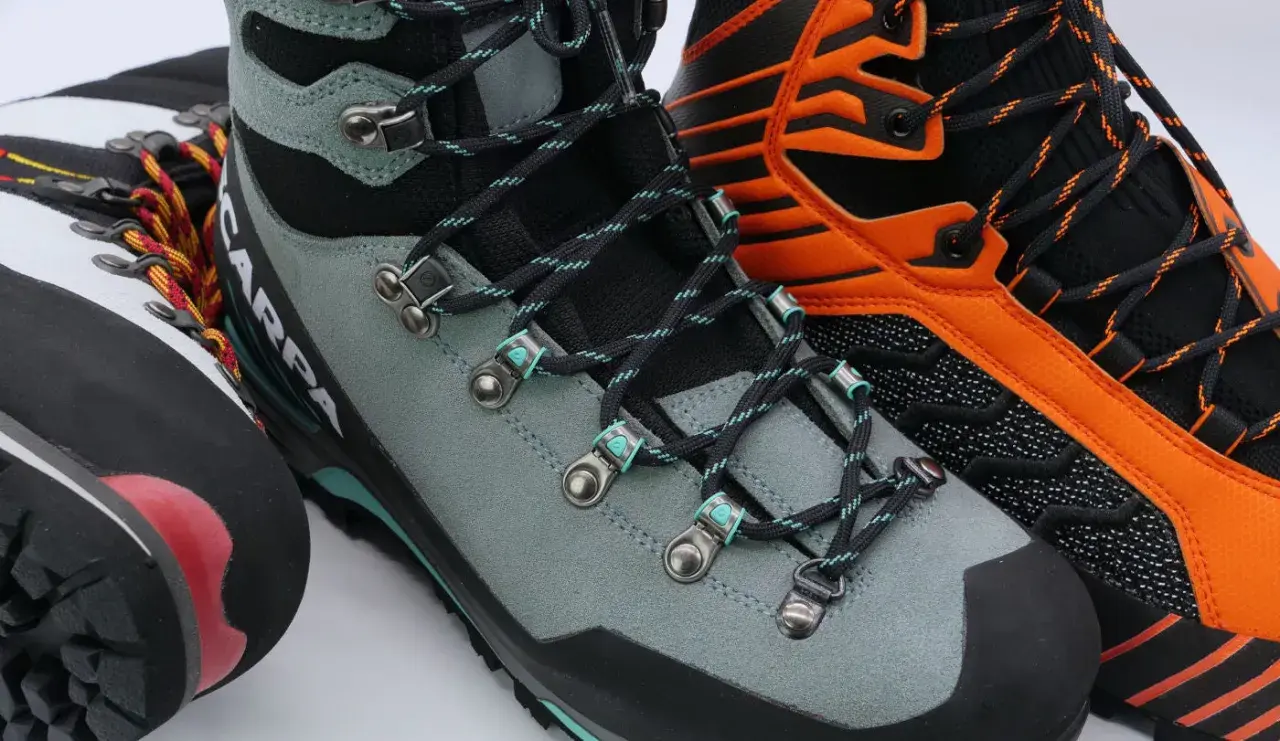
Understand shell fit, liners, and volume
When the boot has a removable liner or a more technical mountain build, I think in terms of shell fit as much as the label size. Shell fit is the space left in the hard boot shell once the liner is removed; it tells you whether the boot is fundamentally too long or too short. Volume is the room above the instep and around the forefoot, while the last is the mold shape the boot was built on. These three things shape the fit more than the number on the tongue.
| Shell fit | The raw internal length of the boot shell, usually checked with the liner out. |
|---|---|
| Last | The boot’s basic shape, which determines whether it suits a narrow, medium, or high-volume foot. |
| Volume | The amount of room over the instep and through the forefoot, separate from length. |
| Flex and rigidity | How supportive the boot feels under load, which matters for crampon security and steep ground. |
This is where many first-time buyers get misled. A boot can feel fine in length but still crush the instep or leave too much dead space around the heel. I can sometimes tune volume with a different footbed, liner, or lacing pattern, and leather uppers may relax more than synthetic ones, but I never expect a poor shell length to improve itself. If the boot is short, it stays short.
Choose the fit for the route, not the label
I fit mountaineering boots for the terrain, not for a marketing description. A pair meant for a long approach and a moderate alpine ridge in the Pyrenees will not feel exactly the same as a boot built for winter gullies, glacier travel, or front-pointing on steep ice. The more technical the route, the more I value precision. The colder and longer the day, the more I value circulation and controlled space.
| Use case | What I prioritize | Typical feel | Main tradeoff |
|---|---|---|---|
| Long alpine approach | Walking comfort, stable heel, enough toe room for descents | Snug but not aggressive | Too much room can turn into blister friction |
| Technical snow and ice | Precision, heel lock, solid sole stiffness | More exact, less roomy | Comfort drops if the fit is too relaxed |
| Cold winter routes | Circulation, warmth, space for thicker socks without movement | Secure with a little more internal air | Oversizing can cause heel lift and cold spots |
For many climbers, that means a mountaineering boot ends up half a size to a full size up from everyday shoes. I still treat that as a starting range, because brand lasts, foot shape, and intended use change the answer fast. If a boot feels slightly more precise than you expected but still keeps blood moving and the heel anchored, I usually trust that over a roomy fit that will start sliding on the descent.
Small adjustments that fix real problems
I only start adjusting once the boot is already close. The right tweaks can improve a good fit, but they cannot rescue the wrong shell or the wrong last. That distinction saves a lot of money and disappointment.
- Footbeds or orthotics can tighten heel hold and reduce dead space under the arch.
- Lacing patterns can ease pressure over the instep while keeping the ankle secure.
- Thinner or thicker socks can fine-tune volume, but only within a narrow range.
- Heat-moldable or replaceable liners can improve comfort in some models, especially when the shell fit is already close.
- Leather uppers usually give a little over time; synthetic uppers tend to change less.
If the boot is still too loose after those changes, or if it is painful across the toes or instep, I stop trying to force it. The goal is not to engineer a compromise that almost works. The goal is a boot that feels predictable on the climb and still feels good when the day runs long.
The last checks I trust before I commit to a pair
Before I buy, I want three things to be true: I can descend without toe bang, I can walk without heel lift, and I can keep the foot warm without crushing the instep. I also confirm that the boot matches the crampon system I plan to use, because a great fit is wasted if the platform is wrong for the climb. If the boot survives those checks in the shop, it usually survives a full mountain day.
- Lace both boots fully and walk for several minutes, not just a few steps.
- Check both feet, because most people are slightly asymmetric.
- Test with the socks and footbeds you will actually use.
- Try a step-down or incline test before you make the call.
- Walk away from any boot that depends on pain, break-in hope, or wishful thinking.
That is the standard I use because it keeps the decision practical: not perfect, just reliable enough for cold rock, snow, and the long walk back down.