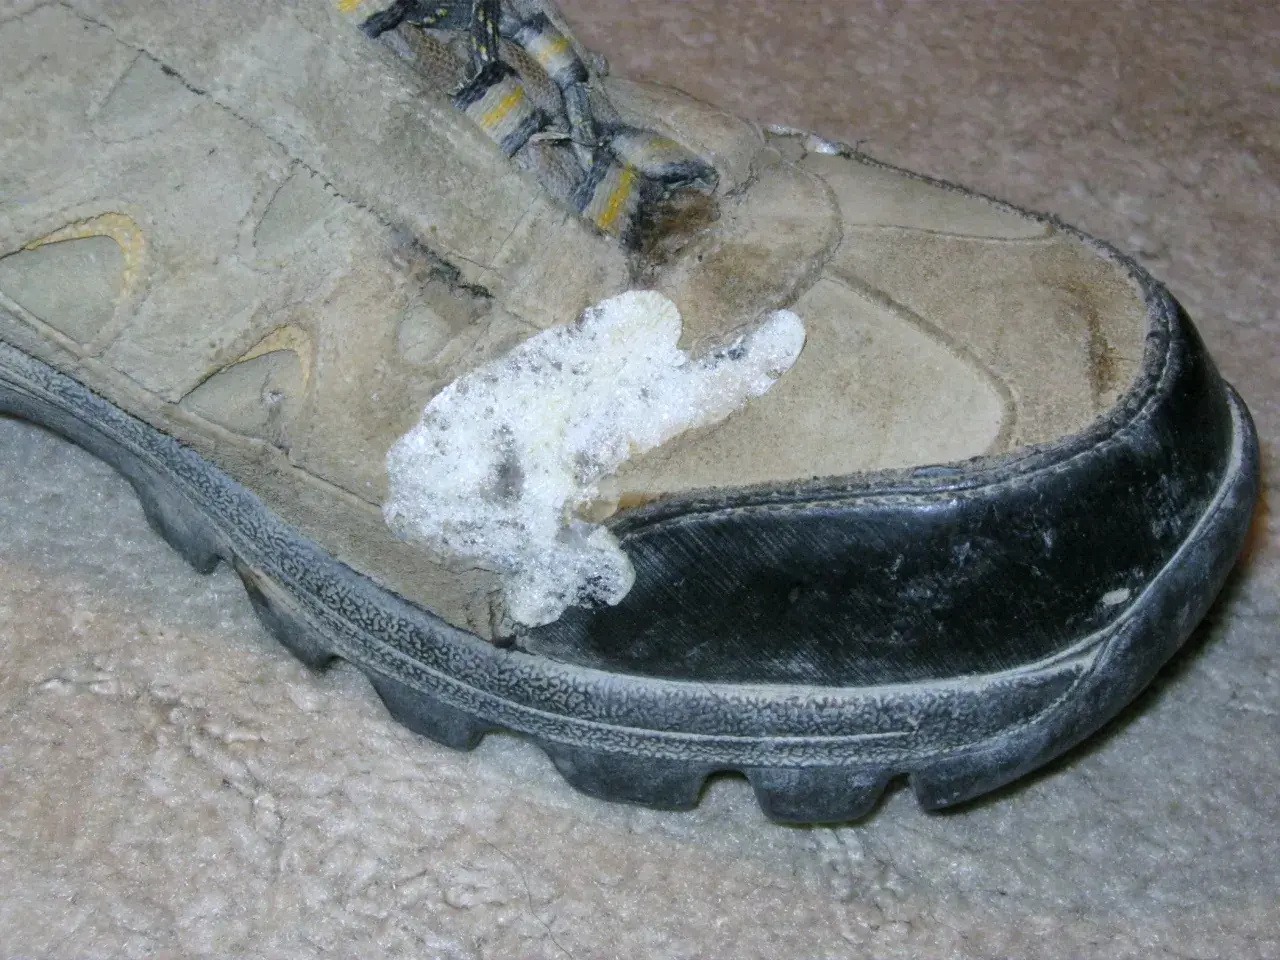
A loose hiking sole changes the way a boot loads, bends, and grips the ground. The practical side of schuhsohle kleben is less about brute-force glue and more about matching the repair to the damage, the material, and the miles you still want from the boot. In this guide, I cover when a DIY bond is realistic, which adhesives hold up on trail, how to do the repair cleanly, and when a cobbler or full resole is the smarter move.
The repair choice comes down to damage, flex, and the age of the outsole
- Edge separation with healthy tread is usually a glue job, not a replacement.
- Cracked midsoles, crushed heel foam, or smooth lugs point toward a resole or replacement.
- Flexible, water-resistant shoe adhesive beats brittle glue on hiking boots.
- Clean, dry, roughened surfaces and full cure time matter more than a thick bead of adhesive.
- Expect roughly $80-$150 for a professional resole in the US; specialty Vibram-style work often sits around $50-$120.
How I decide whether to glue or resole
I start by separating the problem into three layers: the outsole, which is the rubber part that touches the ground; the midsole, which absorbs shock; and the upper, which holds the foot in place. If the outsole is peeling but the tread is still healthy, a good adhesive can buy real mileage. If the midsole is breaking down, the tread is worn flat, or the damage runs through several layers, glue is only a temporary patch.
| Damage pattern | Best move | Why I lean that way |
|---|---|---|
| Toe or heel edge lifting | DIY glue repair | The boot is still structurally sound; the bond just needs to be reset cleanly. |
| Small gap with intact tread | DIY glue or cobbler | Good candidate if the rest of the boot still flexes normally. |
| Worn lugs or smooth tread across the bottom | Resole | Glue will not restore traction, especially on wet rock or loose gravel. |
| Cracked midsole or foam collapse | Cobbler or replace | The failure is deeper than the outsole. |
| Upper, stitching, and sole all failing | Replace | Repair cost can outrun the value of the boot. |
That distinction matters on hiking footwear because the trail punishes every weak point. If the sole is only starting to peel, the boot may still be worth saving. If the whole bottom structure is tired, I would rather invest in a proper resole than build a false sense of security with glue alone. That leads straight into the adhesive choice, which makes a bigger difference than most people expect.
The adhesive that works on hiking footwear
For trail boots, I want a flexible, water-resistant shoe adhesive that stays rubbery after cure. Hiking footwear bends thousands of times per day, often in damp, gritty, or cold conditions. A hard-setting glue may look strong on the bench and fail once the boot starts flexing on a descent.
| What to look for | Why it matters on trail |
|---|---|
| Flexible after cure | Trail boots bend at the forefoot and heel on every step. |
| Rubber, leather, and synthetic compatibility | Most hiking footwear mixes materials. |
| Water and impact resistance | Wet grass, puddles, and repeated shock are part of the job. |
| Gap filling | Minor voids and uneven edges are common in a peeling sole. |
| Room-temperature application | Bond quality is easier to control when the repair area is not too hot or too cold. |
Loctite’s repair guide recommends a clean surface, room-temperature work, and avoiding application in extremes below 4°F or above 104°F. It also calls for roughening smooth plastics or metal with fine-grit sandpaper before bonding. That prep step is not cosmetic; on hiking boots, it is the difference between a bond that lasts and a bond that pops the first time the forefoot flexes on a rocky climb.
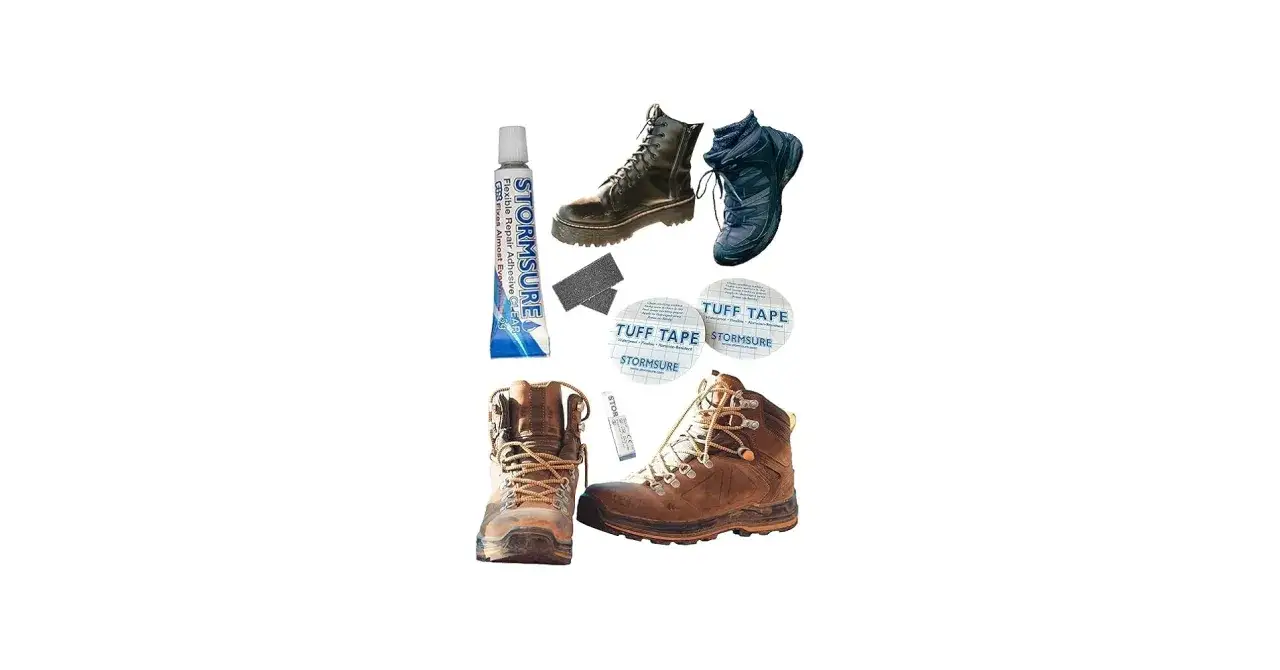
I would not use a brittle all-purpose glue for a boot that still needs to move naturally. For most hikers, the safest choice is a purpose-made shoe adhesive or a flexible urethane-style repair compound. If you are repairing a premium boot with a still-good upper, that flexibility is worth paying attention to.
My repair process for a loose outsole
A clean repair is mostly about patience. The glue matters, but surface prep and cure time matter just as much.
- Clean out old dirt, salt, wax, and loose adhesive. I want the bonding surfaces dry before I do anything else.
- Lightly roughen both surfaces with fine-grit sandpaper, then brush away the dust. If there is oily residue, wipe it off with a little isopropyl alcohol and let it dry fully.
- Dry-fit the sole so I know exactly how it sits before adhesive goes on. This helps avoid a crooked bond.
- Apply a thin, even layer to one surface. For a small peel, thinner is better than slathering on too much.
- Press the parts together immediately and clamp them, or use a tight wrap of tape or elastic bands to keep the joint from moving.
- Leave the boot alone for the full cure window. For most shoe adhesives, I plan on 24 to 48 hours at room temperature before I trust the boot again.
When the separation is more of a gap than a peel, a thicker adhesive layer can help, but the boot still needs real pressure and time. I would not treat that as a same-day fix. In Loctite’s guidance, a deeper gap can be clamped for 1 to 3 hours, then left to continue curing until the bond has had time to develop fully. For hiking boots, I would rather lose a day than lose the repair on the first wet traverse.
The part people skip most often is the cure. If you walk on the boot too early, you do not just weaken the bond; you can also open tiny channels that let water, grit, and flex work against the repair from the inside. On a trail boot, that shortens the life of the fix faster than almost anything else.
The mistakes that make the bond fail on trail
Most sole repairs fail for boring reasons, not dramatic ones. The bond was dirty, rushed, or asked to do a job it was never meant to do.
- Gluing over mud, wax, or old failed adhesive.
- Skipping roughening on smooth plastic or metal surfaces.
- Using too much adhesive and assuming a thick blob equals a stronger repair.
- Walking on the boot before the adhesive has fully cured.
- Repairing in a cold garage or a hot vehicle instead of a stable indoor space.
- Ignoring a midsole that is already crumbling and hoping the outsole fix will hold everything together.
There is one more mistake I see often in hiking footwear: treating a separation near the forefoot as if it were purely cosmetic. That area flexes constantly, so even a neat-looking bond can fail fast if the underlying structure is already tired. On waterproof boots, I am even more cautious, because a good-looking glue line does not automatically mean the boot will keep water out on the next stream crossing.
When a cobbler is the better investment
I switch from glue to a cobbler when the tread is genuinely worn, the sole has separated across a large area, or the midsole is collapsing. That is where resoling stops being a repair choice and becomes the correct way to extend the boot’s life. Vibram’s current repair network is built around that logic: if the upper is still worth keeping, resole the outsole instead of throwing the whole boot away.
| Path | Typical cost | When it makes sense |
|---|---|---|
| DIY glue repair | Lowest cost | Minor edge peel, intact tread, good upper |
| Professional resole | About $80-$150; specialty Vibram work often $50-$120 | Worn tread, premium boot, good fit |
| Replace the boot | New pair often far above a repair bill | Multiple layers failed or the upper is done |
In the US, I usually see full sole work cluster around the $80-$150 range, with many rubber or Vibram-style jobs landing somewhere inside that band. Some repair shops post full sole-and-heel work at roughly the $100-$105 mark. That is not pocket change, but it is often a better deal than buying a new boot that still needs to be broken in for several miles.
For hikers, the best argument for resoling is usually fit. Once a boot has molded to your foot, a good resole preserves that comfort and keeps the ankle support you already trust on uneven ground. If you travel with one pair through long trail days or multi-country trips, that matters more than people admit.How to protect the repair on the next trip
A repaired sole should not be treated like a brand-new boot. I want the repair to settle in before I put it back into hard rotation, and I want the next failure to be easy to spot if it starts again.
- Let the boot cure fully before the first hike, even if the surface feels dry earlier.
- Avoid soaking the repair during the first 48 hours.
- Brush mud and grit away after wet hikes so debris does not work into the bond line.
- Inspect both boots, not just the damaged one. If one side peeled, the other side may be close behind.
- Keep a tiny repair kit in your car or pack: a small tube of shoe adhesive, alcohol wipes, a short strip of tape, and a folded piece of fine sandpaper.
- Store boots in a cool, dry place instead of a hot boot of a car or a damp hallway.
I also like to treat the repair as a warning to check the whole boot: laces, stitching, rand edges, heel wear, and the condition of the midsole. On a long hiking trip, a boot rarely fails in only one place. One weak point usually tells you where the next one will be.
The repair that keeps a good boot earning miles
For me, the rule is simple: glue the boot when the outsole is still fundamentally sound, resole it when the tread is spent but the boot is worth saving, and replace it only when the layers are failing together. That approach costs less over time, keeps a better-fitting pair on your feet, and is usually the most practical way to keep trusted hiking footwear in rotation through another season of travel and trail miles.
If you are standing in front of a boot with a peeling sole, do not rush the first adhesive you find. Match the repair to the material, prep the surfaces properly, and give the bond the time it needs. That is the part that turns a quick fix into a repair that actually survives the trail.