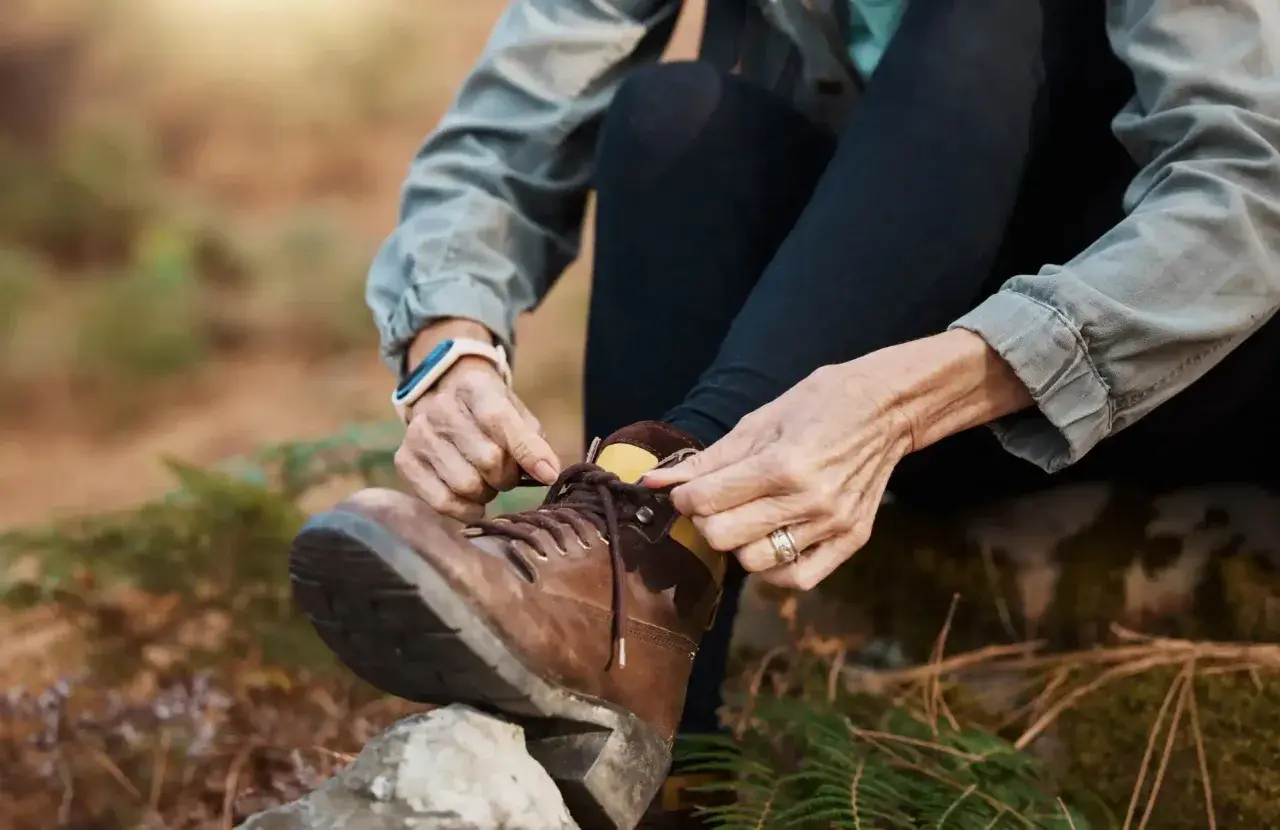
Good boot lacing can solve more trail discomfort than most hikers expect. Knowing how to lace boots properly matters when a steep descent starts driving your toes forward, when the instep feels pinched after a few miles, or when your heel keeps lifting on every step. In this article, I focus on the lacing patterns that actually change fit, how to use them on hiking boots, and when a better size or shape is the real answer.
The quickest gains come from heel control, pressure relief, and even tension
- Start with a balanced base lace and only change the section that causes trouble.
- Heel lock is the most useful fix when your foot slides on climbs or descents.
- Window lacing opens space over a hot spot on the top of the foot without making the entire boot loose.
- Straight bar lacing can give wide or swollen feet a little more room across the midfoot.
- Toe-relief lacing is a temporary trail fix, not a long-term solution.
- If the same spot hurts after you adjust the laces, the boot fit is probably wrong.
Start with the fit problem, not the knot
Before I reach for any special knot, I ask one question: what exactly is failing, fit or control? The answer determines whether I need more room, more hold, or just a cleaner tension pattern. On a long hike, those are not small distinctions. They decide whether the day feels stable and efficient or whether every step turns into a minor irritation.
| Problem | Best method | What it changes | Tradeoff |
|---|---|---|---|
| Heel lift or blisters on descents | Heel lock | Anchors the rearfoot higher in the boot | Adds a little time to the tie |
| Pressure across the instep | Window lacing | Creates a gap over the painful area | Can reduce overall tension if overdone |
| Wide forefoot or swollen feet | Straight bar lacing | Adds volume through the middle of the boot | Takes a little practice |
| Toe pain at the end of the day | Toe-relief lacing | Frees the toe box temporarily | Only a stopgap |
| General hiking with no issue | Standard criss-cross | Even, predictable tension | Does not solve hotspots |
I usually begin with standard criss-cross lacing, then change only the section that is causing trouble. That keeps the boot predictable. Once you know the problem, the next step is building a clean base lacing pattern before you add any lock or relief zone.
Build a stable base across the whole boot
I start by standing up, sliding the heel all the way back, and making sure the tongue sits centered. Then I lace from the toe upward with steady, moderate tension. The goal is a boot that hugs the foot without flattening the forefoot or crushing the instep. If the base is sloppy, every special lacing trick becomes less effective.
- Loosen the boot fully and tap your heel back into the heel cup.
- Lace the bottom eyelets with light tension so the toe box stays roomy.
- Keep the middle section snug, not hard, and pull each pair evenly.
- Pause before the top hooks, stand, and flex forward a few times.
- Tie a normal bow and walk 20 to 30 steps.
- If your heel still moves, do not just crank the whole boot tighter; change the locking point.
This base pass matters more than people expect. A boot should feel secure before the ankle hooks, but not pinched. Once the base is even, the top section is where most hikers need a deliberate lock, especially on steep climbs and long descents.
Lock the heel when the boot moves on descents
The heel lock, sometimes called a runner’s loop or lace lock, is the fix I use most often on steep ground. It creates a small tension pocket at the top of the boot so the heel stays seated while the forefoot can still move naturally. That balance is what keeps you from smashing your toes on the way down a ridge or sliding around when a pack adds extra load.
- Lace normally to the second-to-last hook or eyelet.
- Feed each lace straight up through the top hook on the same side to create a loop.
- Cross the laces and pass each end through the opposite loop.
- Pull down and back until the heel feels seated, then finish with a standard knot.
- If your ankle starts to feel squeezed or your foot tingles, loosen the lock a little.
This is especially useful with a loaded pack, on wet rock, or on long descents, where small heel motion becomes a blister in an hour. If the pain is on top of the foot instead of at the heel, the answer is usually a relief pattern, not more tension.
Relieve pressure on the instep without losing control
When the top of the foot is getting crushed, I do the opposite of what most people try: I keep the boot secure and open only the painful zone. That is the main advantage of selective lacing. It lets you preserve control where you need it and remove pressure only where the boot is fighting your foot.
Window lacing for hot spots on the instep
Window lacing leaves an untied “window” over the pressure point. Unlace the boot around the hot spot, run both lace ends straight up on their own sides, and resume crossing above the sore area. The result is less pressure where the foot bends, but you still keep control above and below it. I reach for this when a tongue edge, seam, or high instep is creating a sharp, localized pain.
Read Also: Are Hiking Shoes Non-Slip? The Truth About Grip
Straight bar lacing for wide or swollen feet
Straight bar lacing, also called parallel lacing, lays the lace flat across the boot instead of crossing it on every row. That gives the midfoot a little more volume and can be a better choice when your feet swell late in the day or when a boot feels fine in the morning but cramped after lunch. I like it for moderate width problems, not for boots that are already loose everywhere.
These patterns help, but they also reveal when the issue is being caused by over-tightening or by lacing at the wrong time. That is where most hikers make avoidable mistakes, so it is worth being honest about them.
Avoid the mistakes that create blisters and numb toes
- Tightening everything at once usually creates numb toes or an aching arch by mile three.
- Lacing while seated hides heel lift; always test the final fit while standing with weight on the foot.
- Ignoring sock thickness leads to bad tension because a thin sock and a thick wool sock do not fill the boot the same way.
- Locking the heel too high can squeeze the ankle when the lock should sit at the top hooks, not strangle the joint.
- Using lacing to rescue the wrong boot size rarely works for long; if the boot is too short, too narrow, or too shallow, the problem is the shape.
- Waiting until pain starts is late; retie before the hotspot becomes a blister.
If your toes go numb or the top of the foot throbs, stop and redo the lower section instead of stretching the knot tighter. That leads to the next question hikers usually ask themselves on the trail: how should the setup change when the route changes?
What I change first on steep, long, or wet trails
My default is simple: looser in the forefoot, firmer at the heel, and a quick retie after the first 20 to 30 minutes. Feet swell once they warm up, and the exact lace tension that felt fine in the parking lot often feels wrong after the first climb. On long days, I check the fit again at the first natural break, because the boot that felt perfect on a flat approach may need a different balance once the grade changes.
- On steep climbs: keep the forefoot a touch freer so the toes can flex, then secure the ankle for control.
- On long descents: add a heel lock before the downhill starts, not after your toes are already bruised.
- On wet or cold days: recheck tension if socks compress or the boot lining changes feel after getting damp.
- With a heavy pack: reinforce heel hold and upper ankle support, but do not crush the midfoot.
- On multi-day trips: carry spare laces; a worn lace at the top hook can fail when you need it most.
The pattern is rarely the problem by itself. More often, it is a mismatch between lace tension, terrain, and the way the foot changes over the course of a hike. That is why the final adjustment I make is usually not a new trick, but a cleaner, more honest fit.
The small adjustments that matter most when the trail gets serious
On a long hike, I think in two zones: the forefoot should have enough room to flex and swell, and the ankle should be held just firmly enough to stop movement. That is the practical answer to how to lace boots for hiking: match the pattern to the problem, and do not use one tight bow to solve every fit issue. If you still need to force comfort after trying heel lock, window lacing, and a cleaner base lace, the boot itself is probably the wrong shape for your foot.