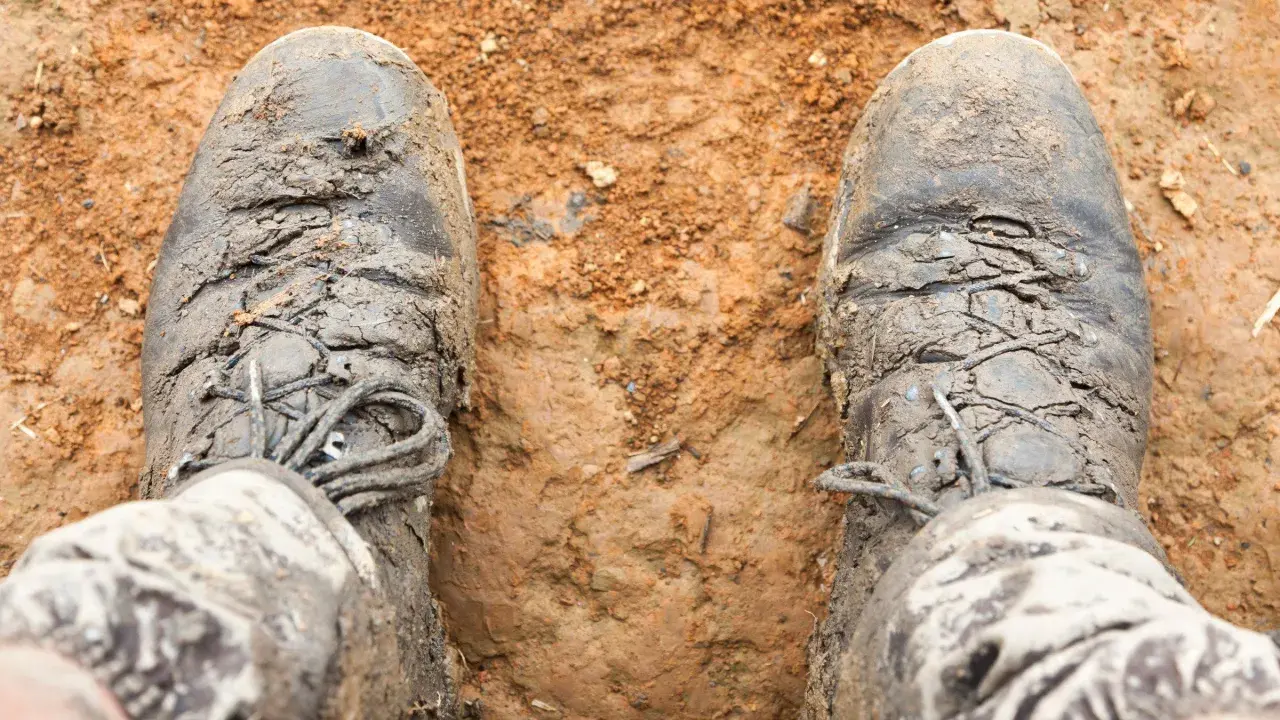
Sticky or gummy material under a hiking boot is usually less mysterious than it seems. Sometimes it is only trail grime, tree sap, or residue from hot storage; sometimes it is the start of outsole or midsole breakdown, which matters a lot more on steep, wet ground. I walk through how I tell the difference, what to clean, when the feel is actually normal, and when the boot is nearing a resole or replacement.
The fastest way to tell whether the sole is dirty, damaged, or just built differently
- Dry, tacky rubber can be intentional on some hiking and approach footwear, especially for wet rock.
- If the sole feels gummy, leaves residue, or sheds crumbs, I suspect contamination or material breakdown.
- Hydrolysis is the big red flag in older polyurethane midsoles: once it starts, cleaning will not reverse it.
- A simple resole in the U.S. often lands around $100 to $250, which can be smarter than buying a whole new boot.
- Room-temperature drying, cool storage, and regular cleaning prevent most repeat problems.
Not every sticky outsole is a problem
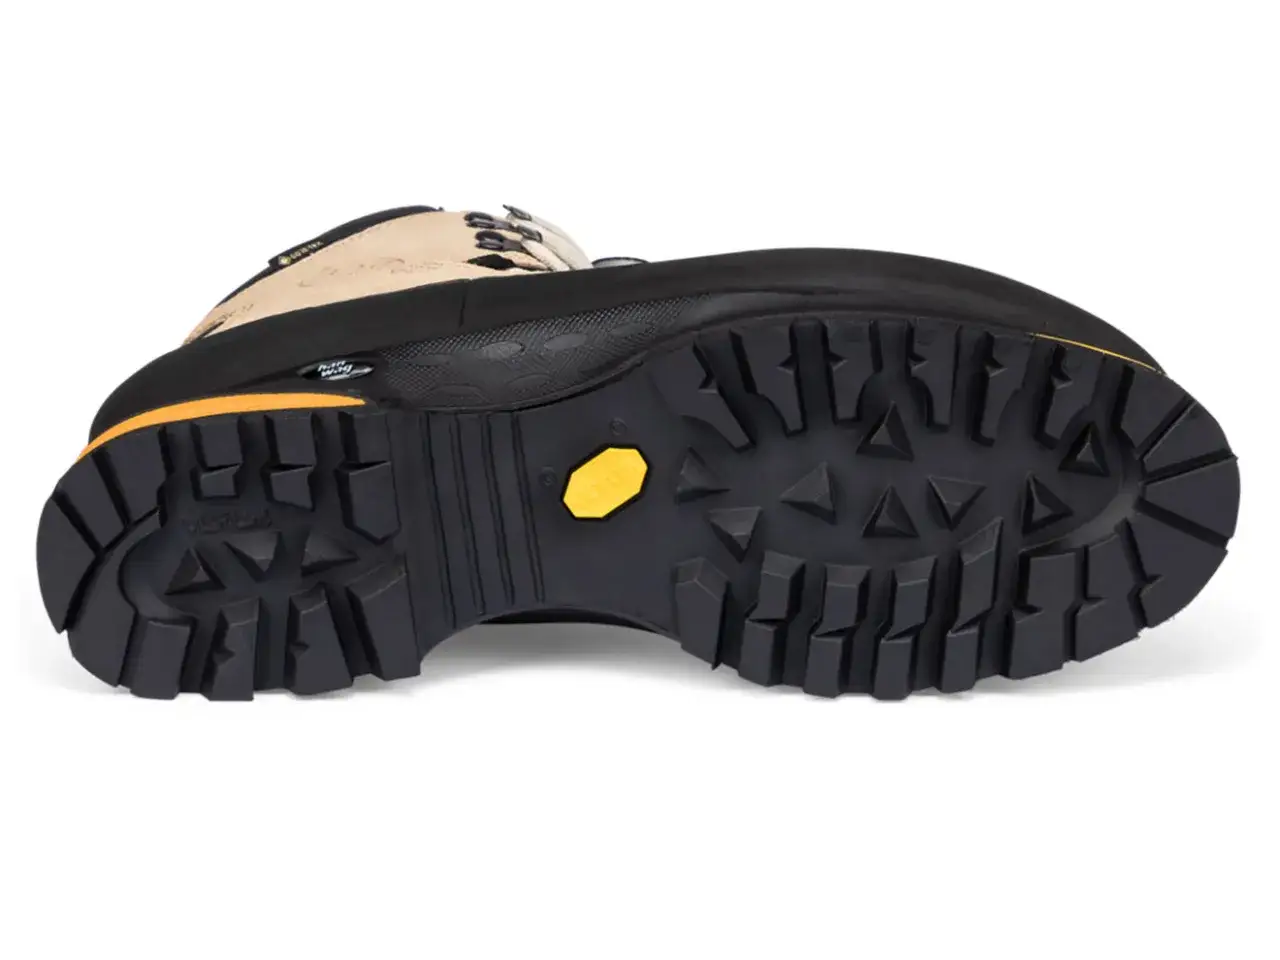
Some hiking footwear is designed with softer rubber compounds that feel almost tacky in the hand. That is not a defect by itself. On wet stone, slabby trail surfaces, and scrambly approaches, a softer compound can grip far better than a hard, durable outsole, which is why many hikers like the feel even if it wears faster.
What I watch for is the difference between grippy and gummy. Grippy rubber feels firm and elastic, while gummy rubber feels soft, sticky, or slightly melted. If the boot is new, the tread is intact, and the sole just feels high-friction on rock, that is usually normal. If the shoe is older and the underside starts attracting dust, fingerprints, or black residue, the story changes.
That distinction matters because it tells you whether you need to clean the boot, inspect the midsole, or start planning a repair. From there, the causes become much easier to sort out.
The most common reasons hiking footwear turns tacky
When a pair of hikers develops a sticky underside, I usually look at four buckets first: contamination, heat exposure, aging materials, and deliberate rubber softness. A quick comparison helps separate them.
| What you notice | Likely cause | What it means for hiking | How fixable it is |
|---|---|---|---|
| Dust, mud, or sap clings to the tread | Surface contamination | Usually mild, but traction can feel sloppy | Usually easy to clean |
| Rubbery feel after storage in a hot car or attic | Heat-softened compounds or glue residue | May improve after cleaning, but keep an eye on it | Sometimes reversible |
| Sticky, crumbly, or oily material around the midsole | Hydrolysis in polyurethane parts | Grip and structure are both compromised | Usually needs resole or replacement |
| Soft, high-friction rubber on a new boot | Intentional sticky outsole compound | Good on wet stone and technical terrain | Normal; just expect faster wear |
In my experience, the confusing part is that all four can feel similar at first touch. The real clues are age, smell, residue, and whether the material itself is breaking apart. That is why I always diagnose before I scrub.
How I diagnose it before cleaning anything
I use a short, practical check. It takes less than five minutes and prevents me from treating a failing boot like a dirty one.
- Look at the tread in daylight. If the outsole is only dusty or muddy, start with cleaning.
- Press a thumb into the midsole and the edge of the outsole. A healthy sole rebounds. A failing one may feel spongy, brittle, or oddly tacky.
- Run a dry cloth across the bottom. If the cloth picks up a smear or black residue, contamination is likely part of the problem.
- Bend the boot near the arch. Cracks, flaking, or separation between layers point to aging materials rather than dirt.
- Smell the sole. A sharp chemical odor or a waxy, breakdown smell often shows up when polyurethane starts to fail.
If only one boot is affected, I think about contamination first. If both are aging at the same pace, hydrolysis or heat exposure becomes much more likely. That simple split usually tells me whether cleaning is worth trying or whether I should move straight to repair options.
What to do right away and what to avoid
For a boot that is simply dirty or sticky from trail residue, I start gently: warm water, a soft brush, and a small amount of mild soap. Then I dry the pair at room temperature with good airflow. A damp boot usually needs about 12 to 24 hours; if it is soaked through, I give it closer to 24 to 48 hours. If there is sap, tar, or adhesive transfer on the rubber only, I may use a little rubbing alcohol on a cloth, but I keep it away from leather, foam, stitching, and waterproof fabrics.
What I do not do is blast the sole with heat or try to speed drying with a radiator, hair dryer, stove, or hot car. Salomon’s care guidance matches what I see in the field: shoes should be cleaned gently and dried at room temperature, not with external heat. Heat can soften adhesives, distort foam, and make a minor issue look much worse.
- Use a soft brush first, not a wire brush.
- Keep solvents off the upper unless you have tested them on a hidden spot.
- Let the pair dry fully before storing it again.
- Do not assume stronger chemicals are better; they often create new problems.
If the sole still feels gummy after a careful clean, the problem is probably in the materials rather than on the surface. That is the point where repair decisions start to matter.
When repair makes more sense than replacement
If the tread is worn but the upper is still solid, a resole can give a good boot a second life. In the U.S., I usually expect a simple resole to land somewhere around $100 to $250 depending on the brand, construction, and whether the midsole or hardware also needs work. That is not cheap, but it is often still better than replacing a pair that fits well and has already been broken in.
The key is knowing what can actually be repaired. If the outsole is worn smooth, a cobbler or brand repair service may be able to rebuild it. If the midsole is crumbling from hydrolysis, the job becomes more complex, and some boots are simply not worth saving. That is especially true when the upper is also cracked, soaked through, or delaminating.
I think about it this way: a good resole preserves fit, saves break-in time, and keeps a familiar boot in service. But it only makes sense if the boot still has a structurally sound upper and the repair cost stays below what a comparable new pair would cost. Once the sole structure is failing at multiple layers, replacement is usually the cleaner decision.
The habits that keep a good pair from going gummy again
The best prevention is boring, which is exactly why it works. Hiking footwear lasts longer when it is cleaned promptly, dried slowly, and stored in a cool, dry place. I also recommend rotating pairs if you hike often; a boot that gets time to rest between trips tends to age more evenly than one that lives in a damp corner of the garage.
- Brush off mud after every hike before it dries into the tread.
- Remove insoles and loosen laces so air can move through the boot.
- Keep shoes out of direct sun, hot trunks, and attic storage.
- Inspect the midsoles a few times a year, especially if the boots sit unused for long stretches.
- Use the right boot for the trip; overbuilding for every outing can shorten the life of the sole without giving you a real benefit.
For hikers in the United States who only use one pair a few weekends a year, storage matters almost as much as mileage. A boot that spends months baking in heat is more likely to turn tacky than one that is worn regularly and left to dry properly after each trip. If I had to reduce the whole topic to one rule, it would be this: clean early, dry slowly, and inspect the sole before the problem reaches the midsole. That habit catches most failures while they are still manageable.
The trail-tested rule I use before the next long descent
If the sole is only dirty, I clean it. If the boot is simply built with soft rubber, I leave it alone and accept faster wear in exchange for better grip. If the underside is gummy, crumbly, or separating, I stop relying on it and move to repair or replacement before the next long descent. That is the line that keeps a sticky sole from becoming a bad landing on wet rock or loose trail.