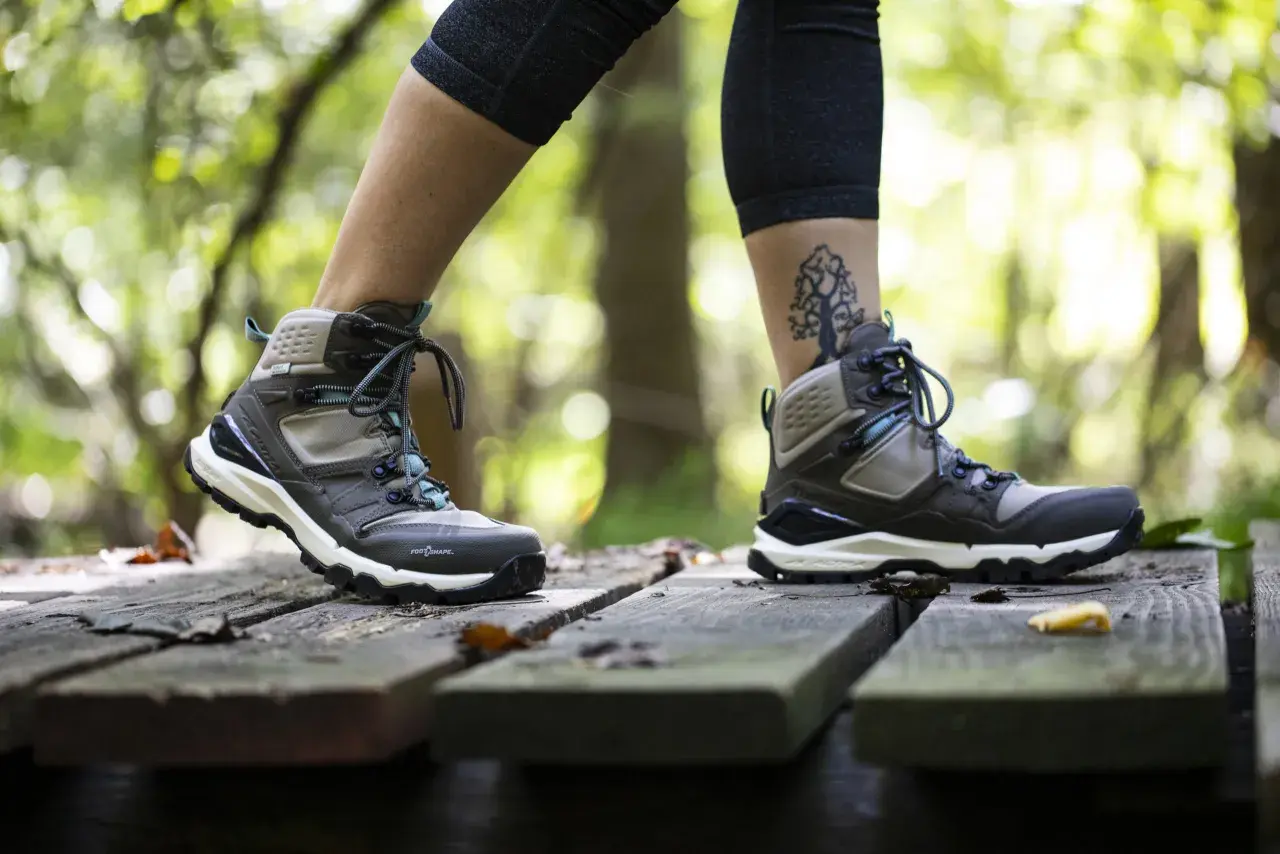
When one foot is half a size bigger, the wrong hiking shoe can turn a good day on the trail into hot spots, bruised toenails, and extra fatigue. I fit hiking footwear to the larger foot first, then I use lacing, inserts, and sock strategy to keep the smaller foot stable without squeezing the bigger one. The goal is simple: fewer problems on descents, more comfort after swelling kicks in, and a boot that still feels predictable after several miles.
The larger foot sets the fit, and the smaller foot gets fine-tuned afterward
- Fit to the larger foot first, because the smaller one is easier to adjust than the bigger one is to stretch safely.
- Leave about a thumb's width of space in front of the longest toe when you stand up.
- Check width and instep volume separately; length alone is not enough for hiking footwear.
- Use heel-lock lacing, thin inserts, or a tongue pad to remove slack on the smaller side.
- Pick footwear that still works after trail swelling, downhill pressure, and pack weight.
- If one foot suddenly gets larger, red, hot, or painful, treat it as a health issue rather than a shoe problem.
Why the larger foot should set the baseline
On the trail, a tiny fit error becomes obvious fast. The larger foot is the one that gets punished first on descents, when your toes slide forward and the front of the boot takes the impact. If I try to force both feet into the same tight size, the bigger foot usually pays for it with pressure on the toe box, numbness across the forefoot, or a blister where the upper bends during each step.
That is why I ignore the temptation to make the smaller foot the reference point. The trail does not care what size is printed on the box; it cares whether the boot can handle movement, swelling, and a little extra volume by the end of the day. Once the larger foot is protected, I can always remove space on the smaller side more safely than I can create it on the bigger side.
This is also where hiking differs from casual walking. A city shoe can feel acceptable for an hour and still fail on a climb, a rocky ridge, or a long descent in the Alps or the Rockies. Once the baseline is set, the next step is measuring the fit in a way that reflects real hiking conditions.
How I size hiking boots for uneven feet
My default approach is straightforward: I size to the longer foot, I try the shoes late in the day, and I wear the same socks I plan to hike in. Many hikers do land a half size larger than their street shoes, but I treat that as a starting point, not a rule. REI’s fit advice is close to the method I trust in practice: measure both feet, check length and width, and verify that the toe room still exists when you stand.
| What I check | Why it matters | What usually wins |
|---|---|---|
| Longest foot length | Prevents the bigger foot from jamming downhill | Fit the shoe to the larger foot |
| Width and forefoot shape | A boot can be long enough and still crush the toes | Choose a wider or higher-volume model if needed |
| Instep and arch volume | Too much pressure here can cause top-of-foot pain | Look for removable insoles and adjustable lacing |
| Toe room while standing | Feet slide forward when weight and slope increase | About a thumb's width of space in front of the longest toe |
| Insert compatibility | Orthotics and volume reducers change the inside shape | Test with the exact insert you will actually use |
I also pay attention to timing. Feet are usually a bit larger later in the day, and hiking makes that effect more obvious. If a boot barely works in the morning, it is a bad bet for a full day with a pack. The safe rule is simple: if the larger foot feels snug in the store, I keep looking.
That gives you a sizing baseline, but it still leaves one problem unresolved: what to do with the smaller foot once the bigger one finally fits.How to keep the smaller foot stable without overstuffing the boot
The smaller foot should feel secure, not crushed. I try to remove slack in the order that causes the least trouble: lacing first, then sock choice, then thin volume adjustments if needed. A lot of hikers make the mistake of fixing a loose boot by adding a huge sock; that usually solves one problem and creates another, because the whole fit gets warmer, tighter, and less precise.
| Adjustment | Best for | Main tradeoff |
|---|---|---|
| Heel-lock lacing | Small amounts of heel lift on the smaller foot | Can feel too tight if the midfoot is already pressured |
| Runner's loop | Same goal as a heel lock, especially on boots with extra eyelets | Needs a little practice to get even tension |
| Thin sock on the smaller foot | Minor volume differences | Only works when the gap is small |
| Tongue pad or volume reducer | Extra room over the instep or midfoot | Can change the feel of the boot if overused |
| Full-length insole or orthotic | Arch support and controlled volume reduction | Often takes up close to half a size of space |
The technical term that matters here is volume, which means how much internal space the boot has, not just how long it is. A boot can be the right length and still be wrong if the smaller foot slides around or the larger foot gets squeezed over the instep. I would rather tune volume carefully than gamble on a bigger size and then try to rescue the fit with padding everywhere.
Once you understand that, the footwear choice becomes much easier, because some hiking shoes are simply more forgiving than others.
Which hiking footwear styles give you the most room to work with
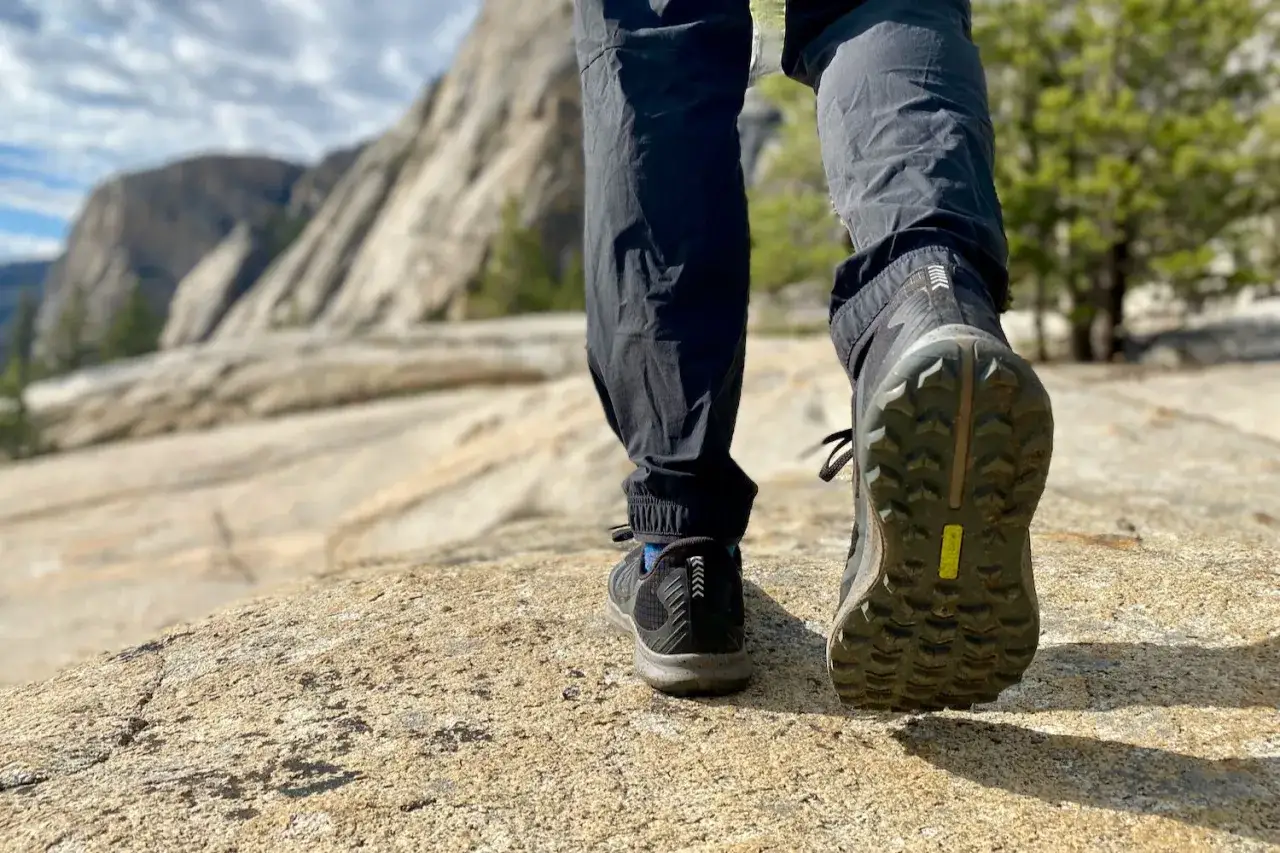
For most hikers with uneven feet, the most forgiving options are models with a roomy toe box, removable insoles, and enough lacing structure to lock the heel down. I am usually more interested in shape than category. The last, the mold a shoe is built on, matters more than the logo when your feet are different sizes. A well-shaped trail runner can fit a difficult pair of feet better than a clumsy boot, while a mid-height boot can still be the right answer if you need more protection on rough ground.| Footwear type | Why it helps | Where it falls short |
|---|---|---|
| Trail runners | Light, flexible, and often easier to fine-tune for the smaller foot | Less protection and structure on rough descents or with heavier packs |
| Mid-height hiking boots | More protection and a bit more structure for rocky terrain | Can be harder to fit if the smaller foot is much narrower |
| Wide or high-volume models | Useful when the larger foot needs width more than extra length | May create heel slip on the smaller foot if the last is too generous |
| Boots with removable insoles | Make it easier to add orthotics or reduce space on the smaller side | Not every stock insole is supportive enough for long mileage |
If the larger foot is broad in the forefoot, I usually prefer a wider or higher-volume model before I start thinking about adding length. That matters because extra length can create a sloppy heel even when the toe box finally feels right. A better-shaped toe box is worth more than a bigger number on the label.
From there, the final decision should be made in motion, not standing still in the shop.
The fit tests I use before buying
I want hiking footwear to feel almost boring in the store. If I notice pressure right away, I assume it will get worse once the trail turns uphill, the temperature rises, or I add pack weight. The boot does not need to feel broken in to feel correct; it only needs to feel stable, balanced, and free of obvious pressure points.
- Stand in the shoes with your hiking socks on and check for a thumb's width of space in front of the longest toe.
- Walk downhill if the store has a ramp or step test. The bigger foot should not slam into the front.
- Lift your heel and then walk normally. A little movement is fine; repeated heel lift is not.
- Press on the sides of the forefoot and the top of the foot. Numbness or a hot spot is a warning sign, not something to “break in.”
- Try the fit with the backpack weight you normally carry if that is possible. Even a modest load changes how the shoe flexes.
I also check the boot after a few minutes rather than at minute one. A shoe that starts out fine can become annoying once your foot begins to settle and warm up. The best pair is the one that still feels controlled after you have stood, walked, and bent the foot a few times.
That practical testing is especially important because not every uneven-foot problem is just a shopping issue, and sometimes the foot itself is telling you to pay closer attention.
When the difference needs medical attention
A long-standing size difference is usually a fitting problem. A new or suddenly worse difference is different. If one foot swells without a clear reason, becomes red or hot, hurts sharply, or changes after an injury, I stop treating it as a boot-selection issue. The NHS notes that unexplained swelling in one foot or leg should be checked, especially when it is sudden, painful, or getting worse.
Persistent asymmetry can also show up with bunions, hammertoes, arthritis, nerve issues, or old injuries that changed how the foot loads. In those cases, a podiatrist or a specialty fitter is worth the appointment, because the answer may be a combination of shoe shape, insert choice, and lacing rather than a single size adjustment. If you need orthotics, bring them to every fitting session so the boot is judged with the real setup, not a best-case guess.
Once you know the difference is stable and not a warning sign, the final step is choosing the simplest setup that will survive the trail.
The setup I would choose for most hikers
- Fit the shoe to the larger foot in the afternoon, not to the smaller foot in the morning.
- Choose width before length if the forefoot is the main problem.
- Use heel-lock lacing or a runner's loop to clean up slack on the smaller side.
- Test with the socks and inserts you will actually hike in.
- Recheck the fit after a 20- to 30-minute walk with a pack if you can.
For most hikers, that setup is enough to make uneven feet a manageable issue instead of a constant distraction. It respects the way feet change during a long day, and it keeps the larger foot protected without wasting space on the smaller one. That is the version I trust, because it works on real trails, not just in the store.