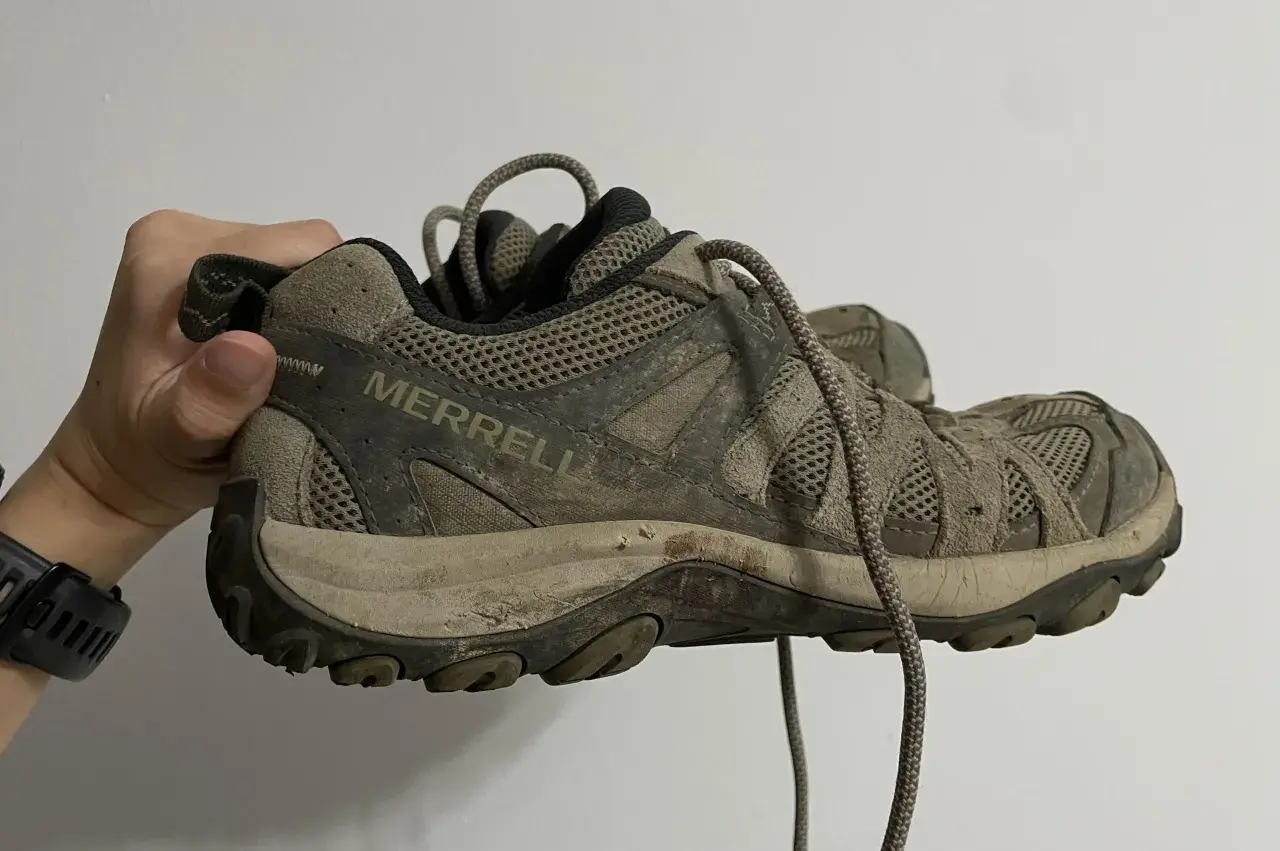
A little traction work can turn a sketchy pair of hiking shoes into something much more usable on damp trailheads, polished rock, or dusty switchbacks. I’ll show you how to rough up bottom of slippery shoes without wrecking the outsole, when that trick actually helps, and when a better fix is to clean, resole, or switch to traction aids instead.
What matters most before you start
- Start with cleaning. Mud, wax, and factory residue can make a good outsole feel worse than it is.
- Use a light touch. Fine sandpaper can add microtexture, but aggressive grinding can shorten the life of the sole.
- Only roughen the contact zones. Heel and forefoot matter most; you do not need to abrade every inch of tread.
- Match the fix to the trail. Sanding may help on new or slightly glazed rubber, but it will not replace real lugs or winter traction gear.
- Test before committing. A short walk on flat ground tells you more than a guess on a steep descent.
Why slippery hiking shoe soles happen in the first place
When I see a hiking shoe sliding more than it should, I do not blame the trail first. I check the outsole condition, the rubber compound, and whether the tread is actually clogged or just too smooth for the surface. A brand-new sole can feel slick because of mold-release residue or a slightly polished top layer, while an older sole may have rounded lugs that no longer bite well on loose ground.Rubber choice matters too. Softer compounds usually grip wet rock better, but they wear faster; harder compounds can last longer, but they tend to feel less secure on slick stone or damp roots. That is why some hiking shoes feel excellent on dry dirt and strangely nervous the moment the trail turns wet. On top of that, packed mud, fine dust, and even a thin film of road grime can fill tread gaps and reduce friction more than people expect.
So the real question is not just whether the shoe is slippery, but whether the problem is contamination, tread shape, or the rubber itself. Once you understand that, the next step is choosing the least destructive fix that actually changes the grip.
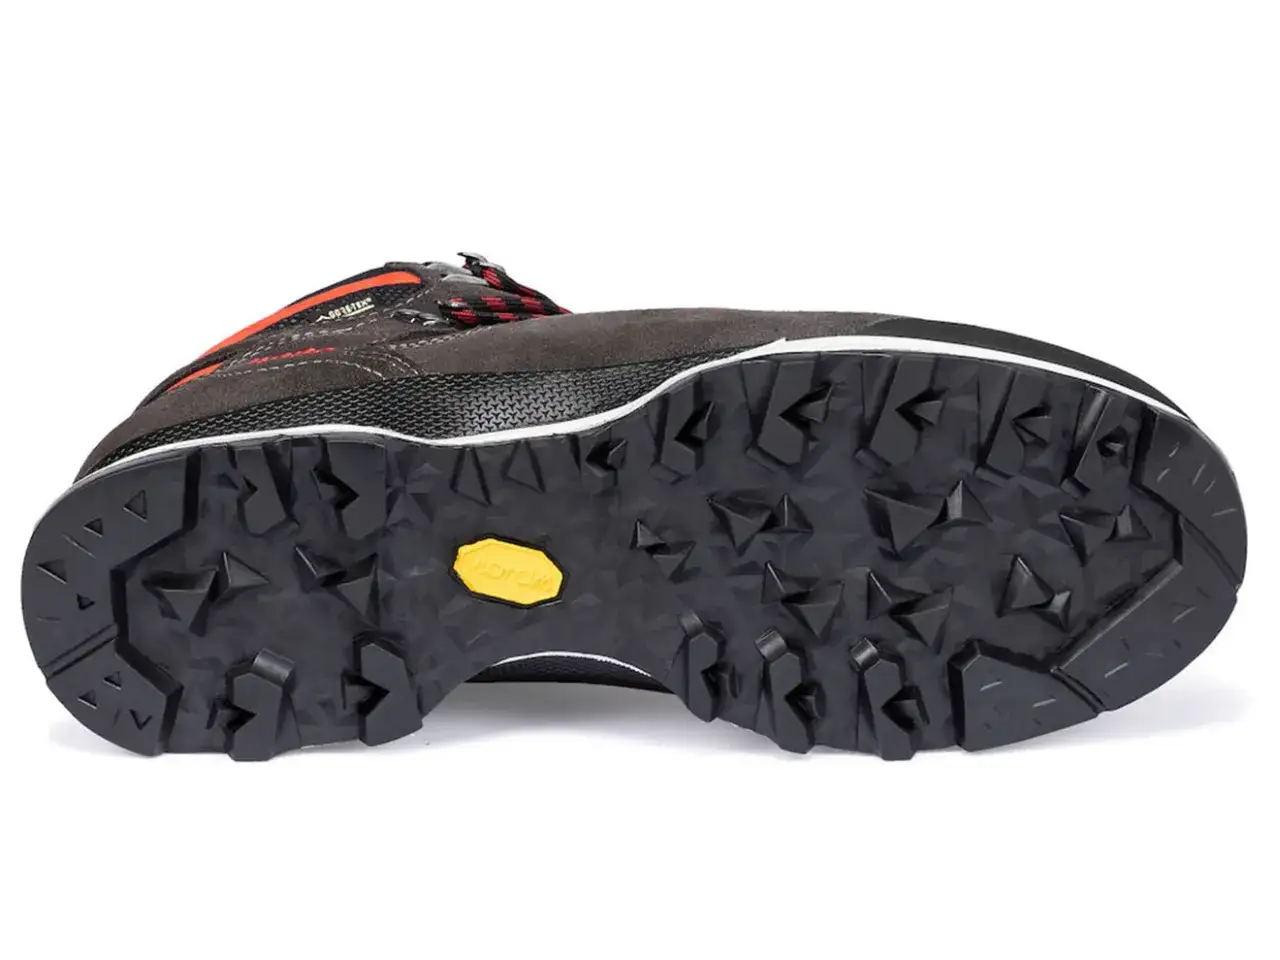
How to rough up bottom of slippery shoes without wrecking the outsole
If the sole is still in decent shape, the safest DIY move is a light scuff, not a harsh grind. I use fine sandpaper, usually around 120 to 220 grit, because it dulls the shiny outer layer and adds just enough texture to help without shaving the tread away.
What to use
- Fine sandpaper, not a coarse file
- A stiff brush and a little water or mild soap
- A clean towel so the outsole is dry before you work on it
The method I would use
- Wash the outsole first and remove every bit of mud, dust, and grit.
- Let the sole dry fully so you can see the tread clearly.
- Hold the shoe steady and rub the sandpaper lightly across the heel and forefoot.
- Use short passes rather than long, heavy strokes.
- Stop as soon as the glossy finish disappears and the rubber looks matte.
- Brush off the dust and test the shoe on flat ground before you take it back to trail use.
Read Also: How to Fit Hiking Boots When One Foot Is Bigger
What I would avoid
- Do not cut grooves into the sole with a knife.
- Do not use a grinder or aggressive metal file.
- Do not sand so hard that you flatten the lugs.
- Do not abrade the full outsole if only one area feels slick.
This is a very small job when it works well. In the U.S., I think of it as a low-cost test: a few dollars for sandpaper and less than 15 minutes of work. That said, the same light touch that helps a fresh outsole can be useless on a badly worn one, which is why the next section matters.
When a light scuff helps and when it will not
Light sanding is useful when the outsole is basically healthy but feels slick because the surface is too smooth. It is less useful when the tread itself is worn down or the rubber compound is simply wrong for the terrain. I like to think of it this way: sanding can improve surface texture, but it cannot create missing lugs or change a hard compound into a sticky one.
| Situation | Will light sanding help? | Why |
|---|---|---|
| Brand-new outsole with a shiny finish | Usually yes | It removes the slick outer layer and adds microtexture. |
| Outsole contaminated with mud, wax, or dust | Only after cleaning | Debris reduces grip more than surface texture does. |
| Rounded, worn-down lugs | Only a little | The tread shape is already compromised. |
| Wet rock and polished stone | Sometimes, but not much | Surface texture helps less than a sticky rubber compound. |
| Ice or hard-packed winter snow | No | You usually need real traction devices, not scuffing. |
That is the hard part people often skip: if the shoe is slipping because the outsole is fundamentally the wrong tool, roughing it up will only buy a little time. If that sounds familiar, the smarter move is to look at more effective traction fixes.
Better fixes for hiking footwear on rock, mud, and winter trail
Once a shoe has crossed the line from “a bit slick” to “not enough grip for the trail,” I stop thinking about sanding and start matching the fix to the terrain. For hiking footwear, that usually means one of four things: cleaning, adding temporary traction, choosing a better rubber compound, or replacing the sole before it becomes a liability.
- Deep cleaning works best when mud or wax is the real problem. A soft brush, warm water, and mild soap often restore more traction than people expect.
- Traction pads can help on casual urban approaches or smooth surfaces, but they are usually a temporary solution for hiking.
- Microspikes make sense for icy or packed-snow trails. They are the right tool when the ground is slick enough that rubber alone will not be enough.
- Crampons belong on more technical winter terrain, especially when the footing is steep, firm, and icy.
- A resole or replacement is the right call when the outsole is worn smooth, the lugs are shallow, or the rubber has lost the feel you need on wet terrain.
In practice, I usually separate hiking traction problems into two buckets: “this shoe just needs maintenance” and “this shoe needs a different strategy.” On wet trail days, a cleaner outsole or a better compound can make a bigger difference than roughing up the tread ever will. On winter hikes, the answer is rarely sanding at all; it is proper traction hardware matched to the conditions.
That leaves one more step that is easy to skip but important if you want to avoid a bad surprise halfway up a climb: testing the result before you trust it.
How to check whether the grip actually improved
I never take a modified outsole straight onto a steep, wet descent. I test it on flat ground first, then on a mild incline, and only after that do I trust it on trail. The goal is not to prove the shoe is perfect; the goal is to see whether the change made a meaningful difference or just scratched the rubber for no gain.
- Walk on clean concrete or asphalt and notice whether push-off feels less slick.
- Try a damp patch if conditions allow, but avoid anything steep.
- Check both the heel strike and toe-off zones, since those are the parts that usually slip first.
- Look at the sole again after the test. If you see torn rubber or flattened lugs, you went too hard.
- Take the shoes on a short, familiar trail before relying on them for a longer hike.
If the shoe still feels nervous after that, I would not keep sanding and hoping. At that point, the outsole is telling you the problem is bigger than texture. The final step is being honest about the trade-offs and deciding whether to keep working on the shoe or move on.
What I would do before the next hike
My rule is simple: if the outsole is healthy, I clean it first, then scuff it lightly if the rubber is shiny. If the tread is worn, I stop trying to rescue it with DIY tricks and either add the right traction aid or replace the shoe. That keeps you from overworking a sole that is already near the end of its useful life.
For most U.S. hikers, the rough budget looks like this: a basic scuff-and-clean fix is almost free, traction pads are usually a low-cost stopgap, microspikes are a moderate buy for winter use, and a cobbler or resole is the pricier but often smarter move for a shoe you still like. If you hike in mixed conditions, the most practical approach is not one magic trick. It is a small toolkit: clean soles, light scuffing when appropriate, and proper traction gear when the terrain demands it.
That combination is what keeps a slippery shoe useful instead of turning it into a constant risk on the trail.