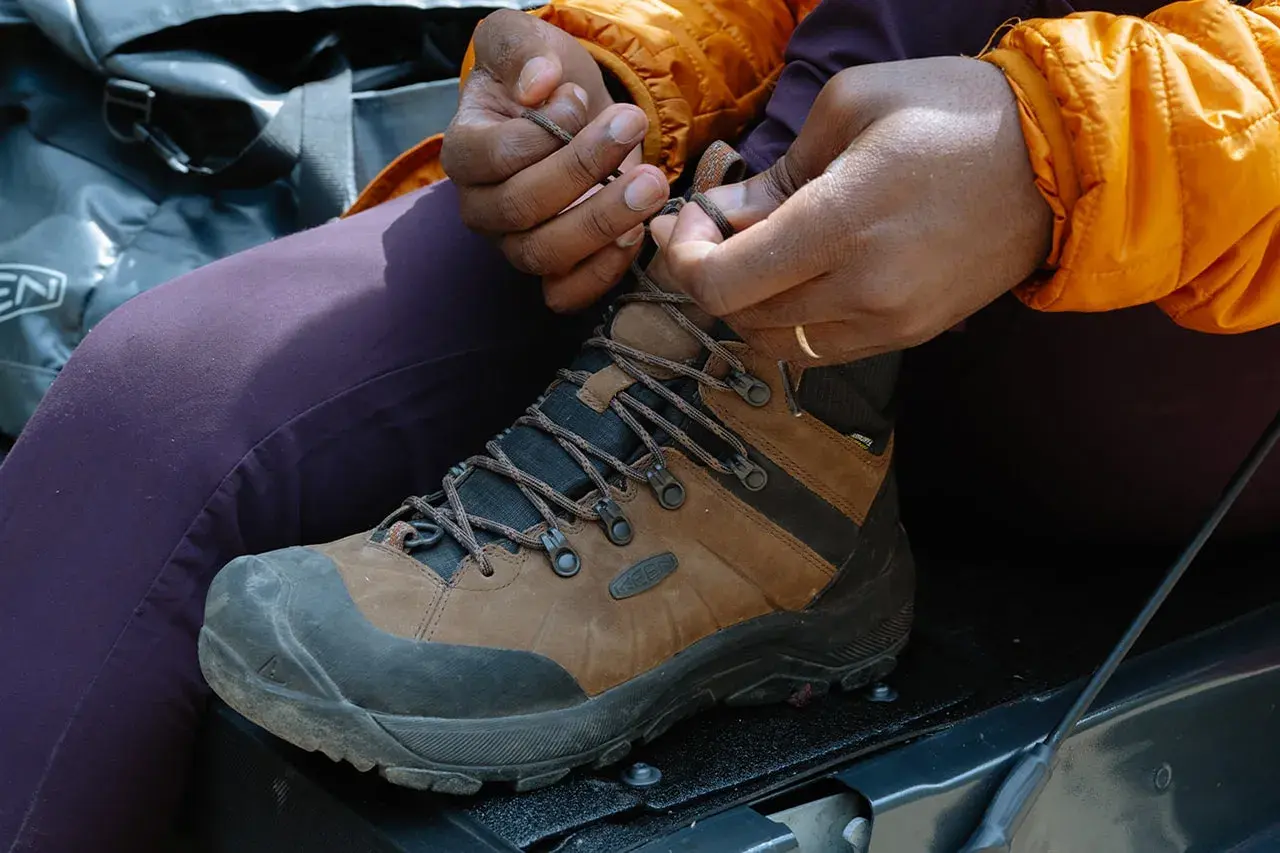
A solid boot tie should do three things at once: hold the heel in place, leave the forefoot flexible, and stop pressure from building on the top of the foot. That matters even more on long, uneven days, where a loose heel turns into blisters and an over-tight forefoot turns into numb toes. In this guide, I break down how to tie hiking boots in a way that actually improves comfort, control, and endurance on the trail.
The quickest fixes for a stable, comfortable boot fit
- Start with the right sock, a centered tongue, and even lace tension before you add any special technique.
- Use a heel-lock style finish when your heel lifts on climbs or descents.
- Use window lacing when the top of your foot feels pinched or hot.
- Use toe-relief lacing when your toes are hitting the front of the boot on steep downhill sections.
- Retie after the first 10 to 15 minutes of walking, because boots settle as the leather or upper flexes.
Fit first, knots second
I always start here because no lacing trick can rescue a badly matched boot. If the boot is too short, too narrow, or shaped wrong for your foot, you will keep chasing problems that never really go away. The goal is a snug midfoot, a stable heel, and just enough room at the toes to let your foot move naturally when it swells on the trail.
Before I touch the final knot, I check a few basics:
- Wear the socks you will actually hike in. Thick hiking socks change volume a lot, especially in mid- and heavyweight pairs.
- Center the tongue. A twisted tongue creates pressure that people often blame on the laces.
- Remove twists from the laces. Uneven lace lay can create hot spots fast, especially on long descents.
- Snug the boot from the toe box upward. The lower section should hold the foot, not crush it.
If I can feel the boot pinching before I even start walking, I do not try to “fix” that with a harder knot. I reset the fit first, because the right lacing pattern works best when it is fine-tuning a good base instead of fighting against a bad one. Once that baseline is right, the lacing pattern can do useful work instead of making things worse.
Build a base lacing pattern that works on most trails
For most hikes, I begin with a standard criss-cross lacing pattern and keep the tension gradual rather than aggressive. The lower eyelets should secure the forefoot, the middle section should support the arch and instep, and the upper hooks should stabilize the ankle without cutting off circulation. That balance matters on rolling terrain, where your foot needs both control and a little freedom.
My default sequence looks like this:
- Lace evenly from the toe area upward, pulling each side just enough to remove slack.
- Keep the forefoot secure, but do not cinch it so tightly that the toe box collapses.
- When you reach the flex point of the boot, check for pressure across the top of the foot.
- If the fit starts to feel locked in, use a tension-saving knot or locking step before the upper hooks.
- Finish with a clean bow that can be tightened and retied without fighting the lace.
What I like about this foundation is that it gives you control without overcorrecting. You are not trying to clamp the whole boot shut. You are shaping the pressure so the boot moves with your foot instead of against it. From here, you can adjust for the most common trail problems, which is where targeted lacing starts to matter.
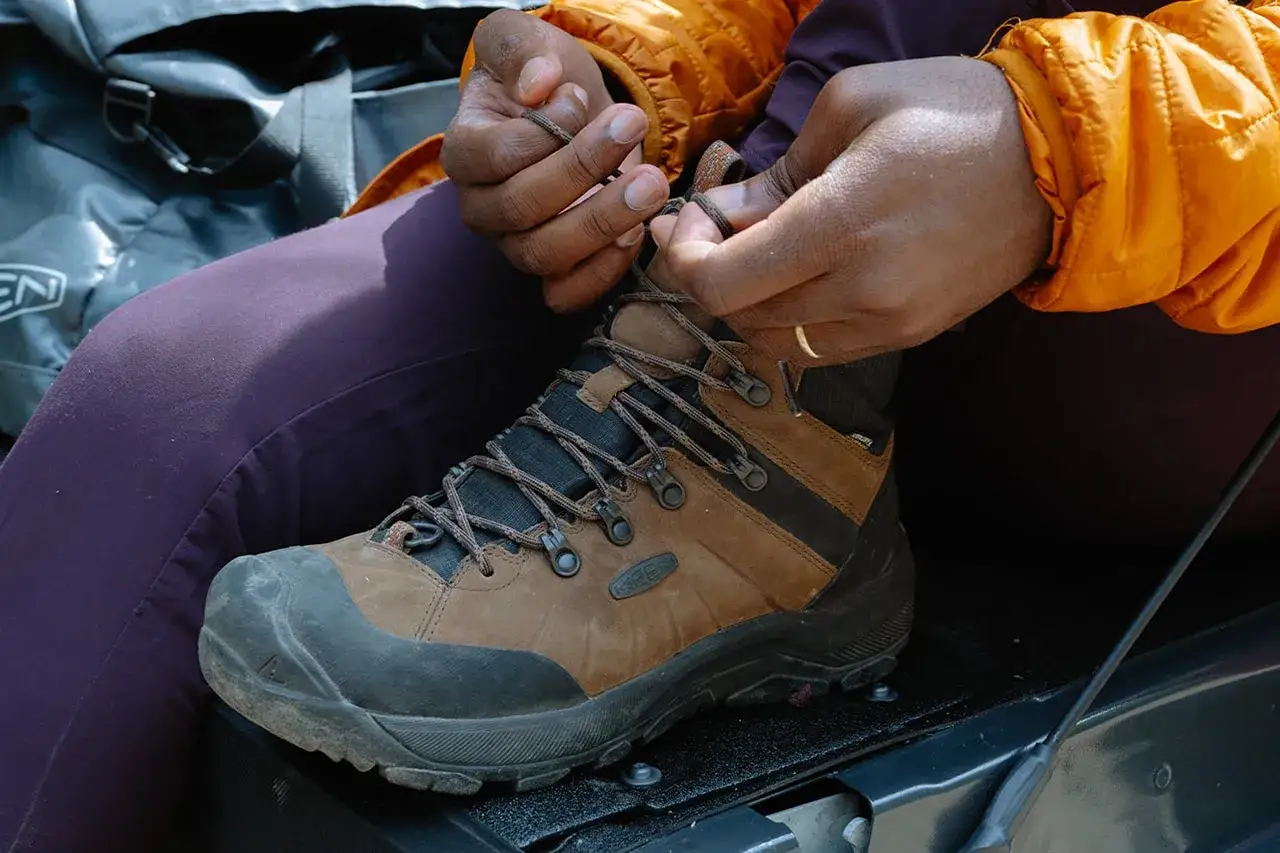
Use the right fix for heel slip, pressure points, and toe pain
Most hiking boot discomfort falls into three buckets: the heel moves, the top of the foot gets sore, or the toes get jammed downhill. I treat those as separate problems, because each one calls for a different lacing adjustment. This is where the trail gets more honest than the showroom.
| Problem | Best lacing fix | Why it helps | Best use case |
|---|---|---|---|
| Heel lift or rubbing | Heel-lock style lacing | Pulls the heel back into the pocket and reduces movement | Steep climbs, rocky descents, long days with heel blisters |
| Pressure on the top of the foot | Window lacing | Creates a gap in the lace pattern so the instep has room | High arches, lace bite, swollen feet, long steady mileage |
| Toes slamming the front of the boot | Toe-relief lacing | Opens up the toe box slightly and reduces downhill compression | Steep descents, long downhill approaches, tired feet |
Heel-lock lacing for movement at the back of the boot
When my heel slides, I use a heel-lock finish. The idea is simple: you create extra tension high on the boot so the heel stays seated in the pocket. On many boots, this means using the upper hooks to form a small locking loop and then crossing the laces back through it before tying off. The result is less lift, less rubbing, and usually fewer blisters on the back of the foot.
I like this method most on uneven ground and on long descents where the heel wants to drift forward. It is especially useful if the boot fits well everywhere except that last bit of movement near the collar. The key is to tighten the area that needs control, not to crank down the whole upper so hard that your ankle feels trapped.
Window lacing for pressure on the top of the foot
Window lacing is my go-to when the top of the foot feels bruised or compressed. Instead of crossing the lace over the painful area, I leave a small “window” so that section gets relief. That reduces lace bite, which is the sharp pressure some hikers feel where the boot flexes across the instep.
This method is a good example of why lacing is not just about tight or loose. It is about directing force. If one area of the foot is unhappy, I do not loosen everything and lose support elsewhere. I open a window only where the pressure needs to disappear, then keep the rest of the boot stable.
Read Also: Approach Shoes Fit - Your Guide to Precision & Comfort
Toe-relief lacing for downhill pressure
Toe-relief lacing helps when the front of the boot feels too cramped, especially on steep drops. By skipping a lower lace segment or easing the lower tension, you create a bit more room in the toe box. That can be the difference between finishing a descent comfortably and spending the last hour trying not to jam your toes into the front of the boot.
I treat this as a practical fix, not a cure-all. If your toes are constantly slamming forward, the boot may be too short, the lacing may be too loose at the heel, or the downhill terrain may simply be exposing a fit problem. Still, for the kind of long, lumpy descent you find on coastal paths or mountain routes, this adjustment can be the difference between okay and miserable. Once those pressure points are under control, the next step is matching the lacing to the terrain itself.
Adjust tension for climbs, descents, and flat ground
I rarely lace a boot the same way for an entire day if the route keeps changing. On a gradual climb, I want the ankle to move a little while the midfoot stays secure. On a steep descent, I want the opposite: a locked heel, controlled forefoot, and enough toe room to absorb repeated impact. Flat ground is the easiest case, because even tension usually works well.
- Uphill. Keep the forefoot and instep snug, but leave enough freedom near the ankle for stride and flex.
- Downhill. Tighten the upper hold, reinforce the heel, and make sure the toes are not being pushed into the front of the boot.
- Flat or rolling terrain. Aim for balanced tension from toe to collar, then check comfort after the boot warms up.
This is one of the easiest habits to miss because the change is subtle. A boot that feels fine on the first flat mile may feel wrong twenty minutes later on a climb or descent. I prefer to make small adjustments before the problem turns into friction, because once a blister starts, the lacing is already behind. From there, the knot itself becomes the next thing worth getting right.
Tie a knot that stays put without squeezing the foot
A secure boot is only as good as the knot holding the tension in place. If your laces keep coming undone, the problem is often not the boot, but the knot style or the way the loops are crossed. I use a clean square knot for most hikes because it stays flatter and is less likely to slip than a sloppy granny knot.
Here is the difference in practice: a square knot crosses one way, then the other way, so the bow sits evenly. A granny knot crosses the same direction twice, which makes it more prone to loosening. If the bow looks lopsided or twists as you tighten it, I redo it immediately.
For long hikes, slippery laces, or damp conditions, I often add a second locking step or a double knot. That extra lock is useful, but I do not pull it so hard that the boot feels rigid. The point is to secure the system, not to clamp down on the top of the foot. Once the knot is stable, the remaining job is avoiding the mistakes that quietly cause pain.
The mistakes that create blisters faster than the trail does
Most hiking-boot pain comes from a few predictable errors, and I see the same ones over and over. They are small mistakes, which is why people keep repeating them. The problem is that small errors become big ones after an hour or two of walking.
- Tightening every section equally. A boot should usually be tighter in some zones than others.
- Ignoring the tongue. A folded or off-center tongue creates pressure that feels like bad fit.
- Over-tightening the forefoot. This can numb the toes and make the boot feel smaller than it is.
- Leaving the heel loose. Heel movement is one of the fastest paths to blisters.
- Never retightening after the first stretch of walking. Laces settle, uppers flex, and the fit changes.
- Using worn-out laces. Flat, fuzzy, or stretched laces lose grip and make every knot less reliable.
If I had to pick the most expensive mistake, it would be trying to force a bad fit with more tension. That usually makes the boot feel worse, not better. The smarter move is to notice where the foot is asking for relief and change the lacing pattern there. That leads into the final check I use before committing to a full day on the trail.
The one-minute check I make before a long hike
Before I set off, I stand up, flex the ankle, and walk a short stretch to see whether anything shifts under load. I pay attention to three things: heel lift, toe room, and pressure on the top of the foot. If any of those feel off, I stop and retie before the boots have a chance to dig in.
For a longer route, I also like to retie after the boot has warmed up and the laces have settled. That tiny reset often matters more than people expect. On steep, wet, or rocky terrain, the right lacing can make a boot feel more controlled without making it feel more restrictive. And if the boot still hurts after the lacing is corrected, I stop blaming the knot and look at fit, sock thickness, or the boot shape itself, because that is usually where the real answer lives.