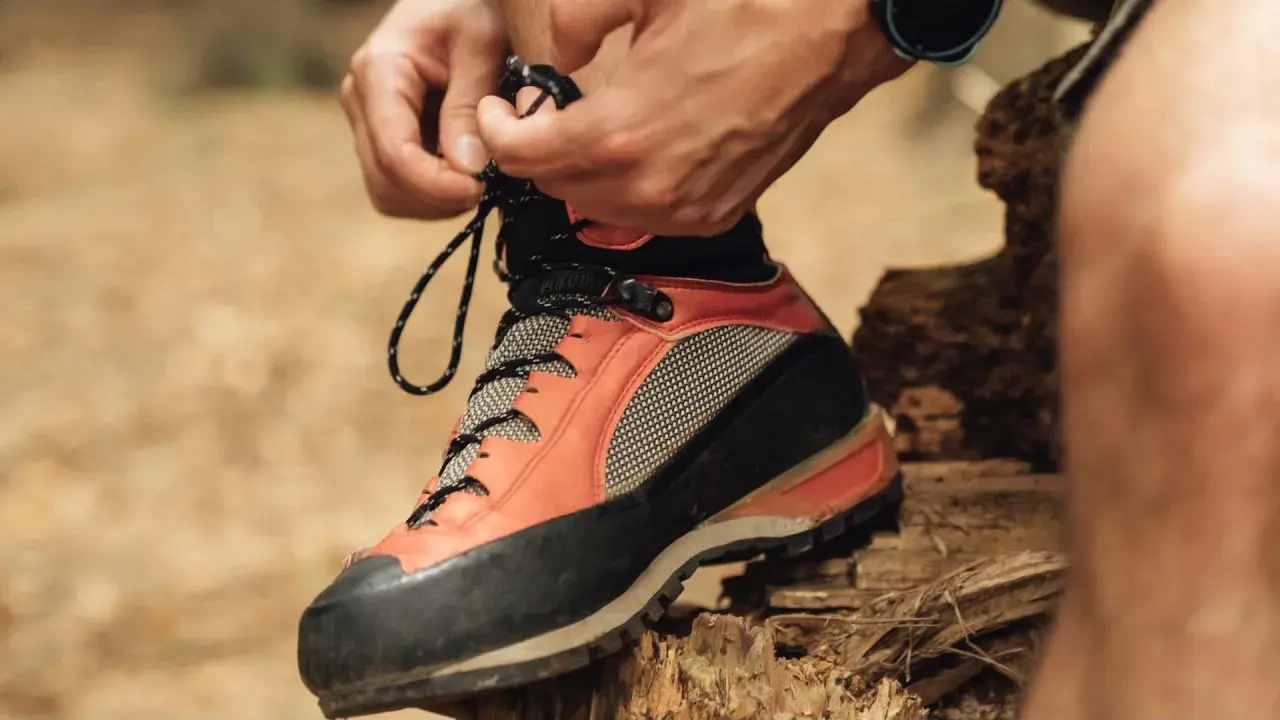
A worn outsole does not automatically mean a hiking boot is finished. If the upper is still sound, the midsole has not started to crumble, and the fit is still right, a good resole can keep a trusted pair on the trail for years longer. That is the real tradeoff behind whether to resole hiking boots or replace them: preserve a broken-in fit, or start over with a new pair that still needs miles to settle.
The best repair candidate is a boot with a healthy upper, a stable midsole, and a dead outsole
- Repair early. Once tread is nearly flat or the outsole starts peeling, traction and stability drop fast.
- Construction matters. Welted, stitched, and some cemented boots can be resoled; cheap fully bonded pairs often are not worth it.
- Watch for hydrolysis. Cracking or crumbling polyurethane midsoles can fail even when the tread still looks usable.
- Expect a real bill. In the U.S., a straightforward job often lands around $90-$150, with more for midsoles, rands, or stitching.
- Plan for time. A repair usually takes several weeks once shipping is included.
- Check the warranty first. Some brands exclude resoled or modified boots from the original warranty.
When another sole makes sense and when it does not
My basic rule is simple: if the boot still fits you well and the damage is concentrated in the outsole, I lean toward repair. That is especially true for good backpacking or mountaineering boots, where the break-in period is part of the value. A resole can cost a fraction of a new premium pair, and it preserves the shape that already works for your foot.
Replacement starts making more sense when more than one major part is failing at the same time. If the upper leather is split, the lining is worn through, the rand is peeling back, and the midsole is breaking down, I would not spend much money on saving it. In practical terms, one failing component usually points to repair, while two or three failing together point to replacement.
| Situation | My leaning | Why |
|---|---|---|
| Outsole worn smooth, upper still healthy | Resole | The boot still has structural life left. |
| Outsole worn and heel starting to collapse | Resole soon | Catching wear early protects the midsole and upper. |
| Midsole cracking, outsole lifting, upper still good | Repair only if the shop confirms it | Hydrolysis may be the real problem, not just tread wear. |
| Upper cracked, lining torn, sole shot | Replace | Repair costs can creep close to a new pair. |
If you already know the boot is a strong candidate, the next question is whether its construction actually supports a proper rebuild.
Which boots are actually built for another round
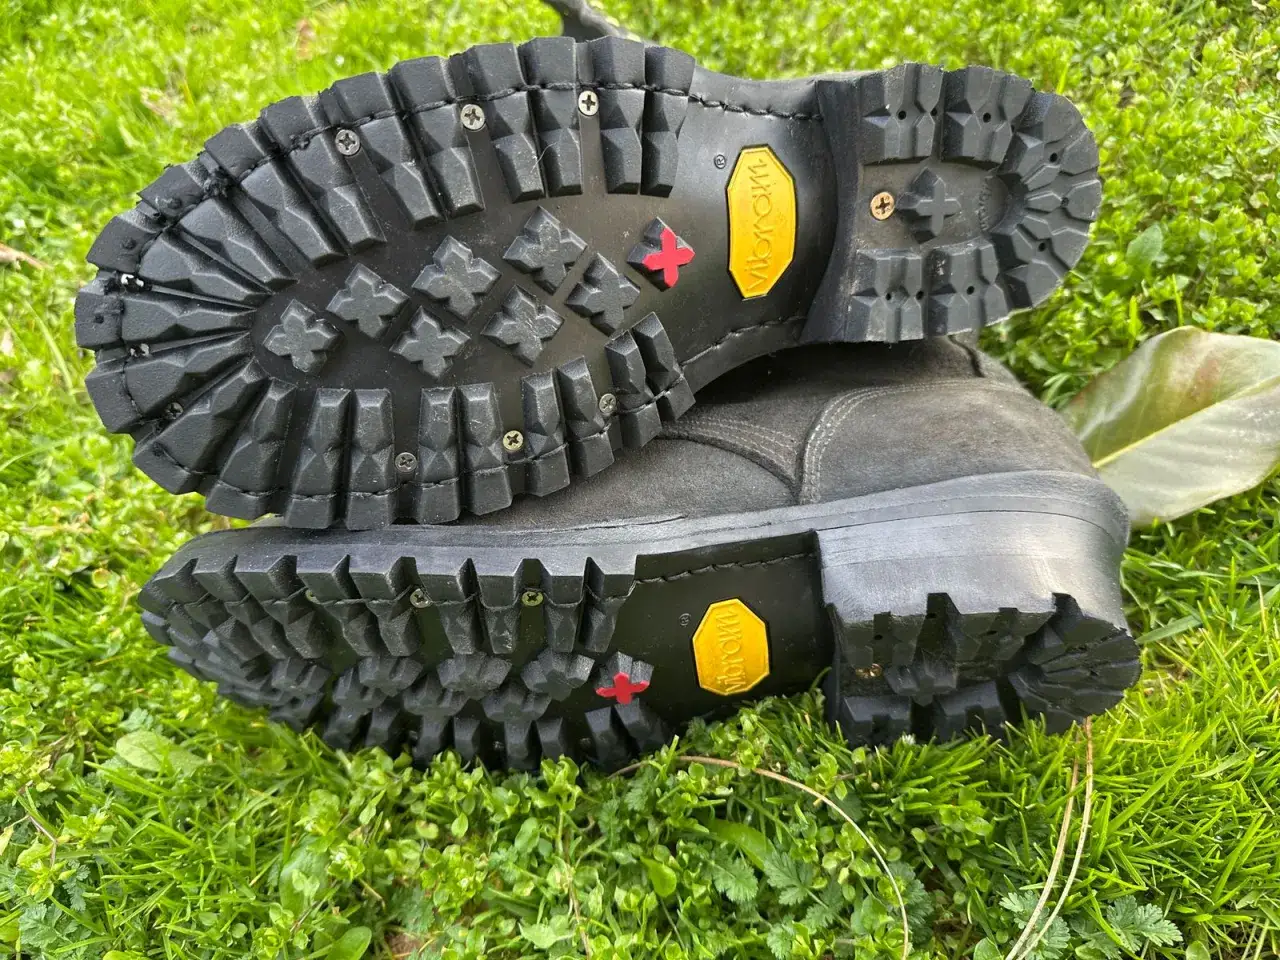
Not every hiking boot is equally repairable. The easiest candidates are boots with a stitched or welted construction, because the sole can be separated and rebuilt without destroying the upper. “Cemented” construction means the sole is glued on rather than welt-stitched; that sounds less repair-friendly, but some higher-quality cemented boots are still designed to be resoled by the manufacturer or a specialist cobbler.| Construction | Resole odds | What it means in practice |
|---|---|---|
| Goodyear welt or similar welted build | High | Usually the easiest and most predictable repair path. |
| Norwegian or double-stitched build | High | Common in tougher alpine boots; usually worth repairing. |
| Cemented but serviceable build | Medium to high | Possible on many premium boots if the brand supports it. |
| Fully bonded budget boot | Low | Often not worth the labor once the outsole fails. |
That is why brand support matters. Some manufacturers openly offer resoling for specific lines, and some service centers will only work on certain constructions. If a boot was built with repair in mind, the odds of getting a clean, long-lasting result go up fast.
The warning signs that tell me to act early
Most people wait too long. They notice the tread is thin, then keep hiking until the sole is visibly falling apart. That is the point where the repair becomes more expensive and the result is less certain. I would rather send a boot out when it still looks “tired” than when it already looks broken.
- The lugs are flat or uneven. Grip drops first on wet rock, hard dirt, and loose scree.
- The heel edge is worn faster than the forefoot. That changes how the boot lands and can make the stride feel sloppy.
- The outsole is separating at the toe or heel. Once delamination starts, water and grit get in quickly.
- The midsole shows cracks or crumbling. That is often hydrolysis, and it can turn a simple resole into a much bigger repair.
- The upper is still strong, but traction is gone. This is the sweet spot for saving the boot.
If I am on the fence, I check the inside and outside together. A boot that still feels stable underfoot but has a dead outsole is worth saving. A boot that already flexes badly, leaks, and shows structural wear in several places is usually not.
What happens in a proper resoling job
A clean resole is not just “glue on a new bottom.” A good shop strips the worn sole, checks the midsole and rand, rebuilds any weak points, and then bonds or stitches on a new outsole matched to the boot’s use. On some repairs, the shop will also replace the heel, add a new insole, or renew the toe rand if the original rubber guard is damaged.
- Inspection. The cobbler checks the upper, welt, seams, midsole, and any glue failure.
- Disassembly. The old outsole is removed, and worn material is ground away.
- Structural repair. If needed, the midsole, rand, stitching, or lining gets attention first.
- New sole installation. A replacement outsole is attached and shaped to the boot.
- Curing and finishing. The bond has to set fully before the boot is ready for use.
The part most people underestimate is turnaround. A straightforward mail-in repair can still take several weeks once shipping is included, and busy seasons stretch that further. In my experience, the best approach is to send boots out before your next big trip, not after the tread has already failed on the trail.
One more practical detail: not every repair house will recreate the exact original sole. If the original pattern is unavailable, a comparable sole may be used instead. That is usually fine, but if you are attached to a specific grip profile, ask about it before you ship the boots.
What it costs in the US and how I judge value
For the U.S. market, I would budget roughly $90 to $150 for a straightforward resole and more when the job includes midsole work, a new rand, stitching, or heel renewal. Premium rebuilds can move higher very quickly. That is still often a sensible spend when the boot originally cost $250 to $450 or more and still fits you perfectly.
Current manufacturer service menus help anchor the range. Some brands in Europe list standard resoles around the equivalent of €120, with heavier mountain or double-stitched models closer to €170. That lines up with what I see from reputable cobblers once shipping and extras are included.
| Repair type | Typical price range | Best for |
|---|---|---|
| Simple outsole resole | $90-$150 | Boots with a healthy upper and good midsole. |
| Full sole unit with added work | $150-$250+ | Boots that need rand, heel, or stitching attention too. |
| Factory or premium rebuild | $170-$300+ | Technical boots that deserve a more complete service. |
| New quality hiking boots | $200-$500+ | When the upper is also tired or the boot was never repair-friendly. |
My value test is straightforward: if the repair costs less than about half of a comparable replacement and the upper is still excellent, I usually repair. If the boot is already halfway to retirement, I stop trying to justify it. That keeps me from spending premium money on a pair that only has a short second life left.
The checks I make before and after the repair
Small details decide whether a resole feels like a true restoration or a rushed patch. Before I send boots in, I clean them well, dry them fully, and note any custom insoles or fit issues. If the repair house wants the boots cleaned but not conditioned, I follow that instruction exactly. Leather care products can interfere with bonding if they are applied at the wrong time.
- Photograph the wear pattern. It helps the shop see how the boot was breaking down.
- Remove orthotics if asked. Some repair departments do not want them inside the boot during service.
- Ask what sole will be used. I want to know whether the replacement matches the original traction profile or is an approved equivalent.
- Confirm the expected turnaround. That avoids bad surprises if a trip is coming up.
- Inspect the return pair immediately. I check glue lines, edge finish, and symmetry before the boots go back into rotation.
After the boots come back, I do not take them straight onto a long alpine day or a wet shoulder-season route. I walk them on pavement first, then on an easy local trail, and only then do I trust them on something serious. If the fit still feels right and the outsole has real bite again, the repair has done its job. In that case, a good resole is not a compromise at all; it is the smartest way to keep a proven pair alive.