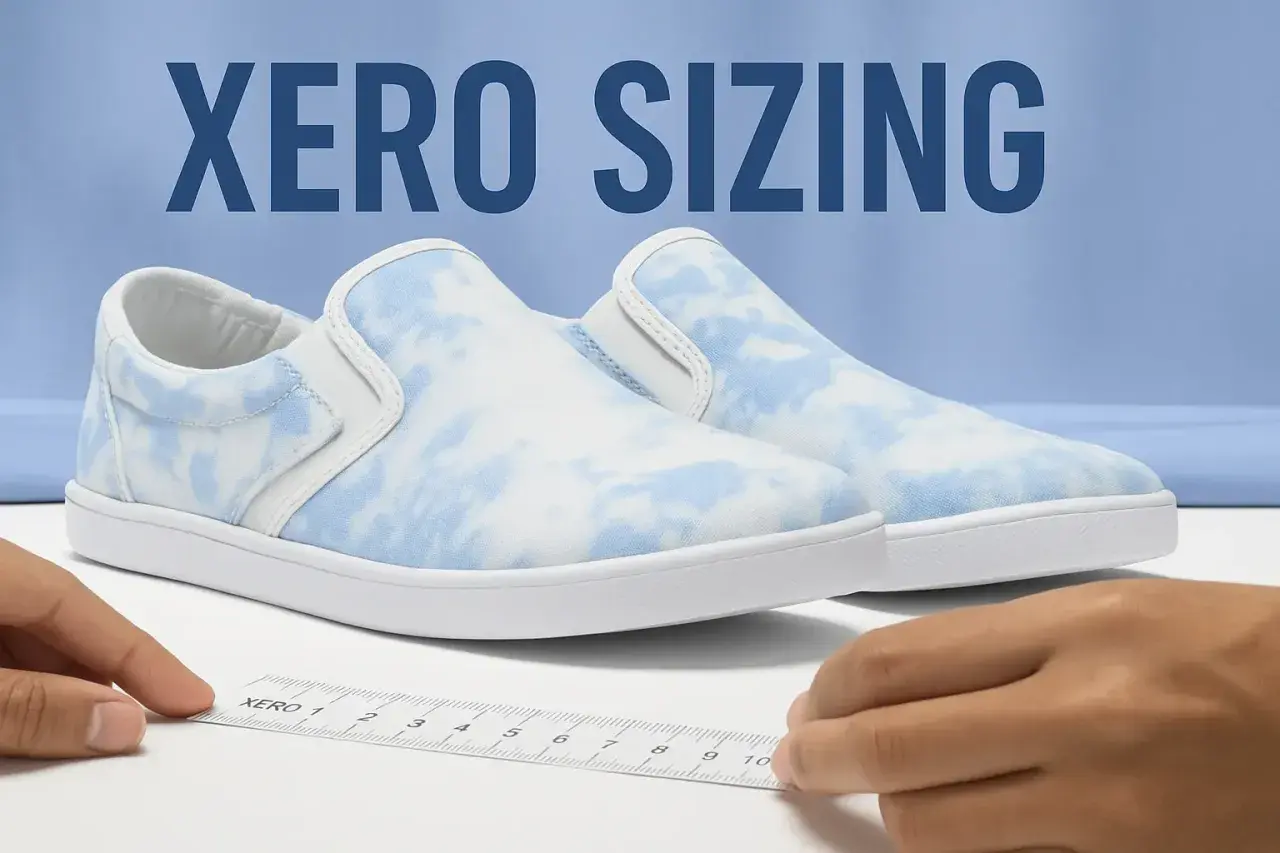
The sizing rules that matter most
- Most Xero hiking models start with your regular size, but a few key ones run small.
- The Xcursion Fusion and women’s DayLite Hiker Fusion are the main hiking models I would flag for a half-size up.
- Men’s and women’s closed-toe Xero shoes are 1.5 sizes apart, so width and length both matter.
- For hiking, I want a secure heel, a held midfoot, and enough room for toes to spread on descents.
- Measure both feet, fit the larger one, and test the shoe in the socks you will actually hike in.
How Xero sizing works on hiking shoes
Xero builds around a barefoot-style shape: a wider toe box, zero-drop platform, and a flexible sole. That combination changes the sizing conversation a bit. On a conventional hiking boot, people often size up mainly for width. On Xero, the better question is whether the shoe gives your toes room to work without letting your foot slide around.
The brand’s guidance also makes one thing clear: fit is model-specific. A trail shoe, a mid-cut boot, and a waterproof hiking boot can all wear differently even when the numbers on the box look familiar. Xero also notes that some people like their toes close to the front, while others prefer about 1/4" to 1/2" of extra space. For hiking, I usually treat that as a useful range, not a target to exceed.| Fit rule | What it means on the trail |
|---|---|
| Wide toe box | Your toes should be able to spread instead of stacking together on uneven ground. |
| Zero-drop platform | Your heel and forefoot sit at the same height, so the shoe should feel stable rather than pitched forward. |
| Model-specific sizing | Some styles are true to size, while others need a half-size adjustment. |
| Trail margin | A little extra room helps with swelling and descents, but too much room creates friction. |
That baseline matters, because once you understand the shape of the fit, measuring your feet becomes much easier and a lot less guesswork-driven.
How I measure my feet before ordering
I always start by measuring both feet, then I size to the larger one. In hiking footwear, that small detail is often the difference between a shoe that feels fine in the house and one that still feels fine after a long descent.
- Measure at the end of the day, when your feet are usually at their largest.
- Wear the hiking socks you plan to use most often.
- Stand with your heel against a wall and place a sheet of paper under your foot.
- Mark the end of your longest toe, not just your big toe if your second toe is longer.
- Measure heel-to-toe length and repeat on the other foot.
- Use the longer foot as your sizing reference.
If I am buying a sandal or a model that uses a printable template, I print it at 100% scale and check it with a ruler. That step sounds boring, but it saves returns. For closed-toe hiking shoes, I still think the same way: match the chart, then sanity-check the fit with the socks and terrain you actually care about.
The main trap here is overconfidence. A size that works in an everyday trainer may not be the right answer in a hiking shoe, especially if you want enough room for downhill braking, foot swelling, or a thicker sock system. Once the measuring step is solid, the model-specific advice becomes much easier to use.
Which hiking models I would start with in your usual size
For hiking footwear, I would not treat every Xero model the same. Some are very straightforward, while others deserve a real sizing adjustment. The table below is the starting point I would use before I ever think about a second pair.
| Model | My starting point | Why I would start there |
|---|---|---|
| Ridgeway | Regular size | Xero lists it as true to size, and it is one of the most straightforward hiking boot fits. |
| Mesa Trail II | Regular size | Xero says it fits true to size; I would use my normal trail-shoe size first. |
| Scrambler Mid / Scrambler Mid II / WP versions | Regular size | The brand lists these mid-height trail options as true to size. |
| DayLite Hiker Fusion - Men | Regular size | Xero lists the men’s version as true to size. |
| DayLite Hiker Fusion - Women | Half size up | Xero says it runs small and recommends a half-size larger. |
| Xcursion Fusion | Half size up | Xero says it runs small and recommends a half-size larger. |
That is the part I trust most: the product-specific guidance beats generic shoe rules. If a boot or trail shoe is listed as true to size, I start there. If Xero says it runs small, I follow that instead of trying to “outsmart” the chart.
I also like that this approach keeps the decision simple. You are not guessing based on the word “boot,” which is where a lot of people go wrong. Some hiking shoes should feel close to your normal size, while others need just enough extra length to keep your toes comfortable on steep ground.
Men’s and women’s styles are not interchangeable by accident
One of the easiest mistakes to make is assuming the men’s and women’s versions are just colorways. They are not. For closed-toe shoes, Xero notes a 1.5-size difference between men’s and women’s styles, and the women’s styles fit narrower while the men’s styles fit wider.
| Situation | Useful starting point |
|---|---|
| Men with a narrow foot | Consider a women’s style if the width is the real issue, then adjust for the 1.5-size difference. |
| Women with a wider foot | Consider a men’s style if the width is the real issue, then adjust for the 1.5-size difference. |
| Closed-toe hiking shoes | Remember the men’s and women’s versions are not the same length. |
| Trail sandals | Do not borrow the closed-toe rule blindly; the sandal size gap is different. |
A practical example helps. In Xero’s own charting, a men’s 7 lines up with a women’s 8.5 for closed-toe shoes. That is a real difference, and it matters if you are shopping by habit instead of by fit. I also think this is where a lot of people misread the brand: they think they need to size up when what they actually need is a different width profile.
There is one more detail worth keeping in mind: if you are shopping between genders because of fit, do that only after you have checked the length. A wider toe box is useful, but it should never come at the cost of a sloppy heel or extra sliding on downhills. Once that is clear, the final fit check becomes much more reliable.
What a good trail fit should feel like
On the trail, I want the shoe to feel secure rather than tight. Your heel should stay planted, the midfoot should feel held, and your toes should be able to spread when the ground changes under you. If the shoe feels fine standing still but the foot starts moving inside it on a steep path, that is usually a sizing or lacing problem, not a “break-in” problem.
For hiking, I pay attention to three things in particular:
- Downhill room so the toes do not smash into the front of the shoe.
- Heel stability so the foot does not lift and rub.
- Midfoot control so the shoe moves with the foot, not around it.
If I am trying a new pair at home, I walk stairs, stop and start, and lean forward as if I were descending a slope. That reveals fit problems very quickly. A shoe that is too small tends to show pressure on the toes or the top of the foot. A shoe that is too large tends to feel vague, especially when the terrain gets technical.
For multi-day hikes, I lean a little more conservative about leaving room than I would for casual wear, but I still avoid over-sizing. Barefoot-style hiking shoes work best when they are roomy where your foot needs space and precise where your foot needs control. That balance is what makes the next section so useful.The mistakes that lead to the wrong size
Most sizing mistakes are predictable. Once I know the pattern, they are easy to avoid, but they still show up constantly because hikers carry over habits from other shoe brands.
- Sizing up automatically because the shoe is for hiking. Some Xero models are already true to size, so extra length can create more problems than it solves.
- Ignoring the larger foot. If one foot is longer, that foot sets the size.
- Choosing by width only. Width matters, but not if the length becomes unstable.
- Testing with the wrong socks. A thin everyday sock and a dense hiking sock are not the same fit scenario.
- Forgetting material behavior. Natural materials like leather or canvas can loosen a bit during early wear.
- Assuming every Xero model fits the same. The brand updates sizing recommendations by style, and that detail matters.
I also think people underestimate how much trail use changes the fit conversation. A shoe that feels acceptable on flat pavement can feel wrong on steep climbs or long descents. That is why I do not recommend treating the first try as a final verdict if you have only walked around the house. Give it a real trail-style test, then decide whether the size is actually right.
The pair I would order for a normal trail weekend
If I had to make the call quickly, I would start with my regular size in the true-to-size hiking models: Ridgeway, Mesa Trail II, Scrambler Mid, and the men’s DayLite Hiker Fusion. For the Xcursion Fusion and the women’s DayLite Hiker Fusion, I would start half a size up, because that is the brand’s current guidance.
That rule is simple enough to remember, but I would still check the fit indoors before I commit to a long day outside. Walk on a slope, use the socks you plan to hike in, and pay attention to toe room on the descent. If the shoe feels secure and your toes still have breathing room, you are probably in the right place.
For US buyers, the free exchange policy lowers the risk of getting it wrong, which is helpful because online shoe sizing is never perfect. My practical advice is to trust the model-specific recommendation first, not the label on your last pair of shoes. That approach is usually what separates a merely wearable fit from a pair you forget about for the right reasons.