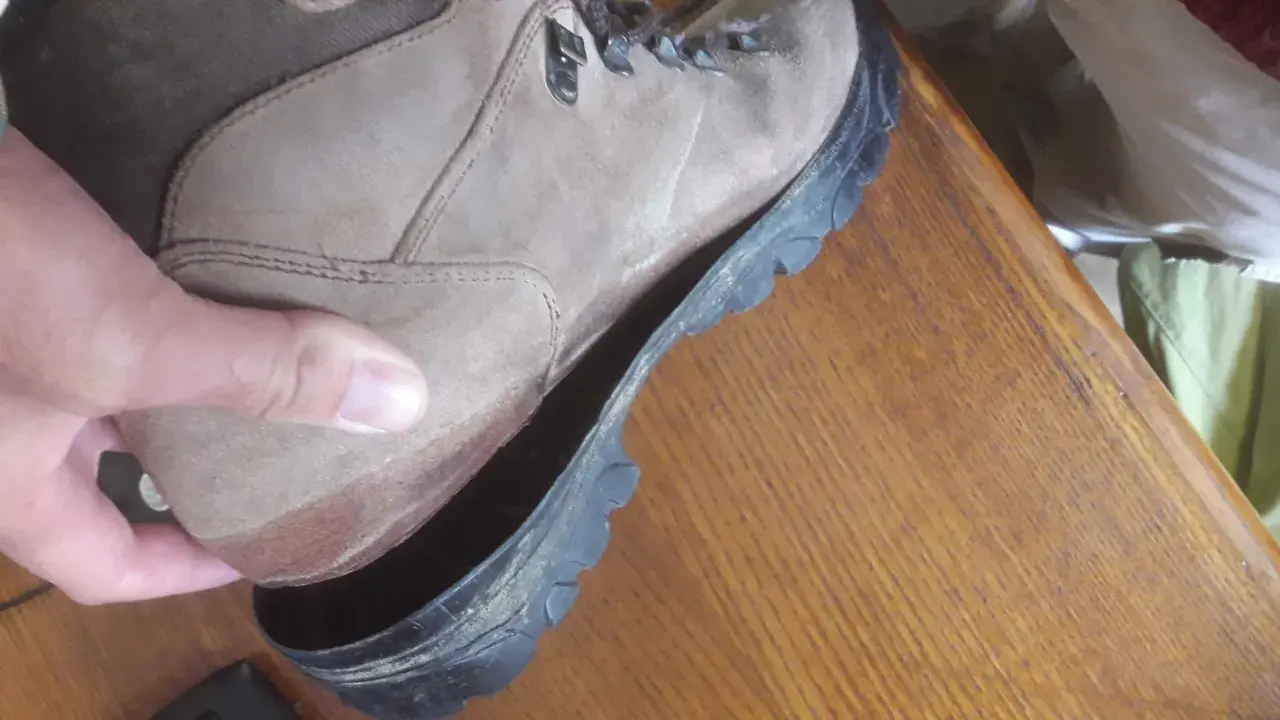
What matters most when a boot lining starts to peel
- Heel wear is the most common failure point because that area takes the most friction.
- Moisture, grit, and heat speed up lining breakdown, especially in waterproof hiking footwear.
- Small heel-area damage is often repairable with a flexible patch or cobbler work.
- Rigid glue is usually the wrong fix because it cracks when the shoe flexes.
- If the midsole, outsole, or membrane is failing too, replacement is usually better value.
What the peeling lining is actually telling you
When the inside of a hiking shoe starts to peel, I do not read it as one simple defect. I read it as a clue that the boot has crossed into a wear zone, usually around the heel collar, heel cup, or the backlining, which is the padded inner material behind your heel. That area gets hammered with every step, especially on descents when your foot slides forward and the heel locks back again.
There are usually three versions of the problem. Sometimes the surface coating is flaking, which is common in synthetic linings and polyurethane finishes. Sometimes the fabric underneath is thinning or tearing from abrasion. And sometimes the layers are separating, which is true delamination: the bond between materials has failed, not just the top surface.
That distinction matters because a worn fabric patch can often be reinforced, while widespread delamination usually means the shoe is aging out. Once you know which failure you are seeing, the real question becomes why hiking shoes are so vulnerable in the first place.
Why hiking footwear does it more often
Hiking shoes and boots work in rougher conditions than everyday sneakers, so the lining has to handle more moisture, more grit, and more flex. Waterproof models can be especially tough on the inside because they often run hotter and hold sweat longer, which keeps the lining damp and abrasive for longer stretches. That is why a pair can look fine on the outside and still feel rough, sticky, or dusty inside.
Sweat and heel lift
Most inner lining failures begin with motion. If your heel lifts a little on every step, the back of the shoe acts like sandpaper against the lining. If the fit is too loose, too tight, or simply wrong for your foot shape, that friction gets worse fast. In practice, a bad fit ages a boot faster than mileage alone.
Grit and wet trail residue
Fine sand, trail dust, and silt are harder on lining materials than many hikers realize. SATRA has noted that trapped grit can lodge between the lining and the foot form, creating extra abrasion-related wear. On muddy hikes, that wear can accelerate in a hurry because moisture lets debris stick inside the collar and heel area instead of brushing out cleanly.
Heat and poor drying habits
How you dry boots matters more than most people think. High heat weakens adhesives and ages materials early, which can turn a small interior flaw into a full separation. A hot radiator, car trunk, campfire, or heater vent is a shortcut to making the inside of a boot fail sooner than it should.
That is why the lining on hiking footwear often fails first at the heel, and why repair strategy has to match the type of damage rather than the symptom alone.
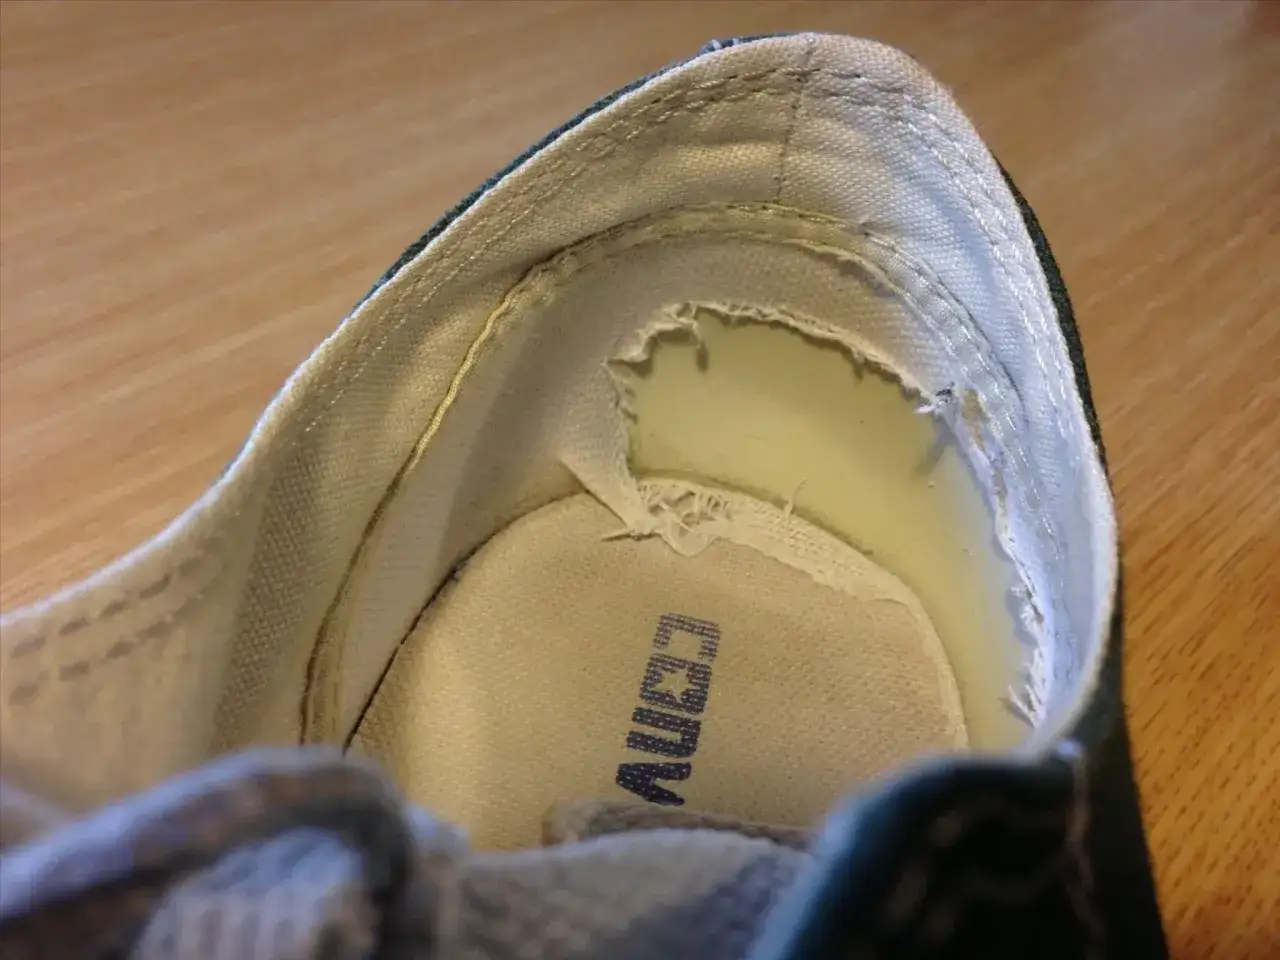
A repair that usually works on trail shoes
For small heel-area damage, I like a repair that is flexible, clean, and boring in the best possible way. The goal is not to make the boot look new. The goal is to stop the peeling from spreading and remove the sharp edge that chews up socks and blisters the heel.
Trim the loose material first
Start by cutting away only the material that is already loose, curled, or fully detached. Do not rip at the lining. If there is frayed fabric, trim it neatly so the repair has a stable edge. A ragged edge keeps unraveling and makes the adhesive bond weaker.
Clean and dry the area completely
Brush out dirt, then wipe the repair zone with a mild cleaner or rubbing alcohol if the material allows it. The surface needs to be dry before anything sticks. If the shoe still smells wet or the heel foam feels damp, wait longer. A patch applied over hidden moisture usually fails early.
Use a flexible adhesive, not rigid glue
I would avoid super glue for this job. It dries hard, and hiking shoes flex constantly. A flexible shoe cement or repair adhesive is a better fit because it moves with the boot. If the heel lining is thin but still present, a thin suede, microfiber, or fabric patch often works better than trying to glue the old lining back in place by itself.
Clamp it and leave it alone
Once the patch is in place, press it firmly and keep pressure on it while it cures. Follow the product timing rather than guessing. Overnight is often the minimum, and a full 24 hours is better if the shoe will be flexed hard on the next outing. I would also test the repair at home first with stairs, not on a long ascent.
Read Also: Hiking Boots Guide - Choose Your Perfect Pair & Avoid Blisters
Know when to hand it to a cobbler
If the peeling is local to the heel, a cobbler can often do a cleaner and longer-lasting job than a DIY patch. If the entire lining is turning powdery, the repair usually becomes a stopgap instead of a real fix. At that point, the better move is to evaluate cost and lifespan honestly.
That leads to the practical question most hikers care about next: when is the repair worth the money, and when is replacement the smarter call?
Repair or replace and what I would pay
I think in terms of value, not sentiment. If the shoe still has a solid outsole, a stable midsole, and a healthy upper, a lining repair can buy you a lot more trail time. If the boot already has multiple failures, the repair bill can become money thrown after bad miles.
| Option | Typical U.S. cost | Best for | My take |
|---|---|---|---|
| DIY patch with flexible adhesive | $10 to $25 in materials | Small heel wear, one localized spot | Good for buying time if the rest of the shoe is still strong. |
| Cobbler lining patch or backlining repair | About $15 to $30 for small jobs | Readable wear in one area, cleaner finish | Often the best value for a good hiking boot. |
| Full relining or major interior rebuild | About $60 to $150+ | Higher-quality boots worth saving | Only worth it if the boot fits well and the outer structure is still solid. |
| Replace the boot | $100 to $250+ for new hiking footwear | Multiple failures, worn outsole, failing membrane | Usually the smarter choice once several systems are aging out together. |
On current U.S. repair price lists, small lining repairs often start around the mid-teens, which tells you something important: the job is usually economical only when the damage is contained. If the repair approaches roughly half the cost of a comparable replacement pair, I usually stop romanticizing the old boots and move on.
That judgment gets easier when you know how to keep the next pair from repeating the same failure.
How to keep the next pair from doing the same thing
Prevention is less dramatic than repair, but it is where most of the lifespan gets saved. The people who get the most mileage out of hiking footwear are usually the ones who manage moisture, fit, and drying habits with a little discipline instead of hoping the boots will self-correct.
- Dial in heel lock. If your heel floats, the lining will wear faster. A better lacing pattern can matter more than a thicker sock.
- Choose socks that move moisture. Merino or synthetic hiking socks usually beat cotton because they reduce dampness and friction.
- Remove insoles after wet hikes. REI recommends letting insoles dry separately and drying boots at room temperature, away from heat. That advice is worth following because heat weakens adhesives and trapped moisture keeps the interior from recovering.
- Brush out grit early. Mud and silt left in the collar area keep grinding away at the lining long after the hike ends.
- Rotate pairs when you can. A boot that gets a full day to dry between hard outings tends to age more slowly.
- Do not store them in a hot trunk or damp garage. Both extremes shorten the life of the lining and the adhesive bond under it.
I also pay attention to how the boots feel on the descent, not just on flat ground. If a pair starts rubbing the same heel spot on every downhill, that is usually the first warning that the lining is under stress and the fit is no longer doing its job. A long route with repeated wet-dry cycles, like a week of mountain travel or a multiday walk, makes those weak points show up faster than casual weekend use.
The rule I use before the next long hike
My rule is simple. If the peeling is small, the boot still fits well, and the outsole and midsole are healthy, I would repair it and keep hiking. If the lining is failing across a wide area, the boot has lost its shape, or the waterproofing and cushioning are also fading, I would replace it without overthinking the sunk cost.
That is the cleanest way to handle a peeling interior on hiking footwear: repair the shoe when the rest of it still has a future, and retire it when the damage is only the most visible part of a larger wear story. The best trail decision is not the cheapest one on paper, but the one that keeps your feet comfortable when the miles get long.