Cold feet can ruin an otherwise good winter hike, and the fix is rarely one magic product. The real answer is rarely a single pair of shoes to keep feet warm; it is a system built from insulation, waterproofing, sock choice, fit, and the way you move on the trail. I would rather have a smart, moderate setup that stays dry and breathable than a huge boot that overheats on the climb and chills me on the descent.
The fastest way to warmer feet on winter trails
- Warmth starts with dry feet, because moisture inside the boot steals heat fast.
- 200 g insulation is often enough for active winter hiking; 400 g makes more sense for slower pace, deep cold, or lots of standing around.
- Fit matters as much as insulation; tight boots reduce circulation and make toes colder.
- Merino or synthetic socks beat cotton because they keep insulating after sweat or slush shows up.
- Waterproof-breathable boots help most when they also let sweat escape instead of trapping it.
- Thicker soles and gaiters add real protection on frozen ground and in snow.
What actually keeps hiking footwear warm
I think of winter footwear as a barrier against three things: cold ground, cold air, and moisture. The sole slows heat loss to frozen rock or packed snow, the upper blocks wind and wet, and the insulation traps a thin layer of warm air around the foot. If any one of those fails, your feet get colder faster than most people expect.
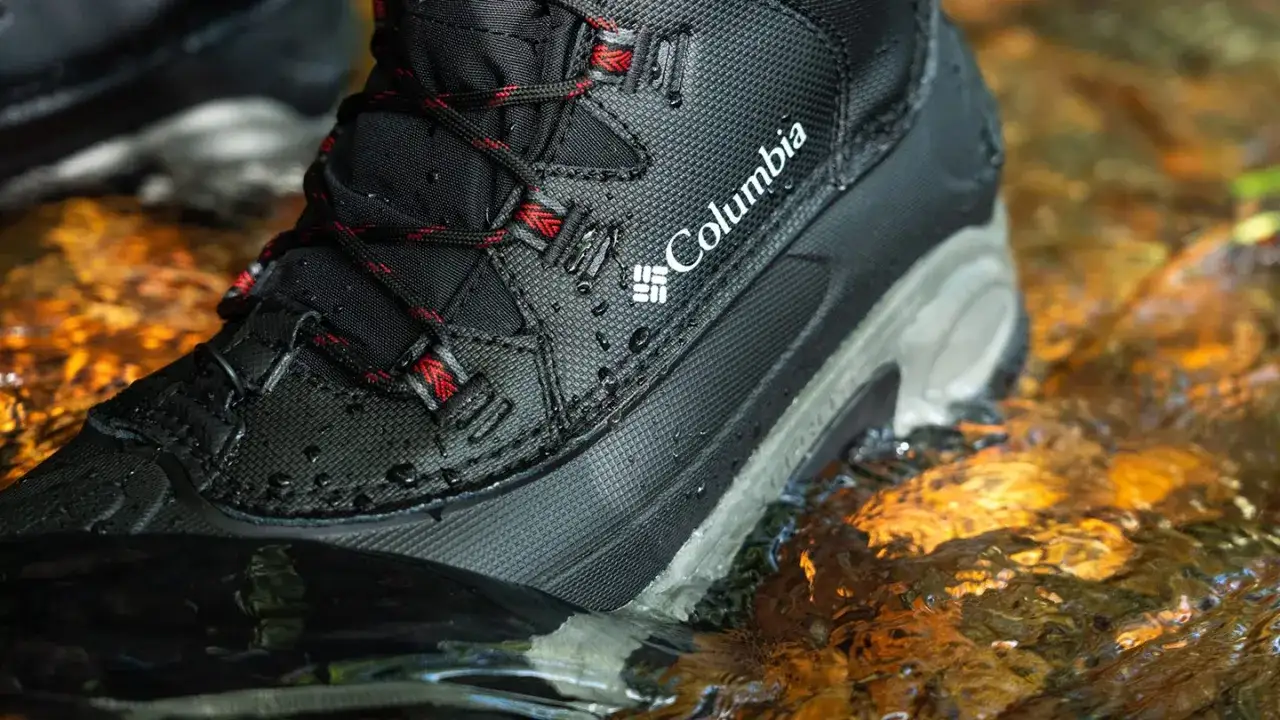
This is why a waterproof membrane alone is not enough. A membrane such as GORE-TEX can stop slush and wet snow, but if the boot does not breathe reasonably well, sweat builds up inside. Once that moisture cools, the boot feels colder, not warmer. In practice, the warmest-feeling footwear is usually the pair that keeps the inside as dry as possible while still giving you enough insulation for the pace you are hiking.
There is also a simple physics piece that gets ignored: the ground steals heat. A thicker midsole and outsole create more distance between your foot and the frozen trail, which helps more than many casual buyers realize. Once you understand that, the next question becomes which footwear category makes sense for your route.
When a hiking shoe is enough and when you need a winter boot
In the United States, the right answer changes quickly between a dry desert trail, a slushy Midwestern park, and a snowy climb in the Rockies. I would not treat a light hiking shoe and an insulated winter boot as interchangeable. They solve different problems, and choosing the wrong one is usually why feet feel cold halfway through the hike.
| Footwear type | Best for | Warmth | Trade-off |
|---|---|---|---|
| Light hiking shoe / trail shoe | Mild cold, dry trails, fast pace | Low to moderate | Light and flexible, but often too cold once snow, slush, or wind shows up |
| Insulated mid boot | Most winter day hikes, mixed snow, variable conditions | Moderate to high | Usually the best balance, though it can feel warmer than needed on hard efforts |
| Heavy winter boot | Subzero temperatures, slower hikes, snowshoeing, lots of standing | High | Warmer and more protective, but heavier and less nimble |
| Pac-style or expedition boot | Very cold, deep snow, low-output use | Very high | Excellent warmth, but too bulky for most moving hikes |
My rule is simple: if I am hiking hard and generating heat, I want less bulk and enough insulation to avoid the cold soak effect. If I expect deep snow, wind, or a lot of slow movement, I accept more weight in exchange for comfort. That trade-off is the core of buying winter hiking footwear well.
How much insulation and weather protection to look for
The most useful insulation numbers are not abstract. They give you a starting point for matching your boot to the pace of your hike. A 200 g insulated boot is often the sweet spot for active winter hiking, because it adds warmth without turning the shoe into a sweat trap. A 400 g boot makes more sense when temperatures are sharply below freezing, the trail is slow, or you are stopping often to photograph, navigate, or wait for others.
I would be cautious about buying the warmest boot available just because it sounds safer. More insulation is not always better when you are moving. If your feet sweat, the moisture becomes the real problem, and that is how hikers end up colder at mile three than at mile one. Breathability matters because warm feet that stay wet are still cold feet.
| Conditions | Practical choice | Why it works | What to watch |
|---|---|---|---|
| Active day hike around freezing | Waterproof-breathable boot, around 0-200 g insulation | Enough warmth without excessive overheating | Keep socks moisture-wicking and fit roomy enough for toe movement |
| Wet snow, slush, and wind | Insulated mid boot with a sealed upper | Blocks water and reduces wind chill | Make sure the boot can still breathe during the climb |
| Deep cold or slow pace | 400 g insulated winter boot | High heat retention and better protection from cold ground | Heavier weight and stiffer feel on longer hikes |
| Deep snow and mixed terrain | Supportive winter boot with aggressive lugs and gaiters | Better traction and less snow intrusion | Check compatibility with traction devices or snowshoes if needed |
For most hikers, the best answer is not the heaviest boot in the store. It is the boot that matches your output level and the worst conditions you realistically expect, not the fantasy conditions you might face once a year.
Why socks and fit decide whether warm boots work
If I had to rank the causes of cold feet, fit would sit near the top. A boot can be warm on paper and still fail because it squeezes the foot, blocks circulation, or leaves enough internal movement for cold air to pump in and out. Hiking footwear should fit snug everywhere but tight nowhere, with enough room to wiggle your toes.
The sock system matters just as much. I avoid cotton because it absorbs moisture and keeps it against the skin. Merino wool and many synthetics do the opposite: they move moisture away and keep insulating even after the day turns damp. That is a big deal on winter trails, where sweat, melting snow, and trail slush often happen in the same hour.
- Try boots on with the socks you actually plan to hike in.
- Leave a little toe room, but do not size up so much that your heel slides.
- Do not stack so many socks that you compress the fit and cut blood flow.
- If your instep feels pinched, loosen the lacing before you blame the insulation.
- Trim toenails before longer winter hikes; pressure spots show up faster in thick socks.
I also like a simple fit test: stand in the boot, push your foot forward, and check for roughly a thumb’s width in front of the longest toe. That tiny bit of room helps with swelling, thicker socks, and toe movement, all of which matter once temperatures drop. Once the fit is right, trail conditions become the next piece of the decision.
Cold trail conditions change the best choice
Not every cold hike needs the same footwear. The mistake I see most often is treating temperature as the only variable. In reality, wetness, wind, pace, and terrain can matter just as much as the thermometer.
| Trail condition | What matters most | Best footwear focus |
|---|---|---|
| Dry cold | Heat retention without sweat buildup | Moderate insulation and breathable construction |
| Wet cold or slush | Waterproofing and dry socks | Waterproof-breathable boot plus gaiters |
| Windy ridgelines | Wind resistance and cuff coverage | Higher collar and secure lacing |
| Icy or packed-snow trails | Traction and stability | Aggressive outsole lugs, maybe traction devices |
| Deep snow | Snow protection and ankle coverage | Mid or high boot with gaiters |
That table is the logic I use when I am deciding whether to stay light or move into a more protective boot. If the trail is mostly dry and I am moving quickly, I want less boot. If the trail is wet, snowy, or exposed, I want more structure and more coverage. That is especially true when a hike becomes a stop-start day with long breaks, photo stops, or navigation pauses.
A practical winter hiking setup that usually works
When I want a setup that covers most winter day hikes without overthinking it, I keep the system simple. For mild cold and dry footing, I use a well-fitting waterproof hiking shoe or light boot with a merino sock. For mixed snow and slush, I move to an insulated mid boot and add gaiters. For deep cold or slower mountain days, I choose a warmer boot with more insulation, then keep the sock only as thick as the fit allows.- Mild winter day: waterproof hiking shoe, thin-to-mid merino sock, gaiters if snow is blowing in.
- Typical snowy hike: insulated mid boot, crew-height wool sock, secure but not tight lacing.
- Serious cold: 400 g winter boot, heavier wool sock, gaiters, and a backup plan for traction.
If your feet still run cold after that, I would change the fit and sock system before I bought a much heavier boot. In my experience, that is where the biggest gains usually come from. Warm winter hiking is less about finding one perfect shoe and more about building a foot system that stays dry, fits cleanly, and matches the trail in front of you.