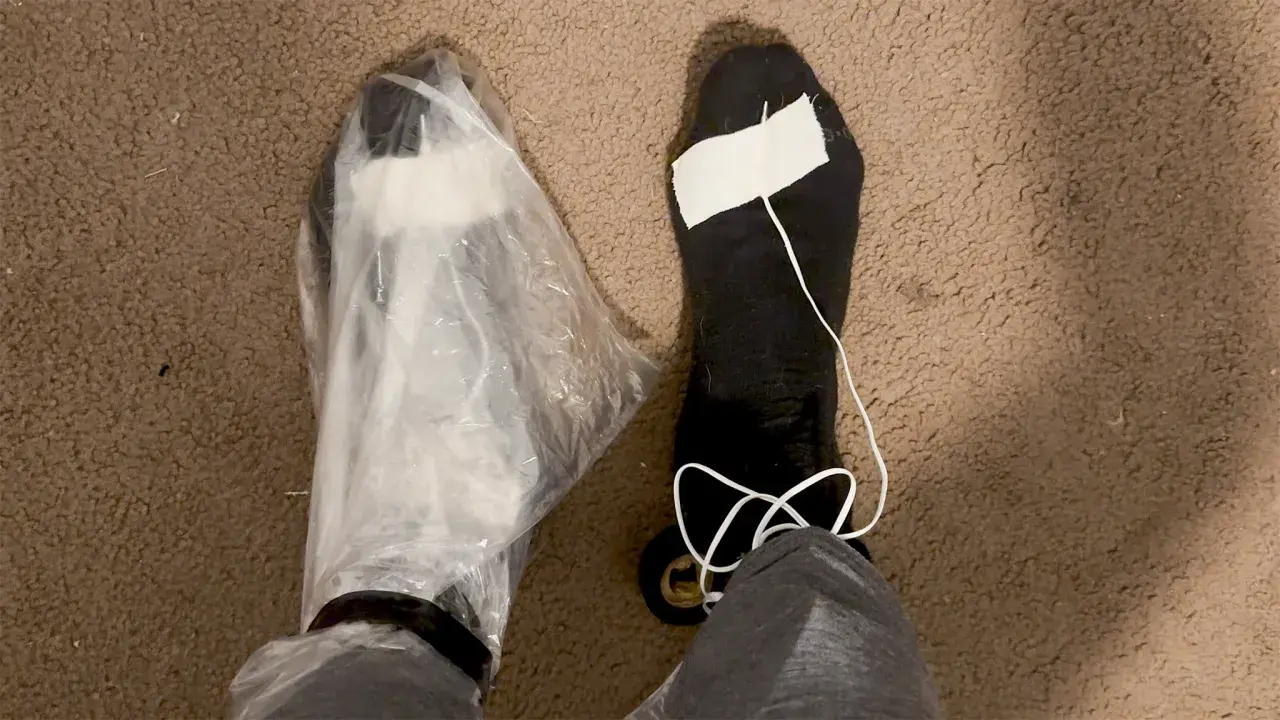
Cold feet in winter hiking are usually a moisture problem before they are a warmth problem. Once sweat gets into your socks and boot insulation, it steals heat, makes the system heavier, and can leave you with damp liners that never really recover on a multi-day trip. That is where vapor barrier liner socks come in: they stop perspiration from moving into the rest of the footwear system, which matters most when the trail is cold, the day is long, and drying gear is not an option.
The main advantage is keeping boot insulation dry enough to stay warm
- They do not wick sweat away. They block it from migrating into the outer sock and boot liner.
- They work best in real cold. I reach for them when temperatures are staying near freezing or well below it, especially on multi-day winter trips.
- Fit matters more than brand. If the boot is already snug, adding a barrier layer can create friction and reduce toe room.
- Clammy is normal. The skin may feel humid, but the rest of the system stays drier than it would without the barrier.
- DIY versions are fine for testing. A cheap oven bag can prove the concept before you spend more on a purpose-built pair.
What a vapor barrier sock actually does inside a winter boot
In a hiking boot, sweat usually follows a simple path: skin, liner sock, outer sock, boot insulation. A vapor barrier interrupts that path. Instead of letting moisture travel outward, it traps the water vapor close to the foot, which keeps the insulation layer from soaking up sweat and losing loft. That is the real job here, and it is a very different job from a normal hiking sock.
I think of it as a moisture-management tool, not a magic warmth boost. It can make a boot system feel warmer because the insulation stays drier, but the bigger win is consistency. On a long winter day, especially in places like the Alps, the Sierra, or a snowy ridge in the Northeast, a dry liner and dry boot insulation are worth more than a sock that feels airy for the first hour and useless by lunch.
There is one technical term worth keeping straight: evaporative heat loss is the cooling that happens when sweat changes into vapor. A vapor barrier reduces that loss by stopping the vapor from escaping into the layers that need to stay insulating. That is why these socks are favored in cold-weather systems rather than in warm, sweaty hiking weather. That difference matters, because the best use case is much narrower than most people expect.
When I would use them and when I would skip them
These socks are specialist gear. They are excellent when you know moisture control will be a bigger problem than ventilation. They are a poor choice when your feet need to breathe more than they need to conserve heat.
| Use them when | Skip them when |
|---|---|
| Temperatures stay below freezing, or close enough that damp insulation becomes a problem | The day is mild, sunny, or variable enough that overheating is more likely than freezing |
| You are on a multi-day winter trek and cannot easily dry boot liners overnight | You are doing a short day hike where standard moisture-wicking socks are already working |
| You wear insulated boots or mountaineering footwear that has enough internal volume | Your boots already fit tightly, leaving no room for another layer |
| Your main goal is to keep the boot liner, outer sock, and foot insulation dry | You want a sock that feels breathable and low-clamminess all day |
The sweet spot is usually cold, repetitive, and hard to dry. A frozen dawn in the Dolomites, a snowshoe approach, or an all-day winter ridge walk is where the idea makes sense. The less predictable the temperature, the less appealing the system becomes, because once you start overheating, the barrier can feel sticky in a hurry. That trade-off leads straight into the part that matters most in practice: how to layer it without destroying boot fit.
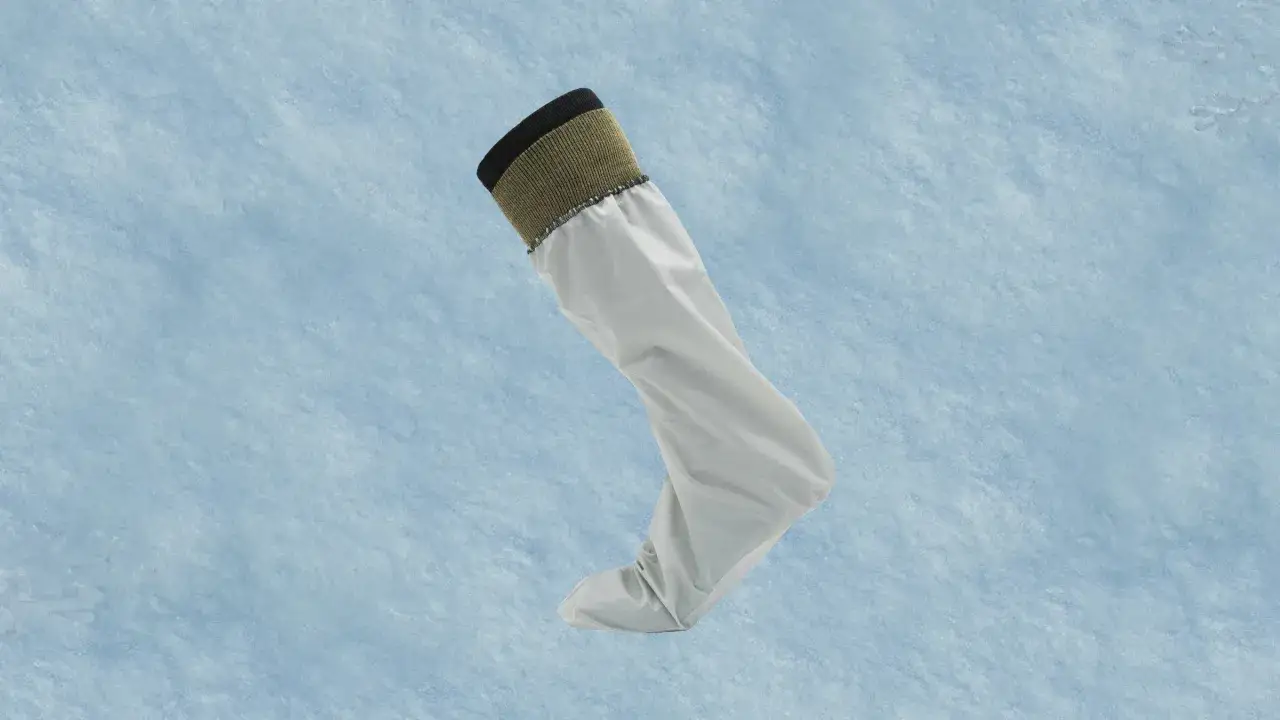
How to layer them without ruining boot fit
The easiest way to get this wrong is to treat the barrier layer like an ordinary sock. It is not. It changes the way the entire boot fits, so the order of the layers matters.
The order I use
- Start with a thin liner sock against the skin if you want a cleaner feel and a little friction protection.
- Put the vapor barrier sock over that liner so sweat stops there instead of migrating outward.
- Add a warmer outer sock, usually wool or a wool-synthetic blend, to provide insulation.
- Finish with a boot that still gives your toes room to move and your heel room to stay stable.
Read Also: How to Clean Terrex Free Hiker Shoes - The Right Way
The fit test before you leave the trailhead
- Toe room: You should still be able to wiggle your toes without pressing the front of the boot.
- Heel hold: If your heel starts slipping after the barrier is added, the system is too bulky.
- No folds: Any wrinkle or crease inside the barrier can turn into a hot spot.
- No pinched cuff: The top of the barrier should seal comfortably without cutting off circulation.
If your boot is already close to the limit, adding another layer usually creates more problems than it solves. In my experience, the best systems are the ones that feel almost boring after the first 20 minutes: no pressure points, no excess fabric, no constant adjusting. Once the fit is correct, the next question is what the system actually feels like over a full day on the trail.
What they feel like on foot over a full day
The honest answer is that they feel different, and not everyone likes that difference. Your feet may feel humid, especially at first, because sweat is being trapped inside the system instead of venting outward. That is not a sign that the setup has failed. It is the sign that the setup is doing exactly what it is supposed to do.
The upside is that the outer layers stay drier. Your insulating sock is less likely to become heavy and compressed, which is a big deal on a long outing. Your skin often looks less pruney at the end of the day than it would in a soaked sock system, although prolonged use can still cause maceration, which is the softening of skin from trapped moisture. Once that happens, blister risk can rise if friction is already high.
- Clamminess: Expect it, especially during the first hour.
- Odor: Moisture stays in the system, so smell builds faster than with breathable socks.
- Blister risk: Usually low when fit is good, but it increases quickly if the layers rub or bunch.
- Temperature control: If you overheat, the clammy feeling becomes harder to ignore.
That is why I would never describe vapor barrier socks as universally comfortable. They are effective in the right conditions, but they are not a luxury item. The good news is that once you understand the trade-off, choosing between commercial pairs and cheap test versions becomes much easier.
Commercial pairs, DIY bags, and waterproof socks compared
People often lump all foot moisture solutions together, but they solve different problems. A true barrier sock is designed to be non-breathable. A waterproof-breathable sock tries to let vapor out while blocking water from entering. A regular liner sock only helps with friction and mild moisture movement. Those are not interchangeable tools.
| Option | Best for | What it solves | Trade-off | Typical cost |
|---|---|---|---|---|
| Purpose-built barrier sock | Cold hikes, snow travel, multi-day winter trips | Blocks moisture transfer and protects insulation | Can feel clammy and must fit well | About $75 |
| Thin liner sock | Mild weather, friction control, everyday hiking | Reduces rubbing and offers light wicking | Does not stop moisture from reaching the boot | About $12 |
| DIY oven or bread bag | Testing the concept or carrying a backup | Proves whether a barrier system helps you | Less durable, less secure, and more makeshift | A few dollars |
For most hikers, that table is the practical decision tree. A DIY version is a smart experiment if you are curious but unconvinced. A purpose-built pair makes sense once you know the system works for your feet and your footwear. Waterproof-breathable socks sit in a different category altogether: useful in slush or wet shoulder-season weather, but not a substitute for a true vapor barrier when the problem is internal moisture during a hard cold-weather push. That distinction becomes even more important on trips where drying gear is difficult.
How to make the system work on multi-day trips
The real value shows up when you cannot easily dry anything overnight. If you have ever spent a winter night trying to warm damp boot liners in a sleeping bag, you already understand why this category exists. A good barrier system can keep the inside of the boot dry enough that you do not spend the evening managing frozen fabric.
- Start slightly cool. If your feet are already hot before the climb starts, you will sweat faster.
- Carry a spare thin liner sock. It gives you a backup if one pair gets unpleasant.
- Vent when you stop. Open the boot or remove a layer during long breaks if conditions allow it.
- Rinse and air the barrier. Sweat and odor build up fast, so a quick clean matters on trips longer than a day.
- Watch the first hot spot. If something feels wrong early, do not assume it will settle down on its own.
In practice, the system rewards discipline. It works best when you do not treat it like a cure-all and when you choose it for the right terrain and temperature band. If I am heading into a long cold spell, crossing a frozen pass, or using boots that would be hard to dry in a mountain hut, I want this option available. If the forecast looks mild or changeable, I leave it behind and keep the setup simpler. That is the judgment call I would make for most hikers.
When I think these socks are worth carrying at all
I would carry a barrier system if three things line up: the weather is cold enough that sweat will become insulation loss, the trip is long enough that dry gear matters, and the boot has enough volume to handle an extra layer. That combination is common in winter backpacking, snowshoeing, and alpine travel, but it is rare on ordinary three-season hikes.
If you want the shortest possible version of my advice, it is this: use vapor barrier socks to protect your boot system from sweat, not to chase comfort in mild conditions. When the fit is right, they can be the difference between a boot that stays reliable all day and one that slowly turns heavy, cold, and damp.
For a cold-weather hiker, that is a narrow use case, but it is a real one. And when the trail is frozen, the wind is sharp, and your liner needs to stay dry until tomorrow, that narrow use case is exactly where the value is.