The fastest way to narrow the right pair
- Start with trail difficulty, pack weight, and climate, because those three factors narrow the field faster than brand names.
- A good fit leaves about a thumb’s width in front of the longest toe and locks the heel without pinching the sides.
- Waterproof membranes help in cold, wet, or muddy conditions, but breathable non-waterproof footwear often wins in summer heat.
- Lug shape, midsole stiffness, and upper material change performance more than marketing copy does.
- New boots need a short break-in period unless they are already very flexible.
- Clean, dry, and reproof them regularly so the pair lasts longer and performs better.
Choose the boot type that matches the trail
I start every footwear decision by asking where the miles will happen. A boot that feels perfect on a dry, groomed path can be the wrong tool on steep, rocky, or muddy ground, and the pack on your back changes the answer too. As a rough planning rule, day hiking boots are happiest under about 35 liters of gear, backpacking boots make sense for roughly 70 to 75 liters, and mountaineering boots are reserved for the most demanding alpine setups.
| Footwear type | Best for | What it does well | Trade-off |
|---|---|---|---|
| Trail-running shoe | Fast day hikes, light loads, dry or mixed terrain | Very light, breathable, quick to dry | Less protection and underfoot support |
| Hiking shoe | Casual to moderate day hikes, groomed trails, everyday use | Versatile and lighter than a boot | Less ankle coverage and less structure |
| Day hiking boot | Mixed trail conditions, short overnights, moderate terrain | More support and protection without feeling overly bulky | Heavier and usually warmer than a shoe |
| Backpacking boot | Multi-day trips, rough terrain, heavier loads | Better stability, durability, and toe protection | More weight, more break-in, slower drying |
| Mountaineering boot | Snow, ice, crampons, and true alpine use | Maximum stiffness and support | Specialized, expensive, and overkill for normal hiking |
I rarely tell people to move up to a heavier boot just because they want to feel “serious.” If your hikes are mostly well-marked paths and moderate day trips, a lighter shoe or boot often gives better comfort and less fatigue. Once that trade-off is clear, fit becomes the real deal-breaker.
Get the fit right before you think about features
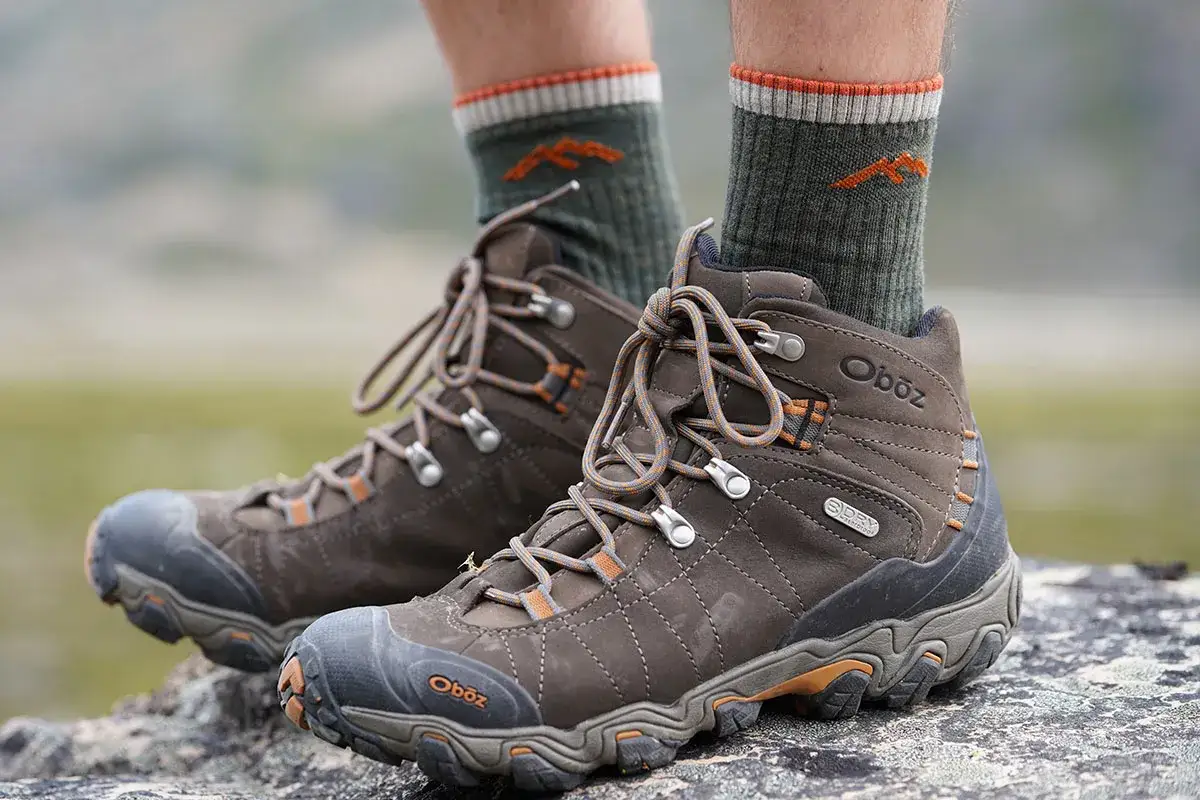
Fit is where most of the real-world problems start. If the boot is too short, your toes hit the front on descents. If it is too narrow, your feet go numb. If the heel slips, blisters show up fast. I fit boots in the afternoon because feet swell during the day, and I always use the socks I actually hike in.
- Leave about a thumb’s width in front of the longest toe.
- Make sure the heel stays put when you walk downhill or climb stairs.
- Check width and volume, not just length. Some feet need a wide size, others need a roomier instep.
- Toe room matters more on long descents than most people expect.
- If you use orthotics, bring them when you try boots on.
- Lace the boot enough to secure the midfoot, but not so hard that you create numbness across the forefoot.
I also like to test a pair on an incline if the store allows it. A boot that feels fine on flat carpet can punish you on a downhill. If your heel lifts or your toes slap the front after a few minutes, the shape is wrong even if the size number looks right. When the boot sits correctly, the material choices start to matter much more.
Materials and build details that change how the boot feels
Upper material is not just a style choice. It affects weight, durability, breathability, drying time, and how much break-in the boot needs. I usually think in terms of how hard the terrain is and how long the trip lasts.| Upper material | Best use | Strengths | Trade-off |
|---|---|---|---|
| Full-grain leather | Rugged backpacking, rough terrain, long-term durability | Very durable, supportive, and resistant to abrasion | Heavier, warmer, and usually needs more break-in |
| Nubuck leather | Durable hiking and backpacking with a bit more flexibility | Good balance of toughness and comfort | Still heavier than most synthetics |
| Split-grain leather and mesh | Warm-weather hiking and lighter loads | More breathable and lighter | Less abrasion resistance than full leather |
| Synthetic fabrics | Day hikes, faster hiking, trips where drying speed matters | Light, often cheaper, dries faster | May wear faster than leather in rough terrain |
Midsoles decide how cushioned or stiff the boot feels
The midsole sits between your foot and the outsole, and it does a lot of invisible work. EVA foam is light and cushy, which makes it popular in lighter footwear. TPU is firmer and usually more durable, which is useful when you carry more weight or hike on sharp stone. A stiffer midsole protects you better on rocky ground, but it also asks more of your stride and ankle mobility.
Shanks and rock plates are there for rough ground
A shank is a stiff insert that resists bending through the middle of the boot, and a rock plate spreads pointy impacts so they do not jab the sole of your foot. You notice these parts most on uneven trails, scree, and long descents. If you spend time on rocky routes, those hidden pieces often matter more than extra cushioning.
Read Also: Low vs Mid Hiking Shoes - Which Is Best For Your Hike?
Outsoles decide traction more than most people think
The rubber compound, lug shape, and lug spacing all affect grip. Deeper, more widely spaced lugs bite mud better and shed debris faster, while shallower lugs can feel more precise on wet stone. A heel brake helps on downhills by giving the back of the sole more bite. Premium compounds like Vibram Megagrip are built to improve wet and dry traction, but no outsole can fully fix the wrong lug pattern for your terrain.
Once the boot feels right underfoot, the next question is whether you really need waterproofing or whether breathability matters more for the places you actually hike. That trade-off is bigger than many buyers expect.
When waterproofing earns its keep
Waterproofing is a climate decision, not a status symbol. A membrane such as GORE-TEX can keep external water out while still letting some vapor escape, but it usually slows drying and can trap more heat than a simple mesh upper. That is a good trade in cold rain, wet grass, and shoulder-season mud, and a weaker trade on hot summer trails.
- Choose waterproof footwear for cold weather, steady rain, wet vegetation, and trips where you expect slush or snow.
- Choose breathable non-waterproof footwear for hot days, fast hiking, or routes with frequent stream crossings where drying speed matters more.
- Do not expect waterproof boots to stay dry forever if water comes over the cuff or soaks the inside from sweat.
- When water stops beading on the upper, the durable water repellent finish is wearing off and needs attention.
I have seen plenty of hikers overbuy waterproofing for dry summer miles and then complain that their feet run hot. I have also seen the opposite mistake on damp, steep routes, where a breathable shoe can feel miserable by lunch. If your travel list includes wet limestone, rainy forest trails, or the kind of shoulder-season weather you get on the edge of the Atlantic, waterproofing starts to look a lot more sensible. Once you buy the right pair, though, you still need to break it in before the hike that matters.
Break the boots in before the hike that matters
Modern lighter footwear often needs very little break-in, but stiff boots still benefit from a gradual approach. The goal is not to soften them until they flop around. The goal is to make sure the boot and your foot agree before you commit to a long day or a multi-day route.
- Wear them indoors for 30 to 60 minutes with the socks you hike in.
- Walk a few short neighborhood loops, stair climbs, or park paths.
- Do two or three short trail outings before a big trip, especially with heavier boots.
- Relace if you feel a hot spot, then test again on the next outing.
- Stop and reassess if rubbing turns into real pain. A boot that hurts early usually does not improve on its own.
In my experience, the first few miles tell you almost everything. If the boot gives you toe pressure, heel slip, or a hot spot in the first hour, do not hope it will magically disappear on day three of a trip. Once the fit is proven, the next decision is whether the price lines up with how often you will actually use the pair.
What a sensible budget looks like in the U.S.
Price does not guarantee comfort, but it often reflects better materials, more size options, and better outsole and midsole construction. I usually think in ranges rather than exact numbers, because a good sale can change the picture quickly.
| Budget range | What you usually get | Best for |
|---|---|---|
| $80 to $130 | Entry-level hiking shoes or light boots, usually with simpler materials | Occasional hikers, easier trails, lighter loads |
| $140 to $220 | The sweet spot for many hikers, with better fit options and stronger construction | Regular day hikers and most weekend backpackers |
| $230 to $350+ | Premium leather boots, alpine-ready models, or highly specialized designs | Heavy loads, rough terrain, or very demanding trips |
I would rather see you spend extra on the last, width, and outsole than on branding or features you will never use. If two pairs feel similar, choose the one that gives your toes room, your heel security, and the better traction pattern for your terrain. A better boot that fits well is cheaper than a cheaper boot that ruins a trip. Once that purchase is done, a bit of care keeps the pair performing long after the receipt is forgotten.
How to keep them working after the trip
Good care is simple, but skipping it shortens the life of the boot faster than most people expect. Mud left on leather dries out the material, grit wears at seams, and packed-in moisture creates odor and weakens the feel of the boot over time.
- Brush off mud and grit after every hike.
- Remove the insoles and let the boots air-dry at room temperature.
- Avoid direct heat from radiators, fireplaces, or intense sun, which can damage adhesives and dry out leather.
- Reapply a water-repellent treatment when water stops beading on the upper.
- Condition leather sparingly, because too much treatment can soften the support you bought the boot for.
- Check laces, stitching, and tread wear before the next trip, not at the trailhead.
If you treat the boots like trail tools instead of disposable gear, they usually give you a lot more mileage. I think that is the part many hikers overlook, because maintenance is not glamorous, but it is what keeps the fit, traction, and weather resistance working as intended. From here, the decision becomes less about shopping theory and more about the kind of hikes you actually do.
Buy for the hike you actually do most often
If your weekends are mostly well-marked trails and light day packs, I would start with a hiking shoe or a light day boot. If your routes are rocky, wet, and loaded, I would move up to a backpacking boot. And if you are forcing yourself into a heavier boot only because it feels more serious, I would step back and check whether the trail really asks for that much structure.
The simplest rule I trust is this: choose the lightest footwear that still gives you enough grip, support, room, and weather protection for the worst conditions you realistically face, then test it before the big trip. That keeps the decision grounded in the trail, which is where it belongs.