Walking boots, or sturdy hiking boots, take a beating on muddy paths, rocky ridges, and wet coastal tracks. The cleaning routine that keeps them alive is not complicated, but it does need to match the material, the lining, and the waterproof finish. I keep the process simple: clear out the grit, wash gently, dry slowly, and only then decide whether the boots need conditioning or reproofing.
The safest quick routine for most walking boots
- Remove loose dirt first with a soft brush before adding much water.
- Use lukewarm water and a small amount of mild soap only when the grime is stubborn.
- Take out laces and insoles so the inside can dry properly.
- Air-dry at room temperature and keep the boots away from radiators, fires, and direct sun.
- Condition leather boots after they are clean and dry, but reproof synthetic or membrane boots only when the outer finish starts to fail.
Match the cleaning method to the boot material
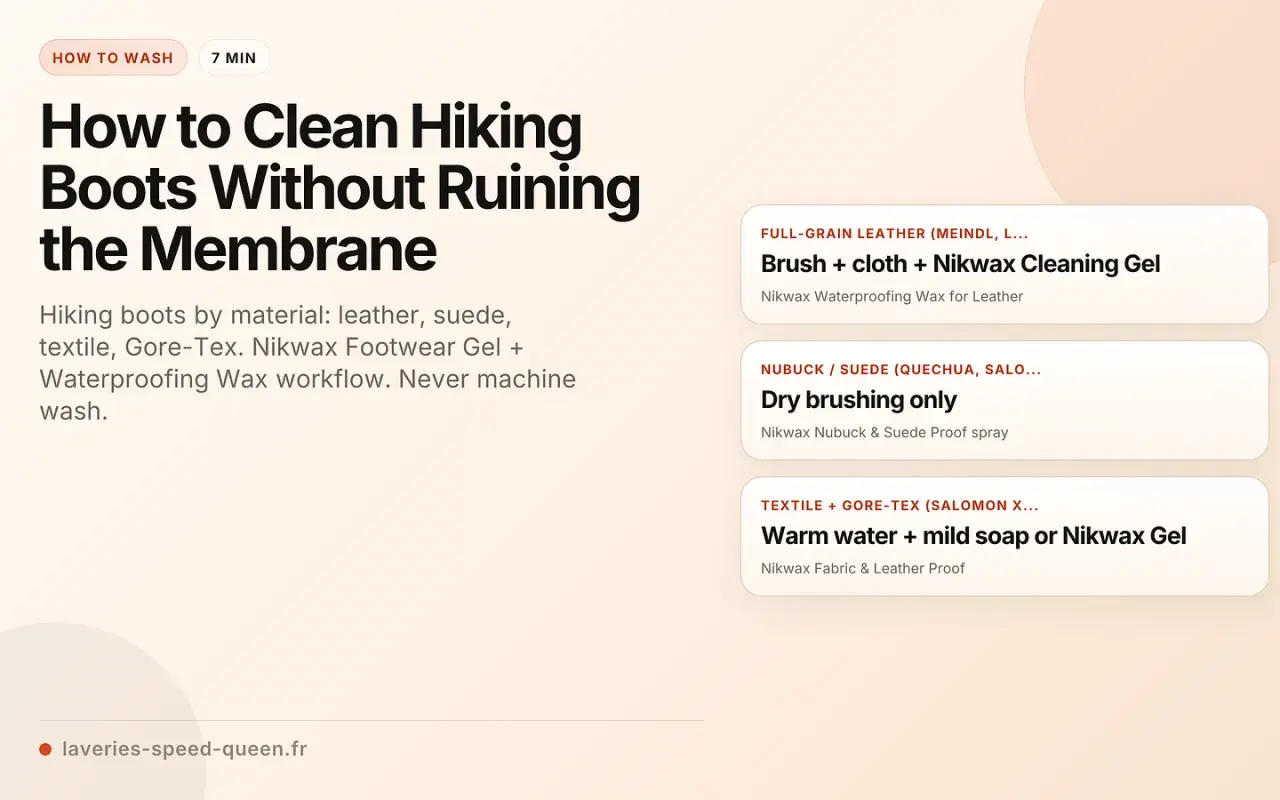
I start here because the wrong cleaning method does more damage than the dirt ever will. A full-grain leather boot, a nubuck pair, and a synthetic trail boot may all look similar on the shelf, but they do not want the same treatment in the sink. When I am cleaning mixed-material boots, I always follow the rules for the most delicate section, not the toughest one.
| Boot material | Best cleaning approach | What to avoid | Aftercare |
|---|---|---|---|
| Full-grain leather | Soft brush, damp cloth, lukewarm water, leather-safe cleaner if needed | Soaking, bleach, harsh household detergents, direct heat | Condition or wax after the boot is fully dry |
| Nubuck or suede | Dry brush first, then a cleaner made for that finish | Heavy scrubbing, regular waxes, saturating the upper | Restore the nap with a suede brush and use a compatible protector if needed |
| Synthetic or mesh | Mild soap, lukewarm water, sponge or soft brush | Machine washing, bleach, aggressive abrasion | Air-dry fully and reproof the outer fabric when water stops beading |
| Waterproof membrane boots | Gentle exterior wash, light rinse, careful drying | Hot water, hard brushes on the lining, solvent-based products | Keep the outer fabric clean so the membrane can breathe and perform properly |
If I had to reduce the whole job to one principle, it would be this: clean the boot gently enough that you do not trade one problem for another. Once the material is clear, the physical cleaning itself becomes straightforward.
Clean the outside without forcing dirt deeper in
The outside of the boot usually carries the worst of the mud, dust, and grit, and that is the part I clean first. If the dirt is dry, I brush it off before adding any water. That keeps me from grinding abrasive sand into the stitching or rubbing mud deeper into the grain of the leather.
- Remove the laces so I can reach the tongue, eyelets, and collar more easily.
- Tap the boots together or invert them to shake out grit from the tongue and ankle area.
- Brush the upper, sole, and seams with a soft boot brush or an old toothbrush for tight spots.
- Wipe the boot with a damp cloth or sponge using lukewarm water.
- Add a small amount of mild soap only where the grime will not lift with water alone.
- Rinse the cloth often so I am not smearing dirty water back onto the boot.
For stubborn clay or trail mud, I am careful not to scrub harder just to look productive. A softer pass with water, repeated if needed, is usually better than one aggressive pass that scuffs the finish. I also pay attention to the welt, the sole edge, and the eyelets, because dirt hides there and gradually works on the hardware. Once the outside is clean, the inside often still needs attention too.
Don’t forget the inside, laces, and insoles
The inside of a walking boot can hold more sweat, salt, and grit than the upper, especially after long wet hikes. I remove the insoles if they are removable, because they dry faster and they trap odor if I leave them in place. If the insoles are glued in, I leave them alone and clean around them rather than trying to pry them out.
- Laces can usually be washed separately in warm water with a little mild soap, then air-dried flat.
- Insides should be wiped with a damp cloth or sponge, not scrubbed with a stiff brush.
- Insoles should be cleaned lightly and dried on their own so moisture does not stay trapped under them.
- Odor is usually a drying problem first and a product problem second.
Dry them slowly so the structure stays intact
Fast drying is where a lot of good boots get ruined. Heat can crack leather, weaken glue, and warp the shape, and the damage is often subtle at first. I let boots dry at room temperature in a ventilated spot, away from radiators, fireplaces, direct sunlight, and hot car interiors.- Stuff the boots with newspaper or plain paper to pull moisture out of the lining.
- Replace the paper if it becomes damp, because wet paper stops helping.
- Keep the boots in open air rather than sealing them in a closet or bag.
- Dry the insoles separately so the inside of the boot does not stay humid for hours.
- Use a no-heat or cool-air boot dryer only if the device does not rely on high heat.
Reproof or condition only after the boot is truly clean
This is the step people either skip too often or do too casually. Clean leather boots usually benefit from conditioning because leather loses oils over time and can become stiff or cracked. Synthetic boots, or boots with a waterproof membrane, usually need a different kind of care: a reproofing treatment that helps the outer fabric shed water again.
- Leather boots usually do best with a leather conditioner or wax made for that type of leather.
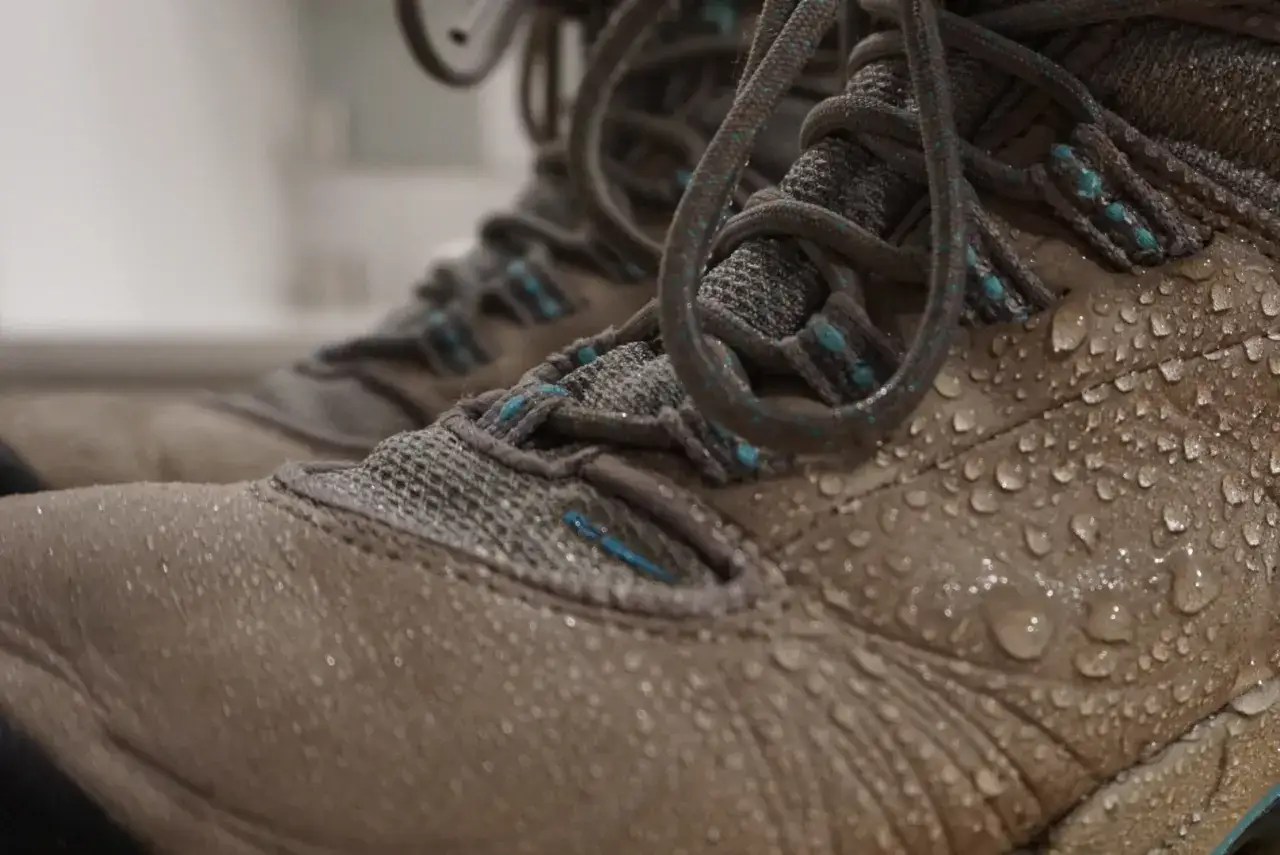
- Membrane or waterproof fabric boots often need a reproofing spray or wash-in treatment that restores the outer durable water repellent finish, or DWR, which is the coating that makes water bead off the fabric.
- Apply treatments only to clean boots because dirt blocks absorption and leaves uneven results.
- Follow the product label closely, especially on nubuck, suede, and mixed-material uppers.
I am cautious with wax on boots that were never designed for it. Wax can be useful on some leather uppers, but it is not the right answer for every waterproof boot, and it can change the look and breathability of the surface. My rule is simple: if the manufacturer designed the boot around a breathable membrane or a nubuck finish, I use a compatible cleaner and protector rather than improvising. That keeps the boot performing the way it was built to perform.
Common mistakes that shorten boot life
The fastest way to shorten a boot’s lifespan is to treat it like ordinary laundry. Boots are built from glued, stitched, and layered materials, and each of those reacts badly to careless cleaning. A few mistakes keep showing up again and again, and they are all easy to avoid once you know what to look for.
- Machine washing can damage glue, shape, waterproof coatings, and the lining.
- Bleach or harsh detergents strip finishes and can dry out leather.
- Heat drying near a radiator, heater, or open flame can warp the boot and crack the upper.
- Scrubbing the lining too hard can damage waterproof membranes or delicate interior fabrics.
- Reproofing dirty boots traps grime under the treatment and wastes the product.
- Storing boots damp invites odor, mildew, and faster material breakdown.
I also see people overcorrect by using too much product. More conditioner, more spray, and more soap are not better if the boot does not need them. A measured clean lasts longer than an aggressive one. That matters even more after coastal hikes, where salt changes the problem completely.
What I do after coastal mud, rain, and salt spray
Coastal trails are beautiful, but they are hard on footwear. Salt spray, wet sand, and muddy paths are a rough combination, and salt is the one ingredient I never let sit on boots for long. If I have been near sea water, I rinse the boots with fresh water as soon as I can, then follow the normal cleaning routine once I am home.
- Rinse salt off early so it does not dry into the leather or corrode the metal hardware.
- Check the eyelets, hooks, and sole edges because salt collects there first.
- Be more generous with drying time after wet coastal or winter hikes, since repeated wet-dry cycles are hard on the boot.
- Reproof sooner if the upper starts darkening instead of beading water.
- Inspect for structural wear such as cracked leather, flattened tread, or a collapsing midsole.
For me, that last point is the real line between maintenance and wishful thinking. Cleaning can restore performance, but it cannot rescue a boot whose foam has broken down or whose upper has started to split. If the boot still has life left in it, a careful wash, slow dry, and material-appropriate aftercare will usually give it back. If it does not, the honest move is repair, resole, or replacement rather than trying to polish a worn-out shell back into shape.