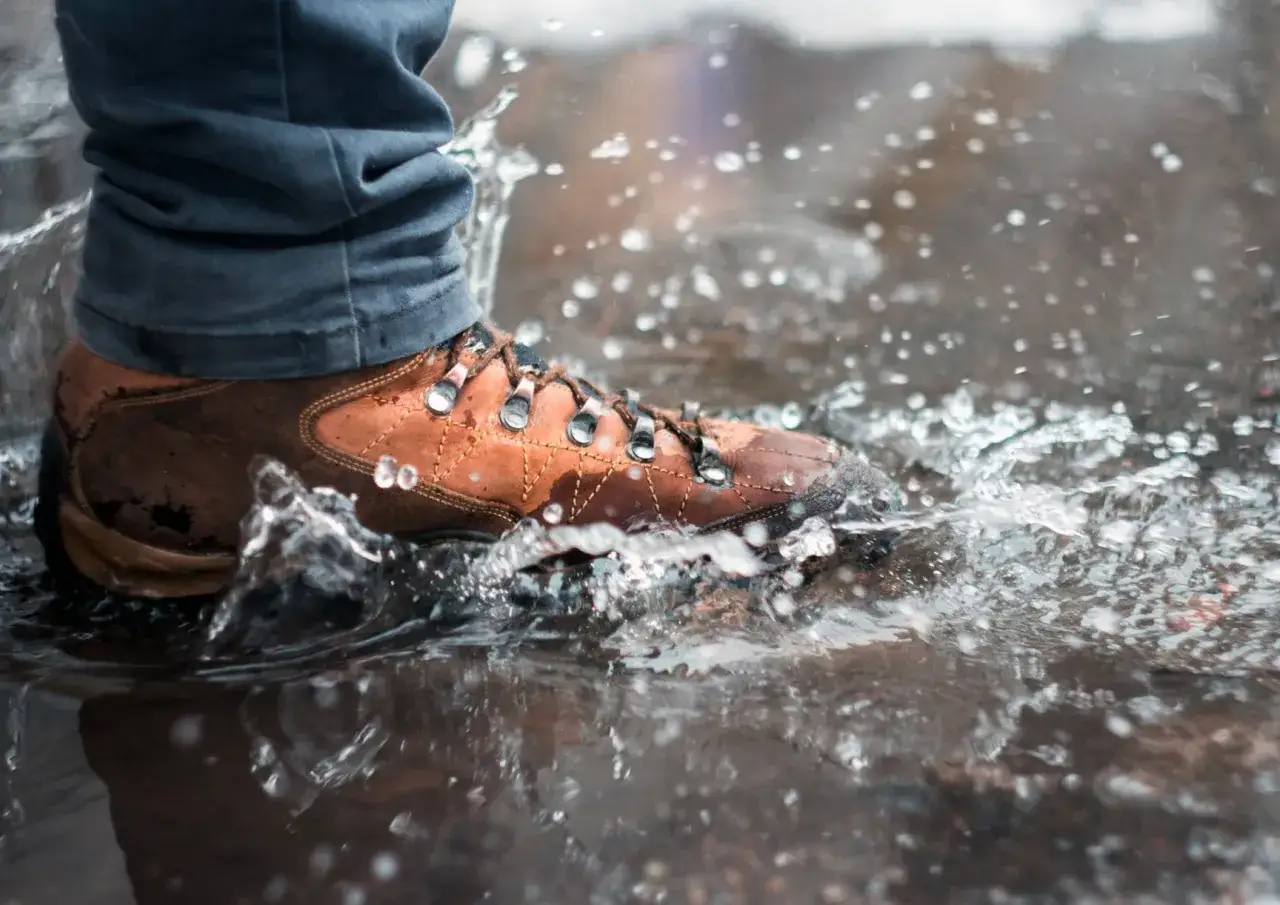
Wet hiking boots are one of those small problems that can ruin the next day if you rush them. The goal is not just to dry the outside; it is to move moisture out of the lining, footbed, and seams without cooking the materials. There is no single best way to dry boots in every situation, so the right method depends on how soaked they are and whether they are leather, synthetic, insulated, or waterproof-lined.
Key takeaways for drying hiking boots safely
- Use cool airflow first. A fan in a ventilated room is the safest all-around choice for most hiking boots.
- Remove the parts that hold moisture. Take out insoles, loosen laces, and let each piece dry separately.
- Avoid direct heat. Heaters, radiators, campfires, and hot sun can weaken glue, warp shapes, and age leather early.
- Speed comes from absorption plus airflow. Newspaper or towels help, but they work best when paired with moving air.
- Expect real drying time. Damp boots may need half a day; soaked leather or insulated boots often need a full day or more.
Start by getting the water out, not by chasing heat
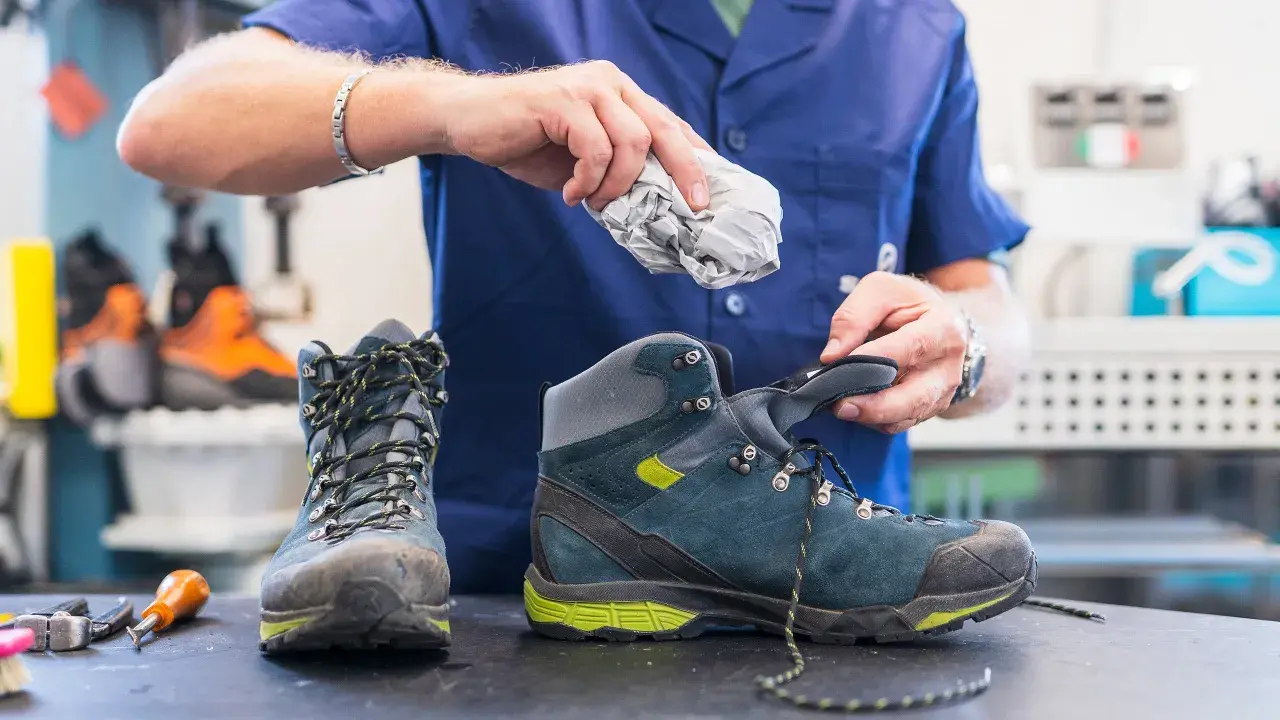
The first mistake I see is people trying to “dry” boots before they have actually removed the water trapped inside them. Start with the messy part: pull out the insoles, loosen or remove the laces, and open the tongue so air can reach the interior. If water is pooling inside, tip the boot and let it drain before you do anything else.
Once the obvious moisture is out, blot the inside with a clean towel or paper towels. If the boots are muddy, wipe or rinse off the dirt first, but do not soak them further. The more water and grit you remove now, the less time the boots spend wet later. From there, the job becomes airflow, not force.
- Remove the insoles and set them aside to dry flat.
- Loosen the laces so the collar opens fully.
- Blot the inside and outside with a dry cloth.
- Let excess water drain before moving the boots to a drying setup.
The safest drying setup for hiking boots
If I had to choose one setup for most wet hiking boots, I would use a cool, ventilated room with a fan. Room temperature, steady airflow, and low humidity do most of the work without stressing the glue, leather, or waterproof layers. I also keep the boots off the floor if possible, because air needs to move underneath them as well as through them.
For boots that are wet all the way through, I like to combine absorption and airflow. Lightly stuff the toes and forefoot with newspaper or paper towels, then change the stuffing as soon as it feels damp. Do not pack it so tightly that the boot turns into a sealed brick; the point is to pull moisture out while air circulates around the materials.
- Place the boots in a cool room with air moving across them.
- Use a fan a short distance away so air reaches the opening and shaft.
- Replace damp newspaper or towels every 30 to 60 minutes at first.
- Dry insoles and laces beside the boots, not inside them.
If your home is humid, a dehumidifier can help more than a stronger fan. In that kind of setup, I care less about heat and more about stripping moisture from the room itself. That difference matters a lot in summer, in coastal climates, and anywhere damp gear tends to hang around longer than it should.
How the main drying methods compare
| Method | Best use | Typical time | Main caution |
|---|---|---|---|
| Fan in a cool room | Most hiking boots after a rainy day | 8 to 24 hours | Needs steady airflow and patience |
| Newspaper or towels plus fan | Boots soaked on the inside | 6 to 18 hours | Stuffing must be changed often |
| Purpose-built boot dryer on a low setting | People who wet boots often | Overnight | Keep the heat gentle |
| Dehumidifier in a closed room | Humid homes and apartments | 4 to 12 hours | Works best when the room is small and enclosed |
| Radiator, heater, campfire, direct sun | Not recommended | Looks fast, but can damage boots | High risk of warped soles, cracked materials, and weak glue |
When I compare these methods honestly, the fan setup wins for safety and reliability. A boot dryer can be convenient if it is designed for low, controlled airflow, but I would still treat it as a convenience, not a necessity. Heat is the easy shortcut that usually costs more later.
What not to do with wet hiking boots
- Do not put them on a radiator, heater, wood stove, or beside a campfire.
- Do not leave them in direct sun or a hot car.
- Do not blast them with a hair dryer on high heat.
- Do not seal them in a closet, gear bag, or plastic box while they are still damp.
- Do not wear them again when the lining still feels cool or clammy.
The reason is simple: heat can damage adhesives and dry out leather too aggressively, while trapped moisture creates odor and gives blisters a better chance on the next hike. If a boot feels dry on the outside but still cool inside, it is not dry enough to wear comfortably.
How long drying usually takes by material and weather
Drying time changes more than most people expect. A lightweight synthetic trail shoe in a dry room may be ready the same day, while a thick leather or insulated boot can take a full day or more. Humidity, airflow, and how deeply the boot was soaked matter as much as the material itself.
| Boot type | Practical drying range | What changes the timeline |
|---|---|---|
| Light synthetic hiking shoe | 4 to 12 hours | Thin uppers lose moisture quickly if air can move through them |
| Standard mid-height waterproof boot | 12 to 24 hours | The lining slows evaporation even after the outside looks fine |
| Fully soaked leather boot | 24 to 48 hours | Leather needs slower drying to avoid stiffness and cracking |
| Insulated winter boot | 24 to 48+ hours | Thick liners hold a lot of hidden moisture |
Those ranges are practical estimates, not promises. If the boot still feels cool to the touch or the insole has any dampness left, I keep drying. Forcing the pace rarely saves much time and can shorten the life of the footwear.
Extra steps for leather, waterproof liners, and insulated boots
Leather hiking boots deserve the most patience. Once they are fully dry, I check whether the leather looks dull, stiff, or slightly cracked, and then I condition it lightly if needed. I do not condition while moisture is still trapped inside, because that just seals in the problem.
For waterproof-lined boots, the biggest trap is assuming the outer shell tells the whole story. Membranes and liners dry more slowly than mesh, so remove the insoles and give the boot enough time to release hidden moisture. Insulated boots are even slower because the liner acts like a sponge. When I need those back in rotation quickly, I focus on airflow first and leave the heat out of it.
I treat every hiking boot as a layered system: shell, lining, footbed, laces, and stitching. Each layer dries at a different speed, and the slowest part is the one that decides whether the boot is actually ready.
How to make the next wet day less annoying
The best drying routine starts before the boots get soaked. If I know I am heading into rain, mud, or stream crossings, I plan for faster recovery later. A few small habits make a noticeable difference.
- Brush or wipe off mud before it hardens into the stitching.
- Dry socks separately so you are not putting fresh moisture back into the boot.
- Rotate between two pairs if you hike often in wet weather.
- Store boots in a ventilated place, not in a sealed bin or hot trunk.
- Use gaiters when you expect spray, slush, or muddy trails.
If you hike frequently in wet regions, a compact boot dryer can be worth the money purely for convenience. I would still keep it on the gentlest setting and think of it as a backup for busy weeks, not as a replacement for good airflow and smart storage.
The routine I trust after a soaked day on the trail
When a pair comes back soaked from a rainy ridge walk or a long muddy descent, I keep the routine boring on purpose: remove the insoles, loosen the laces, blot the interior, stuff the boots lightly, and set them in front of a fan in a dry room. If the boots are very wet, I replace the paper as soon as it gets damp and let them finish overnight.
For most hikers, the best way to dry boots is steady airflow, low humidity, and patience. That approach protects the boot, keeps the fit intact, and is usually fast enough for the next day.