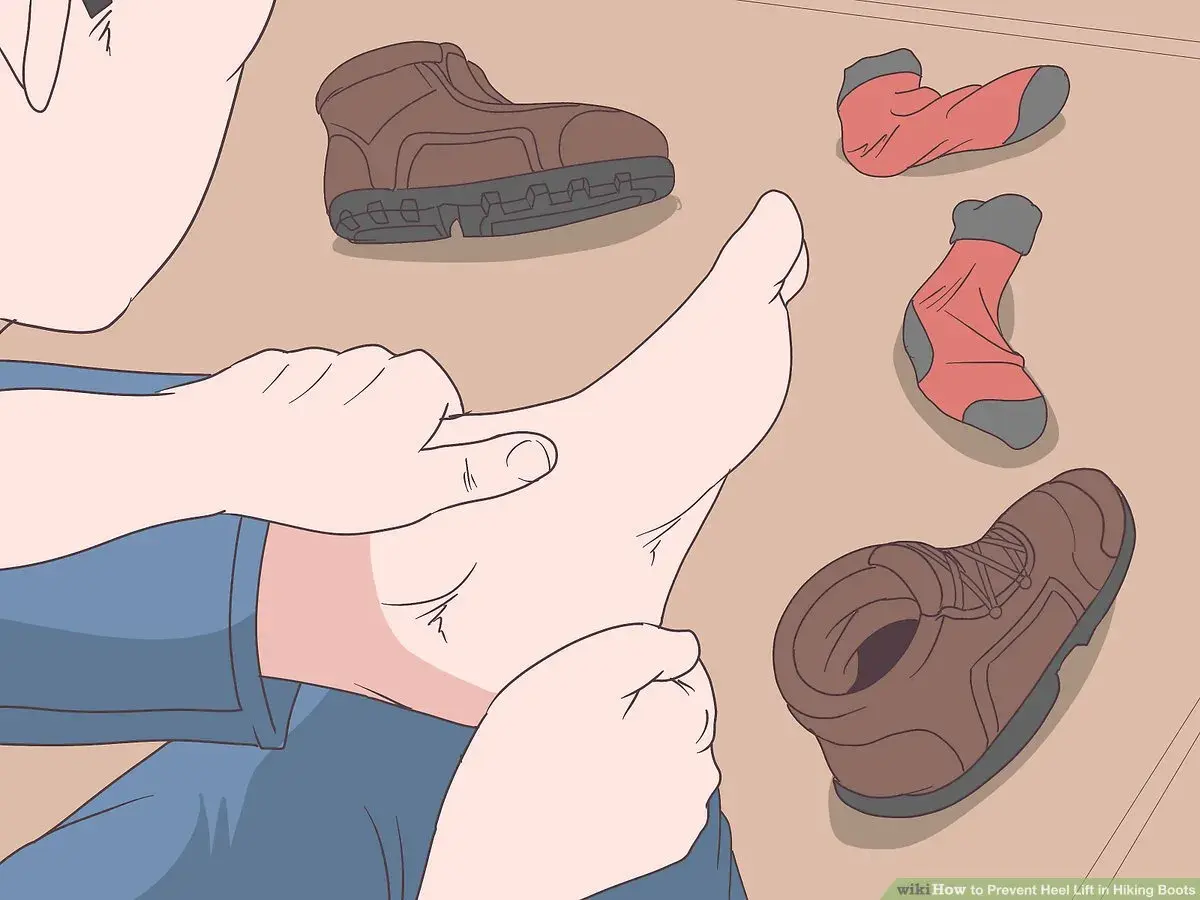
Boots that rub above the ankle usually do one of three things: they move too much, press on a hard edge, or trap moisture where the collar meets the leg. On steep coastal paths, long descents, or rough stone trails, that small mismatch can turn a pleasant walk into a raw, distracting one fast. This guide explains why walking boots rubbing above ankle happens, how to tell whether the cause is fit or lacing, and what actually helps before you give up on a pair.
What matters most before you change boots
- Movement, pressure, and moisture are the three main reasons boots rub above the ankle.
- Start with socks, lacing, and fit before assuming the boot is unusable.
- A heel-lock lacing pattern, dry wicking socks, and a small padding patch solve a lot of mild cases.
- If the same spot turns red every time, the boot shape is probably the real problem.
- A hot spot is a warning sign, not something to “walk through.”
Why the boot rubs there in the first place
I usually separate ankle rubbing into three buckets: movement, pressure, and moisture. Movement means the foot is sliding and the collar is scraping. Pressure means a seam, stiff edge, or tall cuff is digging into one spot. Moisture turns a manageable hotspot into a blister because damp skin breaks down faster under friction.
The location matters too. Rubbing behind the ankle often points to heel lift. Rubbing just above the ankle bone usually points to the collar edge, a folded tongue, or laces that are carrying too much of the hold. If both sides feel sore, the boot may simply be too stiff, too tall, or shaped for a different foot volume. On long descents, especially on uneven ground, those small mismatches show up quickly.
Once I know which bucket it belongs in, I can tell whether the fix is a lacing change, a break-in adjustment, or a different boot shape.
How to tell whether the problem is fit, lacing, or boot shape
Before adding tape or padding, I want a clean diagnosis. A good hiking boot should hold the heel, leave about 1 cm of room at the toes, and feel secure without forcing the top eyelets to do all the work. REI’s fitting advice is useful here: wear the socks and insoles you’ll actually hike in, then test the boots before you commit to a long day.
| What you notice | Likely cause | What it usually means |
|---|---|---|
| Rubbing appears mostly on descents | Heel lift or foot slide | The boot is moving as your weight shifts forward. |
| One exact point gets sore every time | Seam, edge, or tongue fold | This is a local pressure point, not a general sizing problem. |
| Both ankles ache in the same way | Boot shaft too stiff or too tall | The cuff may be fighting your natural ankle flex. |
| Rubbing gets worse when socks get damp | Moisture and skin drag | You need better friction control, not just more support. |
If the irritation shows up only after a few miles, the boot may be close to right but still wrong for that shape or stride. That is the point where I stop guessing and start adjusting the lacing.
The fixes that usually help before you buy another pair
Most mild rubbing problems improve with one or two simple changes. I prefer to work from the boot outward: first hold the heel, then reduce friction, then protect the skin if needed. The Royal College of Podiatry notes that wicking or dual-layer socks can help reduce friction at the skin surface, which is why I reach for them before thicker padding.
| Fix | Best for | Limit |
|---|---|---|
| Heel-lock lacing | Heel lift and rubbing on descents | It will not cure a hard collar edge. |
| Looser top eyelets | Pressure above the ankle bone | Too much loosening can create new heel slip. |
| Wicking socks | Sweat and surface drag | The thickness still has to match the boot volume. |
| Moleskin or blister tape | A known hot spot during a hike | It protects skin, but it does not fix the boot. |
| Padding on the collar | A single edge or seam that keeps biting | Can make an already snug boot feel tighter. |
A heel-lock lacing pattern, sometimes called a runner’s knot, traps slack above the instep so the heel stays put. I use it when a boot feels fine on flat ground but starts rubbing as soon as the trail drops. If the problem is one hot spot, I protect the skin first and then inspect the boot later.
Those fixes are useful, but they work best when the boot is already close to the right shape. The next question is whether the boot can be broken in, or whether it is simply the wrong design.
How to break boots in without creating a hot spot
Breaking in a boot is not about forcing it to behave. It is about letting the materials soften while keeping pressure low enough that the skin never gets damaged. Stiff new boots often feel acceptable for ten minutes and then start biting once your ankle begins to flex repeatedly.
I follow a simple progression: wear the boots indoors for a short session, then walk around the block, then do a short outing on mixed ground. REI’s break-in guidance is sensible here: use the socks and insoles you plan to hike in, keep the boots snug but not overly tight, and make sure the tongues and gussets sit straight. The gusset is the stitched flap that helps keep the tongue centered and debris out.
- Start with 30 to 60 minutes at home.
- Move to short walks before any serious mileage.
- Add pack weight and distance gradually.
- Stop as soon as you feel a hot spot, not after it becomes a blister.
When the boot design itself is the problem
At some point, a boot is not fixable with laces. The last, which is the foot-shaped mold the boot is built around, may simply not match your foot volume or ankle shape. That is especially true when the same seam, edge, or collar point rubs even after you have already adjusted socks and lacing.
I become skeptical when a boot needs constant rescue with tape and padding just to feel normal. That often means the cuff height, the stiffness of the ankle collar, or the internal volume is wrong for you. A boot can be excellent for someone else and still be a bad match for your foot.
| Clue | What it suggests | Better move |
|---|---|---|
| One hard spot never changes location | Seam or collar shape issue | Try a different model, not more tape. |
| Rubbing remains even with looser lacing | Boot volume mismatch | Try a different last or width. |
| The boot feels fine standing still but fails under load | Too much movement while walking downhill | Recheck heel hold and collar height. |
| The lining is wearing rough or the edge feels sharp | Construction or wear issue | Replace the pair if the damage cannot be smoothed out. |
On long mountain walks, especially on repetitive descents, a boot that is merely tolerable at the trailhead can become miserable by lunch. When that happens, I would rather switch to a better-shaped boot than keep fighting the same friction point all season.
Socks and padding that actually reduce friction
This is the part where small details matter. The right sock or patch will not transform a bad boot into a good one, but it can turn a borderline fit into something you can actually hike in.
- Merino or synthetic hiking socks work well because they wick moisture and reduce skin drag.
- Dual-layer socks can help if the inner layer moves with the foot while the outer layer moves with the boot.
- Thin liner socks can help when the boot has a little extra room and you want less friction at the skin.
- Moleskin or blister tape is best for a known hot spot that already starts to sting.
- Collar padding is useful only when one edge keeps biting and the boot is otherwise close to right.
I am cautious with very thick socks. They help only when the boot is slightly roomy. If they crowd the collar or push the heel upward, they can make rubbing above the ankle worse. Cotton is usually the wrong choice on trail days because it holds moisture and increases friction as soon as your feet start to sweat.
The rule I use is simple: add enough material to reduce movement, but not so much that the boot turns snug in the wrong places.
When to stop and treat the skin
The moment a warm spot turns into a burn, I stop and check it. That is the skin telling you friction is repeating faster than your body can tolerate it. If the skin is still intact, cover it before it becomes a blister. If a blister forms, keep the skin roof in place when you can, clean the area gently, and protect it with a nonstick bandage or blister plaster.
Watch for the warning signs that mean the problem is no longer just a nuisance: spreading redness, warmth, pus, swelling, or rising pain. If the same area keeps flaring up or does not settle after several weeks, it is worth getting a podiatrist involved. Persistent rubbing is often a footwear issue, but recurring skin damage can also point to a fit problem that needs a more specific check.
That is why I treat ankle rub as a signal, not something to push through. If the skin starts failing, the hike is already asking for a bad trade.
The trail fit test I use before a long hike
Before I trust a boot on a full day out, I run a short test that takes less than 20 minutes and tells me almost everything I need to know.
- Wear the exact socks and insoles you plan to hike in.
- Lace the boots the way you normally would, then add a heel-lock knot if the heel feels loose.
- Walk 10 to 15 minutes on flat ground.
- Do a short descent, staircase, or hill so the collar and heel get stressed the way they will on trail.
- Check the skin immediately after. A red mark that fades quickly is one thing; a warm, repeatable hot spot is another.
- Make sure you still have about 1 cm of toe room and can flex the ankle without the collar biting down.
If a boot passes that test, I trust it. If it fails in the same place twice, I stop treating it like a break-in problem and start looking for a better last, a lower collar, or a softer model that matches the way I actually walk.