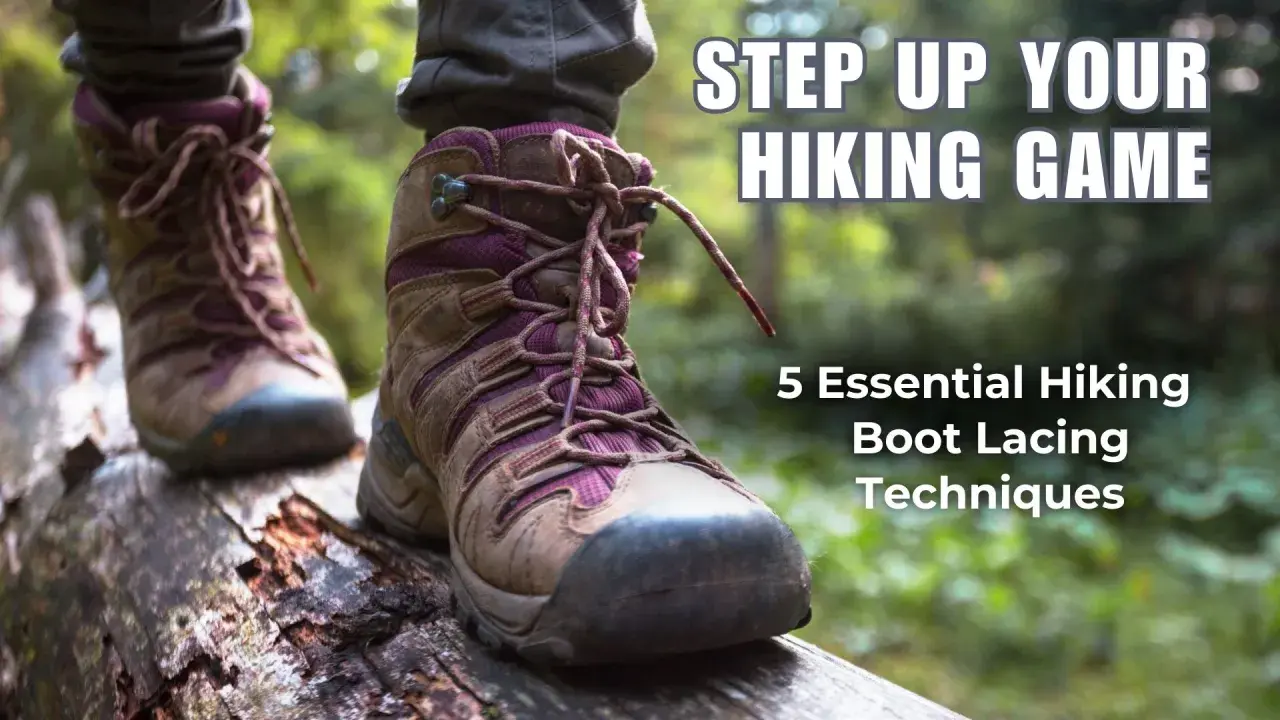
What matters most before you buy
- Lacing is a fit tool, not just a fastening method. It lets you manage heel hold, instep pressure, and forefoot room separately.
- For most day hikes, a lighter mid-cut boot is enough; heavier loads usually call for stiffer support.
- Waterproof models are useful in rain, mud, and shoulder-season travel, but they run warmer and dry more slowly.
- A good fit leaves about a thumb’s width of space in front of the longest toe.
- Heel slip often improves with the right lacing pattern before you need a different size.
- Most hikers get better results when they test boots late in the day and wear the socks they actually plan to hike in.
How lacing changes the way a hiking boot feels
When I fit hiking footwear, I think about three zones: the heel, the instep, and the forefoot. If one of those zones is off, the boot can feel wrong even when the size is technically correct. That is why laced hiking boots are still the most adjustable option for mixed terrain, long descents, and days when your feet are slightly larger by lunchtime.
Good lacing does more than keep the boot on. It can reduce heel lift, spread pressure away from sensitive spots, and stop your toes from jamming into the front of the boot on steep downhills. That matters on rocky coastal paths, damp forest trails, and mountain routes where your pace changes often. The boot is doing part of the work, but the lacing pattern is what lets you actually use that work.
| What lacing controls | Why it matters | What I look for |
|---|---|---|
| Heel hold | Limits sliding on climbs and toe bang on descents | A snug heel cup and secure top eyelets |
| Instep pressure | Prevents numbness and lace bite on the top of the foot | Enough room to loosen the middle zone without losing support |
| Forefoot volume | Lets toes spread naturally over long distances | Room to flex without the toe box collapsing |
| Ankle security | Helps on uneven ground and side-hilling | Balanced tension rather than max-tight lacing everywhere |
That balance is what turns a decent boot into a reliable one. Once you understand it, the next question is which boot style actually matches your hiking plans.
Which boot style fits your hiking plan
Not every hike asks for the same amount of structure. I would not choose the same boot for a short summer walk as I would for a wet, loaded, multi-day route. The right choice depends on distance, load, terrain, and how much warmth or stiffness you are willing to trade for support.
| Boot style | Best for | Main tradeoff |
|---|---|---|
| Low-cut hiking shoe | Fast day hikes, dry trails, lighter packs | Less ankle coverage and less protection from debris |
| Mid-cut hiking boot | Most day hikes, shoulder-season walking, mixed terrain | Heavier than a shoe, but usually the best all-round compromise |
| High-cut backpacking boot | Multi-day trips, heavier loads, rugged ground | Warmer, stiffer, and slower to feel fully broken in |
| Mountaineering boot | Snow, ice, and very technical conditions | Too stiff and specialized for ordinary hiking |
On European-style routes with long climbs, wet grass, and mixed surfaces, a mid-cut boot usually gives the best balance. It is supportive enough to matter, but not so bulky that every step feels like work. That balance becomes easier to fine-tune once you know how to lace the boot properly, which is where the details start paying off.
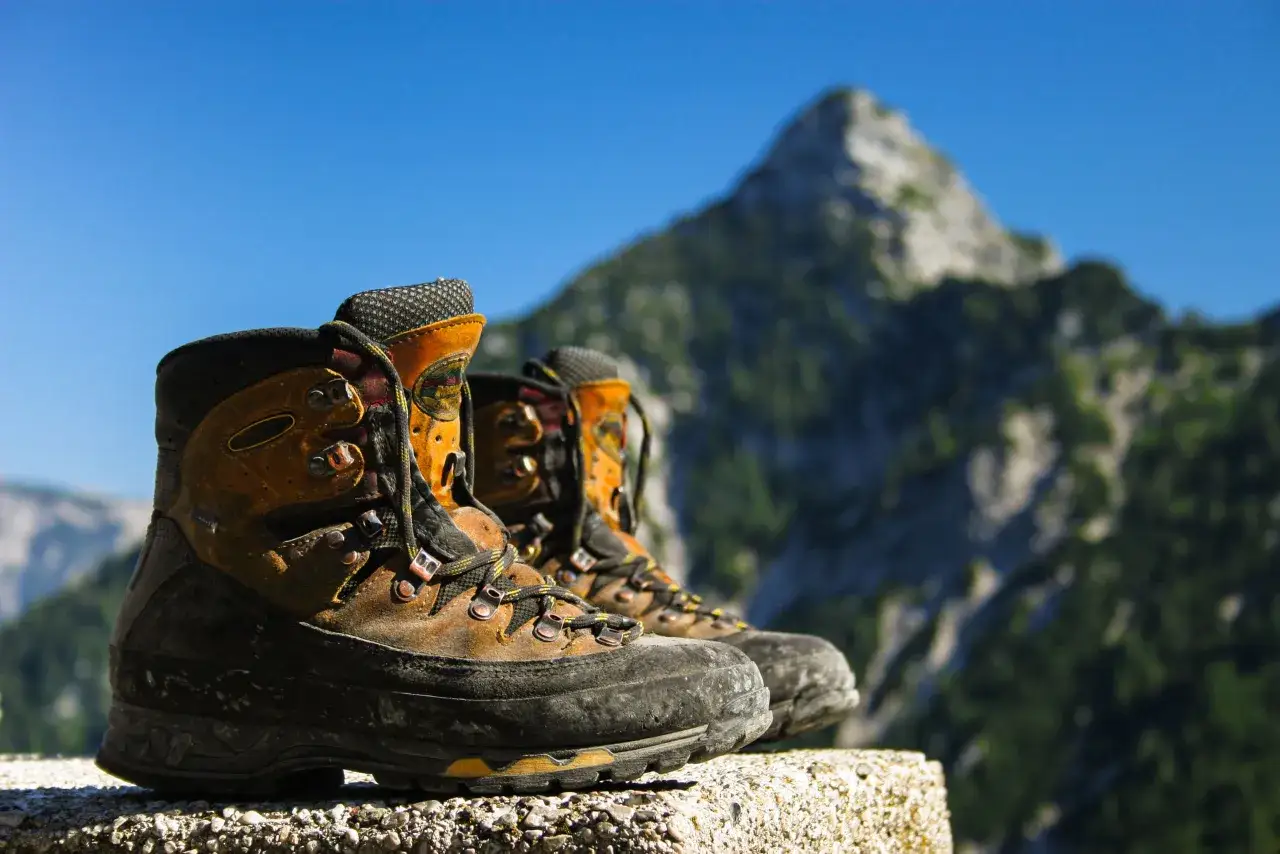
How to lace for heel hold, pressure relief, and long descents
This is the part most people skip, and it is usually the part that fixes the problem. I like to think of lacing as three separate tools: one for heel slip, one for pressure points, and one for cramped toes. Use the right one for the problem in front of you, not the one you have always used out of habit.
Use a heel lock when your foot slides forward
The heel lock, also called a runner’s loop or lace lock, is the first thing I try when someone says their heel lifts on climbs or their toes hit the front of the boot on descents. You lace normally until the upper eyelets, create a loop on each side, cross the laces through the loops, and cinch them down before tying the knot. The goal is simple: lock the heel in place without crushing the top of the foot.
I like this method for steep terrain because it creates more control right where the boot needs it most. If the heel still slides after that, the fit is usually the issue, not the lacing.
Use window lacing when the top of the foot feels hot or numb
Window lacing leaves a small “window” over the painful area by skipping one pair of eyelets in the tension zone. It is useful when the laces press too hard over the instep, especially on boots with a firm tongue or a low-volume foot. The trick is to remove pressure from the sensitive spot without making the whole boot loose.
This technique is the one I reach for when someone says the boot feels fine at the toes but uncomfortable across the top of the foot. That usually means the boot is close to right, but not yet tuned.
Read Also: How to Clean Terrex Free Hiker Shoes - The Right Way
Use toe-relief lacing when the forefoot feels crowded
Toe-relief lacing helps create a little more space in the front of the boot by reducing tension over the toe box. It is not a permanent fix for a badly small boot, but it can save a long day if your toes are sore, swollen, or pressed together on a warm hike. I treat it as a short-term adjustment, not a substitute for correct sizing.
These techniques are most useful when you know exactly what problem you are solving. If the issue is heel slip, fix heel slip. If the issue is pressure across the instep, fix the instep. Once the laces are doing their job, the final step is making sure the boot actually fits your foot the way it should.
How to judge fit before you leave the store
Fit is where most buying mistakes happen, and it is also where most problems can be prevented. I want a boot to feel snug everywhere but tight nowhere. If I can feel my heel swimming, the boot is too loose. If I cannot wiggle my toes, it is too tight. The best pairs feel present, but not distracting.
- Try them on late in the day. Feet naturally swell after walking, standing, and heat.
- Wear the socks you will actually hike in. Sock thickness changes fit more than many people expect.
- Check toe room. Aim for about a thumb’s width between your longest toe and the end of the insole.
- Walk on a slope if possible. Your heel should stay down on climbs, and your toes should not slam forward on descents.
- Pay attention to the instep. Pressure there is one of the first signs that the boot shape is wrong for you.
- Bring orthotics or custom insoles if you use them. They can change volume, arch feel, and overall heel position.
I also like to spend a few minutes walking, bending, and stepping in place before I decide. If the boot feels fine only when standing still, that is not a good sign. A real hike adds swelling, slope, heat, and fatigue. A good boot should survive all of that without needing constant attention.
That test also helps you decide whether a boot is the right category at all. Sometimes the best answer is not a different lace pattern. Sometimes it is a lighter shoe.
When laced boots are the wrong tool
Boots are not automatically the best choice for every trail. On hot, dry, fast-moving hikes, I often prefer a lighter hiking shoe or trail runner because it breathes better, dries faster, and feels less tiring over distance. If I am doing a simple day walk with a small pack, extra stiffness can be more burden than benefit.
I am also cautious about waterproof boots in warm weather. They can be excellent in mud, rain, and shoulder-season conditions, but they usually trap more heat. On long summer routes, that can matter more than people expect. If your trip includes mixed pavement, fast transfers, or a lot of time in the sun, a lighter design may be the smarter tool.
- Choose boots when the ground is rough, the pack is heavier, or ankle control matters more than speed.
- Choose shoes when the route is dry, the pace is brisk, and you care more about ventilation and weight.
- Choose waterproofing when rain, mud, or wet grass is part of the plan, not just an occasional possibility.
For travel-heavy hiking trips, especially in places with changeable weather, I usually lean toward the simplest option that still gives enough protection. That keeps me from carrying more boot than the day really needs.
The small habits that keep them comfortable after the first mile
The best pairs still need a little management. I re-lace after the first 10 to 15 minutes because feet settle once I start walking. I also carry spare laces on longer trips, because a frayed lace can ruin a day faster than a worn tread. If a boot feels perfect in the shop but starts rubbing after an hour, I do not assume it will magically improve without adjustment.
Break-in matters too, especially with stiffer leather or backpacking boots. I like to test them on short walks first, then on a mild hill, then on something closer to the terrain I actually plan to hike. That staged approach tells me whether the boot is adapting to my foot or merely tolerating it. When a pair becomes quiet on the trail, I know I made the right call.
For me, the value of a laced hiking boot is not just support. It is control. The right pair gives you enough room to move, enough structure to stay stable, and enough adjustability to respond when the trail changes. That is the combination that keeps a hike enjoyable long after the first mile.