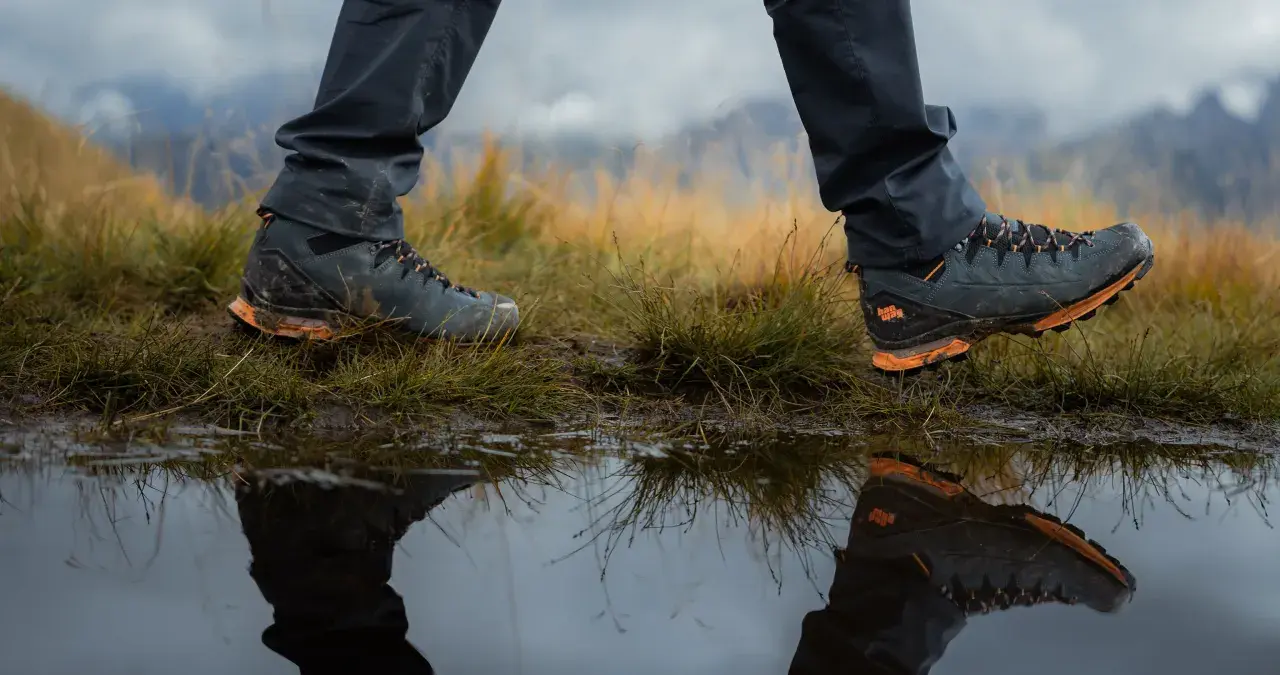
A squeaky hiking shoe usually means two surfaces are rubbing, not that the boot is doomed. Knowing how to get your shoes to stop squeaking is mostly about finding the friction point, not masking the sound. On hiking footwear, the fix depends on whether the noise comes from moisture, a loose insole, a rubbing tongue, or a deeper issue in the sole itself.
The fastest fixes are the ones that target friction, moisture, and fit
- Remove the insole first; if the squeak stops, the problem is probably the footbed or the insole edge.
- Dry the boot fully after rain, sweat, or stream crossings before trying anything else.
- Use a small amount of foot powder or cornstarch under the insole for a quick, low-cost fix.
- Pad tongue or collar rub with moleskin, felt, or boot wax instead of forcing the laces tighter.
- If the sound remains in a dry boot with no insole, treat it as a structural or warranty issue.
Start by identifying the source of the squeak
I never guess at this part. I bend the boot by hand, press on the heel, walk a few steps, and then remove the insole if the noise is still there. That simple test tells me a lot: a squeak that disappears when the insole comes out usually points to friction inside the boot, while a squeak that stays put can mean the sole layers or shank are involved.
For hiking footwear, the location matters just as much as the volume. A sound from the toe box often comes from the insole or a seam in the upper. Noise near the arch can come from the shank, the stiff support piece that helps the boot hold its shape. A squeak around the ankle is more often the tongue, collar, or laces rubbing against one another.
| What you notice | Likely cause | First move | Typical cost | When to stop DIY |
|---|---|---|---|---|
| Noise disappears when the insole is removed | Insole or footbed friction | Dust lightly under the insole or replace it if it does not sit flat | Under $10 for powder; $20 to $60 for a better insole | If the insole is already fitted well and the squeak returns after drying |
| Squeak appears after rain, mud, or sweat | Moisture trapped between layers | Dry the boot at room temperature with the insole out | Usually free if you already have paper or a fan | If the sound remains in a fully dry boot |
| Noise happens when the tongue flexes | Tongue or collar rubbing | Use moleskin or a small amount of boot wax on the contact point | About $5 to $15 for padding or wax | If the material is separating or cracking |
| Boot creaks in the arch even when dry | Shank or sole bond issue | Check the warranty or a cobbler | Inspection is often free; repairs vary widely | If the boot feels loose, warped, or uneven underfoot |
Once I know the source, the fix becomes a lot more predictable, and that saves a lot of time compared with random powders and sprays.
The quickest fixes I try first
The easiest wins are usually the ones that do not alter the boot permanently. I start with reversible fixes because they are cheap, fast, and easy to test on a hallway walk before I commit to anything stronger.
- Re-seat the insole. Lift it, clear out grit, and put it back in flat. Even a tiny fold at the heel can squeak with every step.
- Add a light dusting under the insole. Foot powder or cornstarch can reduce friction. I keep the layer thin; piling it on rarely helps more.
- Try a dryer sheet only as a temporary test. It can reduce rubbing quickly, which is useful on a trip, but I would not treat it as the final answer.
- Adjust the lacing pattern. If the tongue is moving, a different lace tension can solve the noise without any product at all.
- Use moleskin or thin felt on known contact points. This is one of the best fixes for tongue-on-collar squeaks because it changes the surface instead of trying to mask the sound.
- Check the socks. Thin, slick socks can let your foot shift inside the boot and create more movement than the boot itself.
If I had to rank the fixes by practicality, I would usually try powder or moleskin before I reached for lubricants. Greasy products can work, but they can also attract dust and behave badly on some boot materials, especially if the boot is meant to stay breathable on long trail days.
Drying matters more than most people think
Moisture is one of the most common reasons hiking boots squeak, especially after wet grass, stream crossings, coastal walks, or a long sweaty climb. Water changes how the layers inside the boot move against one another, and once dampness gets trapped under the insole or around the tongue, the sound can stay with you for hours.My drying routine is simple. I pull the insoles out, loosen the laces, and let the boots dry at room temperature with plenty of airflow. If they are only lightly damp, 12 to 24 hours is often enough. If they are soaked, I give them 24 to 48 hours and check them again before using any powder or conditioner.
- Remove the insole and dry it separately.
- Stuff the boot with dry paper or a clean towel and replace the stuffing if it gets damp.
- Keep the boots away from direct heat, radiators, ovens, or aggressive heat sources.
- Let leather dry fully before conditioning it, or you can trap moisture inside the material.
- Brush off mud and grit before drying so you do not grind debris deeper into the seams.
That last step matters more than people expect. A tiny pebble, salt crystal, or grit line under the footbed can sound exactly like a mysterious squeak, and once it is gone the boot often goes quiet immediately.
When the tongue, laces, or insole are the real problem
Many hiking boots are blamed when the real friction point is more specific. A tongue rubbing against the collar can sound like a failing sole. A lace that is pulled too tight across one side can make the upper twist and creak. A replacement insole that does not match the boot can move with every step, especially if the edges are slightly too wide.
This is the section where I pay close attention to fit. A boot that is too snug tends to squeak more because the foot and upper have less room to settle. A boot that is too loose can squeak because the foot lifts and drops inside it. The right fit usually feels boring in the best way: secure at the heel, stable through the midfoot, and not pressing hard enough to create constant rubbing.
For tongue and collar squeaks
A small patch of moleskin, felt, or soft boot wax on the rubbing point usually helps more than a stronger lace pull. If the tongue itself is stiff, a little break-in time may be part of the answer, but I would not wait forever if the same spot squeaks every time the boot flexes.
Read Also: Hiking Boots Guide - Choose Your Perfect Pair & Avoid Blisters
For insole movement
If the insole shifts when I lift the boot or press through the heel, I trim it more carefully or replace it with one that fits the footbed better. In many cases, a better-fitting insole is a cleaner solution than adding more powder on top of a bad fit.
For a long hike, I want the boot to flex quietly and predictably. That usually comes from surfaces that are sitting flat against one another, not from forcing the boot to silence itself with a heavy fix.
When the squeak means the boot needs repair
There is a point where I stop trying to solve the noise with household tricks. If the boot is dry, the insole is out, the tongue is padded, and the squeak still comes from the arch, heel, or sole seam, I start thinking about a structural issue.
That can mean a loosening outsole, a midsole bond that has started to fail, or a shank that is moving in a way it should not. The shank is the stiff support piece inside the boot, and when it shifts, the sound often feels deeper and less “rubbery” than a normal insole squeak.
- If the boot is new, check the return window first. A clean exchange is often smarter than trying to fix a factory defect at home.
- If the boot is older and otherwise solid, ask about resoling or repair. A cobbler can often tell the difference between normal wear and a bond problem in minutes.
- If the sole feels uneven or the boot flexes strangely, stop using it on long hikes. What starts as a squeak can become discomfort or instability over distance.
Structural squeaks are frustrating because they are the least glamorous to solve, but they are also the most important to take seriously. A boot that talks from deep inside the sole is usually telling you something useful.
How I keep hiking boots quiet on longer trips
Quiet boots are rarely the result of one miracle product. They are usually the result of boring maintenance done at the right time. Before a multi-day walk, I like to test my boots at home with the socks I will actually wear, then check them again after one wet outing instead of waiting until the noise becomes constant.
- Break boots in gradually on shorter walks before a long trail day.
- Keep mud, sand, and salt off the upper and out of the footbed.
- Dry the boots after every wet hike, even if they look almost dry on the outside.
- Replace worn insoles before they start curling, shifting, or thinning unevenly.
- Use the lacing tension that holds the heel without crushing the tongue.
- Store boots in a cool, dry place so trapped moisture does not sit in the liner between outings.
My practical rule is simple: if a boot squeaks once, I treat it as a diagnosis; if it squeaks again after a clean, dry reset, I treat it as a fit or repair problem instead of a nuisance. That approach saves time, protects the boot, and keeps the next hike focused on the trail instead of the sound under your feet.